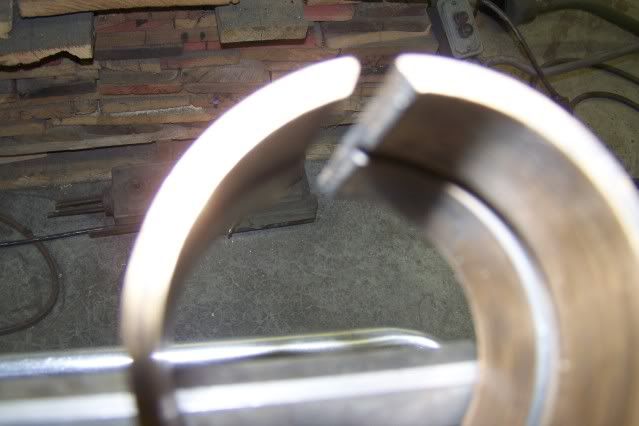
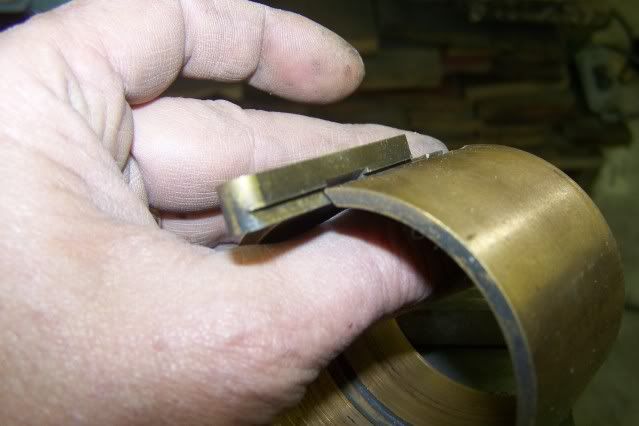
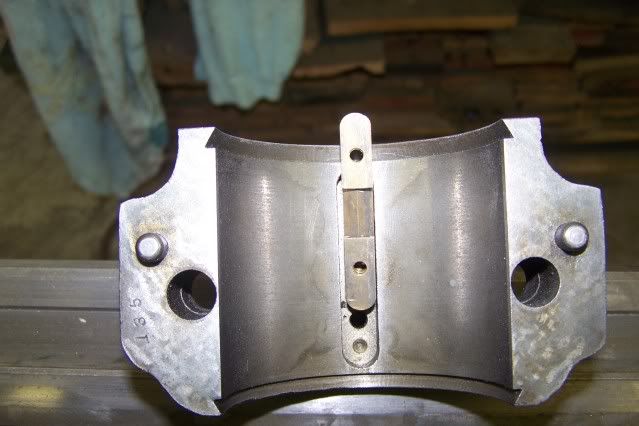
Sorry Norman, was in the garden today and didn't get here much. Yes. The piece you are talking about is an adjustment to adjust the bearing on the spindle. It has a sorta dovetail in the bottom that fits or slides over the bearing edges that is beveled so it sorta locks it together. Under that "spacer" is a piece of felt that spreads oil to get under the bearing. When the cap is placed on the bearing it has a slot in the cap underside that fits over the "spacer" and holds it so it doesn't rotate. Too if you note it has 2 threaded holes. That is for the adjustment to tighten and loosen the bearing. I will get a pic of the old one tomorrow
Its spring, of close, so I have been getting the garden ready and planting things today so I will be off and on with the lathe and to I will be starting to gather materials for the outdoor oven so we can bake bread and pizza outdoors which is more fun anyway and cutting on the energy cost. Hopefully I am thinking about solar in the future also.
Man If I get done what I would like I can work 2 yrs after I am dead fuigaring I am alive for at least 10 more years.

") never know it might be my last chance fer a good meal
never know it might be my last chance fer a good meal


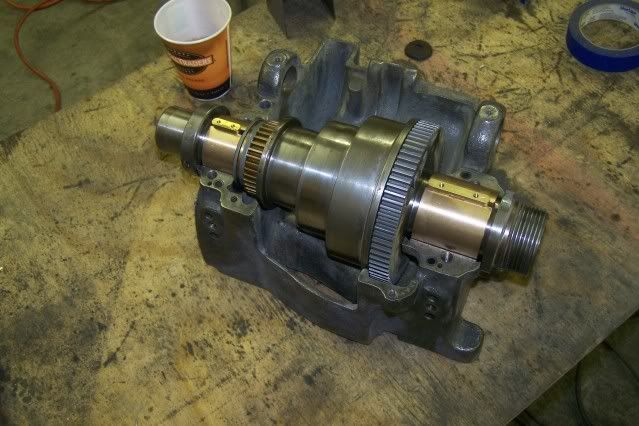
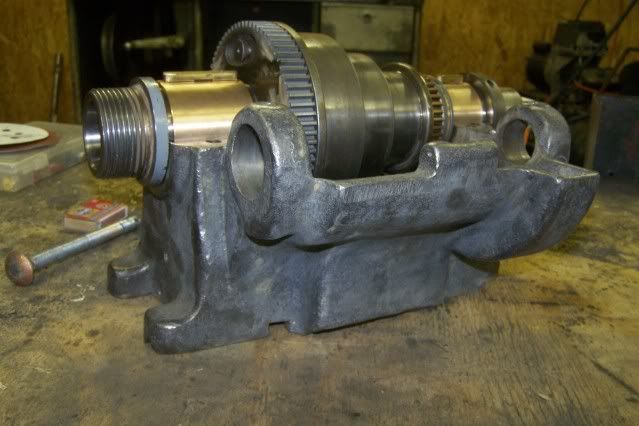
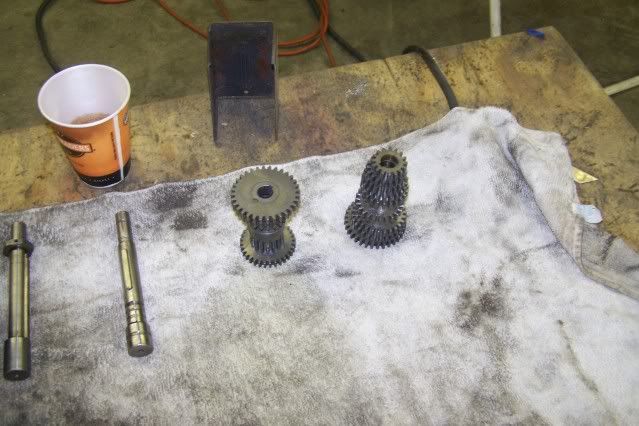
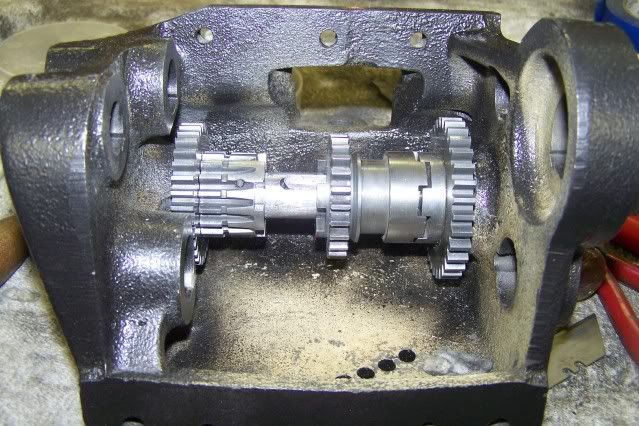
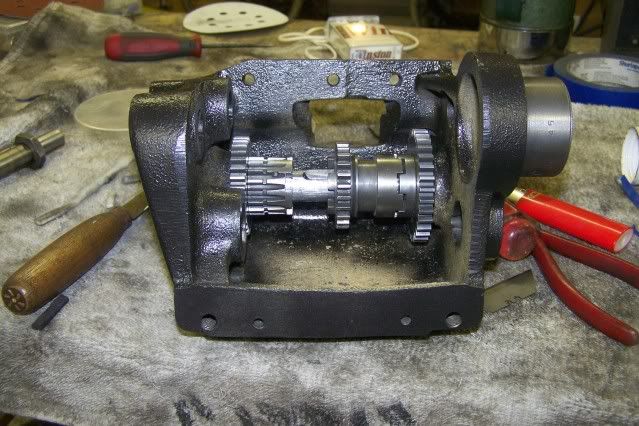
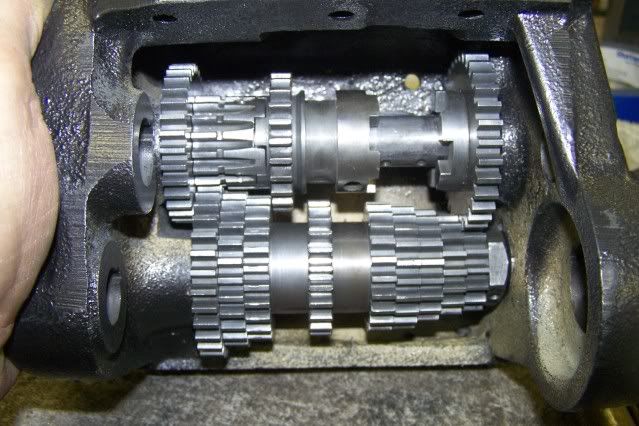
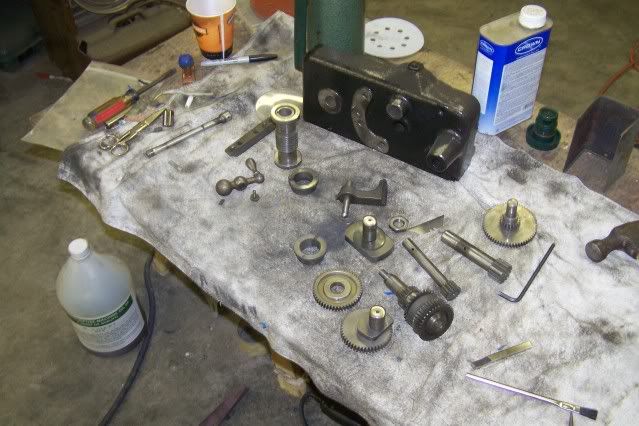
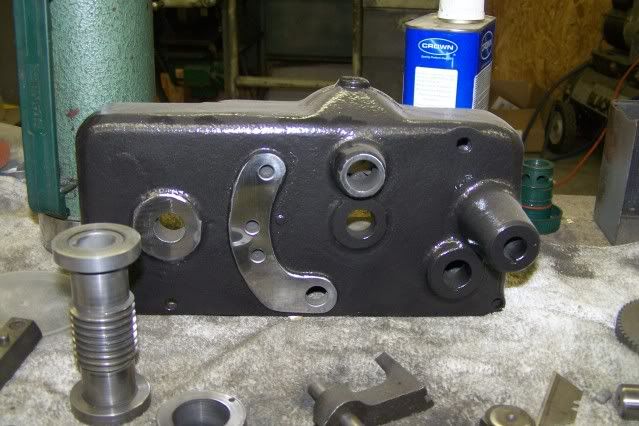
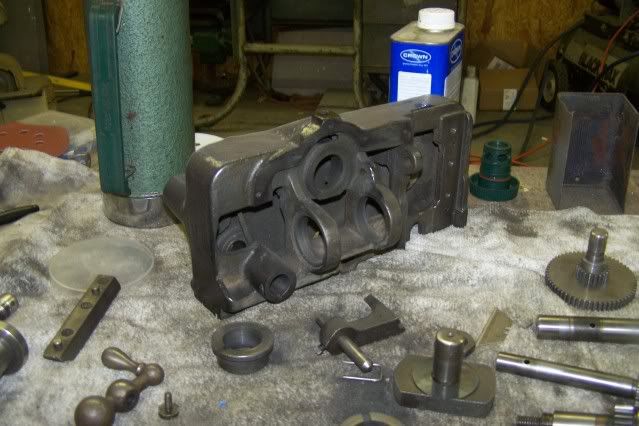
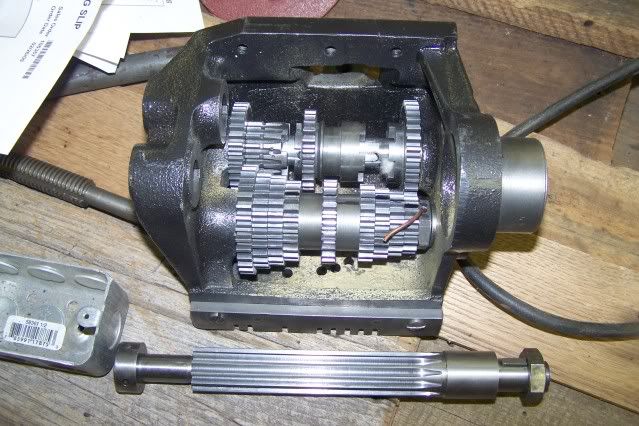
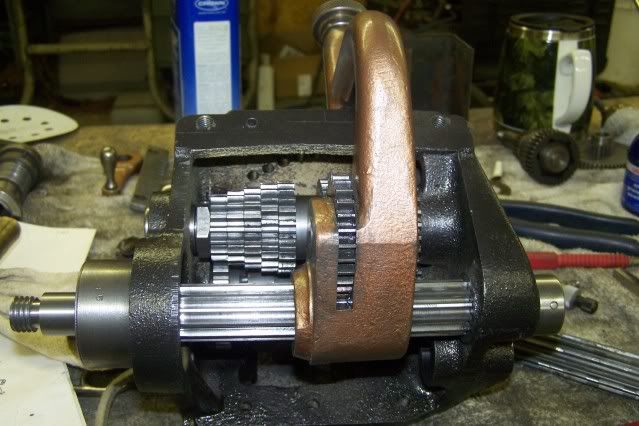
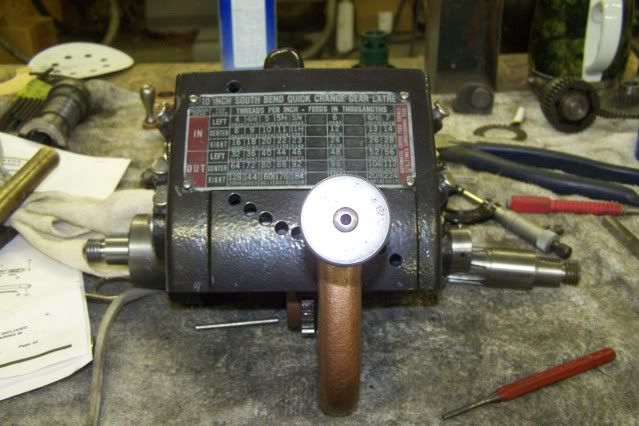
 and that ended that. Its a small pin that pins a nut in that mess of gears so I will have to fine it before I can put it on the machine or forget it. Hers the head with new bearing and the gear box almost finished