Seven drawers dresser Update May-19-2009
It's been a while since I started this thread, so I thought is was time to post some more pics.
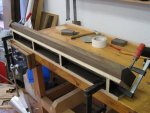
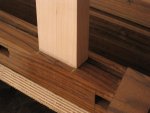
I made the mortises on the legs by routing a slot and then filling the spaces with pieces of the same wood, I chose to do it this way to make it faster rather that chiseling them all by hand. Some of the joints will need some rework but I think that it woud have been worse if I had it done chiseling.
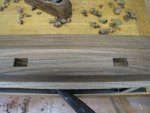
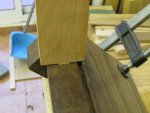
The thin slot to their side is to put the back panel that is going to be 0.15" ( 4mm) thick plywood with maple veneer on on side.
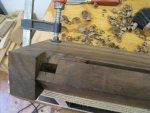
As my router couldn't reach the end of the piece, I had to chisel away the remaining 3 inches.
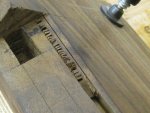
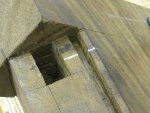
I realised too late that it needn't reach the very end because there will be the top side frame. In fact it would have been enough if it reached only the white line. ( I drew it later for the sake of the pic and explanation) Luckily it is only on this one leg, on the others I made it right.
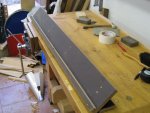
This is the top side frame that is going to have a slot matching this one to accept the mentioned back panel.
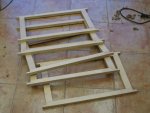
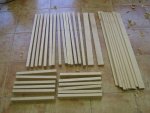
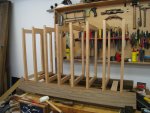
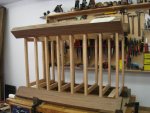
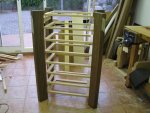
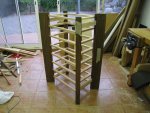
Here you can see five of eight drawer runners, they still need the side pieces that I will glue when I have them all done.
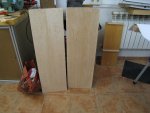
These are the book matched boards of hard maple that will make the side panels, they still need to have the side rabbets (or rebates?) made and the female side of the sliding dovetail on the back side that will hold them in place.
Comments, critics and sugestions welcome as always.


The thick plotens



 Nice looking wood. Love the natural light coming into the shop too!
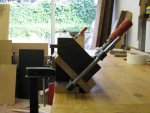
 . Imade ma a similar jig for applying glue to some edges of wood cut at a 45 degree angle so it wouldn't run off. That piece of mongoy in the jig sure has a nice shine to it. I can see a reflection on it


 .
. lookin forward to the rest
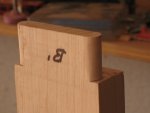 ( not bad for hand made tenon isn't it?)
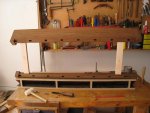
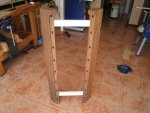
 wont be long now and yu can start the next project.