allen levine
Member
- Messages
- 12,370
- Location
- new york city burbs
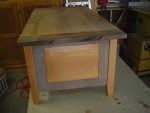
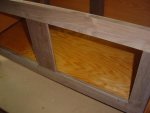
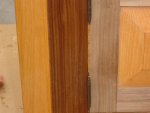
a bit of progress today, boiler shut down, had to spend most of the day with the plumber.Oak ply for the bottom, its all I had. did not attach the top.
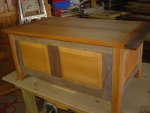
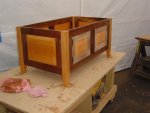
 . Nice, simple clean lines!
 i think i see one tiny sliver out place on the sides allen you had better get out the sand paper naw jist joshun ya bud.... you done it again you super hero norm gonna get jealous pretty soon I may have missed it earlier but how are you going to finish it?
 One of these days I'm gonna have to try a rub on finish.. Have you thought about how you are attaching the top?
 I just used mine again today to make alignment slots for some pieces that can be taken apart if need be. Sure makes life simple.
if anyone is still following this build..........
Nope
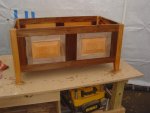
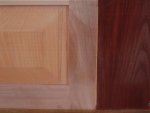
your doing fine.. and the walnut goes well with your maple. first its raised panels, now its details on the frames and such, who knows what paths our good intentions will lead you down? (hopefully not to the spinny place )...and perhaps try to put in some curves.
A table top lathe is in my woodworking purchases before this year ends.
And just so you don't feel too lonely, pretty much all of us have dealt with (and still deal with) the same types of frustrations on a project, especially one where we're doing a lot of new techniques. Part of the challenge of woodworking is being able to recover from those types of fumbles gracefully. And you're doing a very admirable job on those recoveries. 
A table top lathe is in my woodworking purchases before this year ends.
we need all the flat folk we can get,, so dont be jumpin ship on us when the battle is gettin close and we all know that dan can use all the help he can get to ward off those spinny guys exspecailly when the big guns start showun up here (Vaughn) making deals you know you have got something to offer when the enemy stops in to visit