Shaker spider leg table

3rd installment

I could do the routing on the lathe with a different jig, but I wanted to make and have a dedicated jig not needing the lathe. I'm also pretty short, and I think I'd have a hard time working over the lathe. Lastly, in the interest of avoiding a Murphy's moment, the jig I made has 3 registration lines. As long as I'm lined up with one, I'm in the right place. The lathe might require a bit more attention to avoid a mess up.

Lots of other things to do today, some of which would qualify as woodworking - I made a couple of raised bed frames for the garden. If anybody nearby needs some larch [tamarack] I have discovered a very nice young man who has a small mill and sells good quality freshly sawn wood at a very reasonable price. PM me for details. Anyway...I turned the second pedestal, and then ran through the grits to 800.

In the first image, it is still on the lathe, with the completed pedestal for comparison.

2pedestals.jpg


There were some small holes, and instead of straight epoxy and coffee, I made some sanding dust with 120 paper, and mixed that in with some coffee. Gives a lighter and somewhat variegated color, hopefully will look ok. The blue tape makes it easier to clean up. Once the epoxy is hardened, I'll have to run through the grits again, but it'll go quickly.

fillingholes.jpg


That's all for today. Thanks for your encouragement. I have a hard time thinking of this as a tutorial, as it's the first time I'm doing these tables, but it's fun going through the process this way.

Ken
 
2nd pedestal filled

Other things today. Did clean up and put shellac on the 2nd pedestal. This is how it looks after the epoxy / coffee / sanding dust. The fine check and other holes on the base [narrower cylinder to the left] will be removed when the dovetails are cut.

2ndpedestalfilled.jpg
 
Ken, this is simply amazing! I haven't gone to the site to see what it is supposed to look like, I have an image in my mind and want to see how close of a guess I am making. Fantastic explanations, thanks for taking the time and sharing with all of us.
 
Progressing nicely Ken :thumb: Looking forward to the rest of the story.

And you are way more than a "poor" turner. You're doing great. First-legs for the garden bench, now this table. You'll be turning bowls before you know it:eek::D:thumb:
 
LEGS

Finally had some shop time today. Before actually working on the legs, I made a detour to fix up the router table. I added a tall fence, and made a better box for catching sawdust. [Router dust?]

routertable.jpg


routertableDC.jpg


Then I took the board I selected for the legs. I want all the legs to come from one board for better uniformity of color and grain. The piece selected had some major checks, which wasn't a problem for the narrow leg parts. I laid out a bunch of them, to allow for extras and rejects. After the layout, I cut the board on the bandsaw, then jointed and planed it to 3/4" thickness. The legs were rough cut on the bandsaw to within about 1/16" of the cut lines, then using my template, hot glued onto each leg, I used a flush cutting bit on the router table to trim the legs.

patterns.jpg


legonrouter.jpg


legsbeforeafterrouter.jpg


After trimming the legs, I taped them together and did some sanding to get them nice and even.

Then off to the router table again, to cut the sliding dovetails. Here is a pedestal with legs partially fitted, but before the top of the sliding dovetail was adjusted to go in all the way.

onepedestal.jpg


At day's end, I had a pair of matched pedestals, with legs nicely fitted. Stealth gloat is in plain view in this picture. Tomorrow, the legs will get some shaping, and will also be tapered from 3/4" at the pedestal base to 1/2" thick at the floor.

two.jpg
 
Wow, they're coming together nicely, Ken. :clap:

And I would be gloating too, if I had a brand-new rubber band ball in MY shop. The blue and yellow ones are the best. :thumb: :p
 
ken your doing a fine job of showing us the process of making two of these,, wont be long now and we can see the top constrution and then yu can get back to flat land agin:):thumb:
 
detail work on the legs

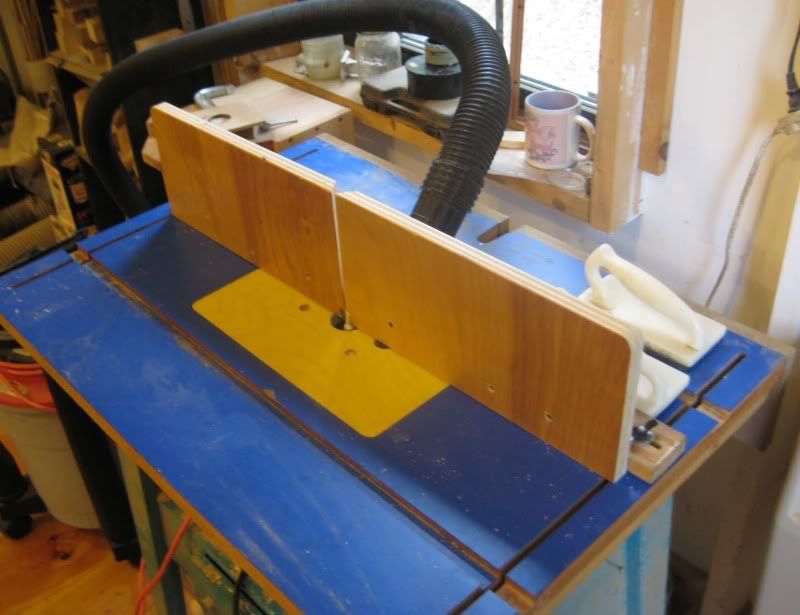
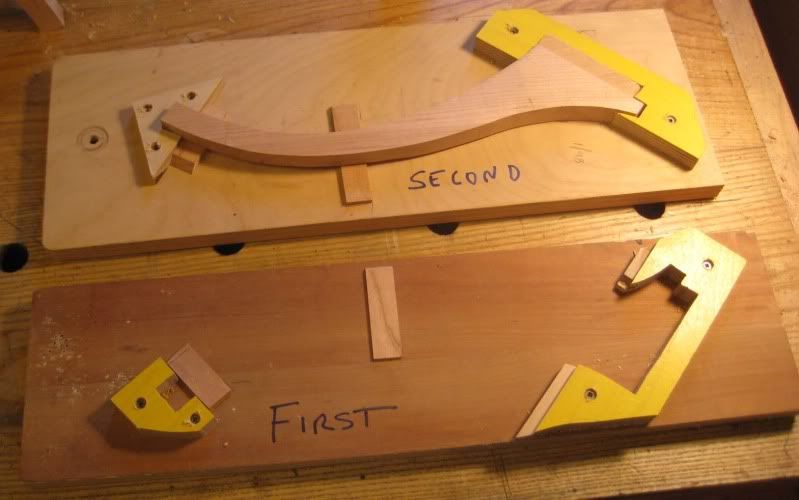
Today was a bit slow going. First I made a pair of jigs for tapering the legs. The legs are 3/4" thick where they join the pedestal, and taper to 1/2" at the floor. The first jig raises the leg 1/8" at the tip. The second raises the leg 1/4" at the tip. Note the prominent label, as I am prone to really dumb sequencing errors. They go into my planer and just miss touching at the dovetail end.

proflegjigs.jpg


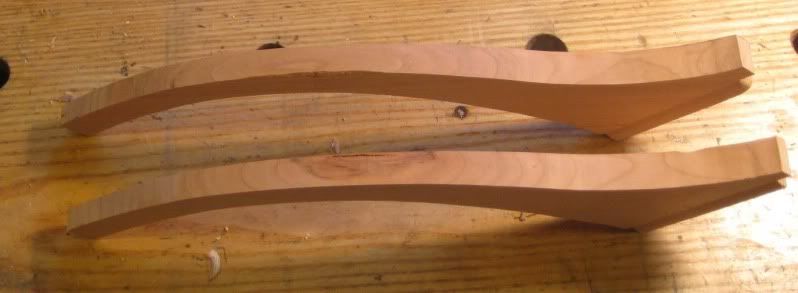
This is a pair of spare part legs that I ran thru the jigs, showing the taper.

taperedlegs.jpg


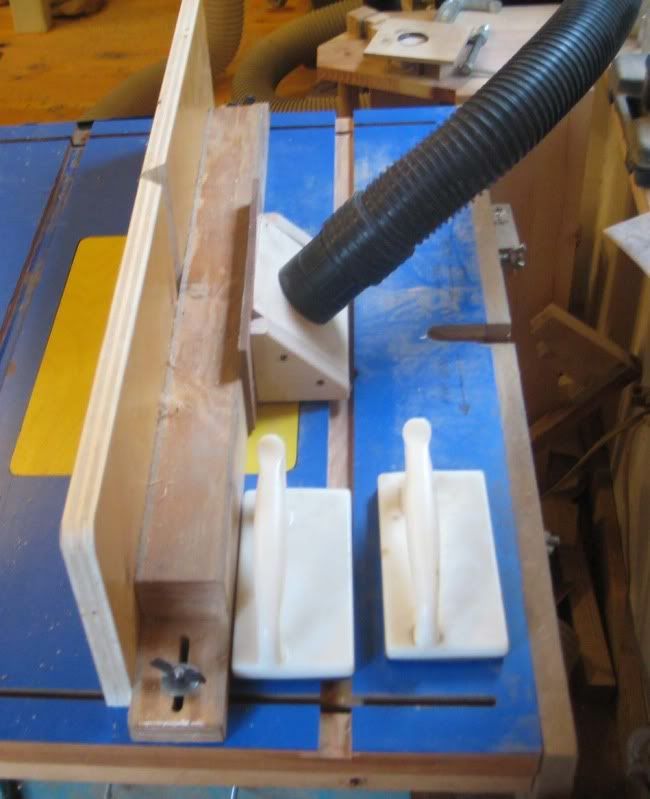
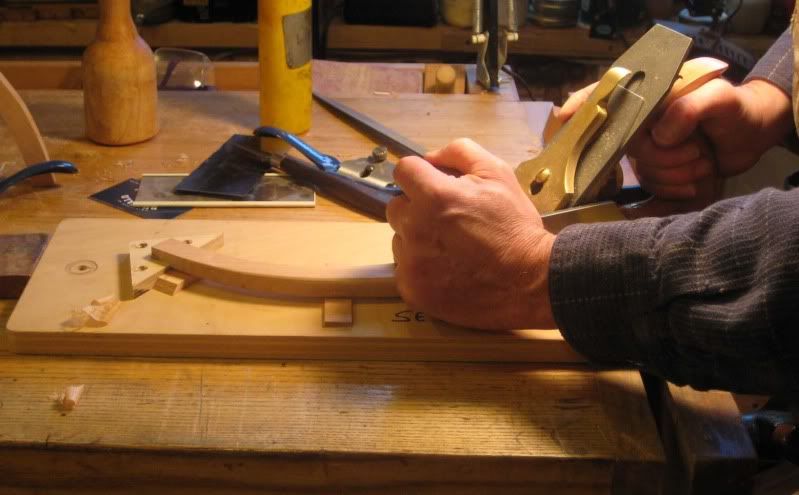
After the planer, I wanted to smooth the sides of the legs with a hand plane, to remove any machine marks, and leave a nicer surface. The jigs worked just fine to hold the piece.

smoothingaleg.jpg


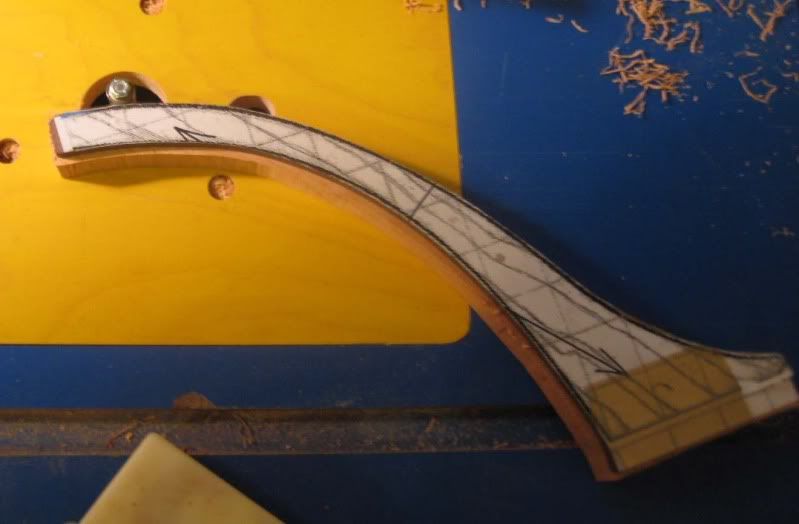
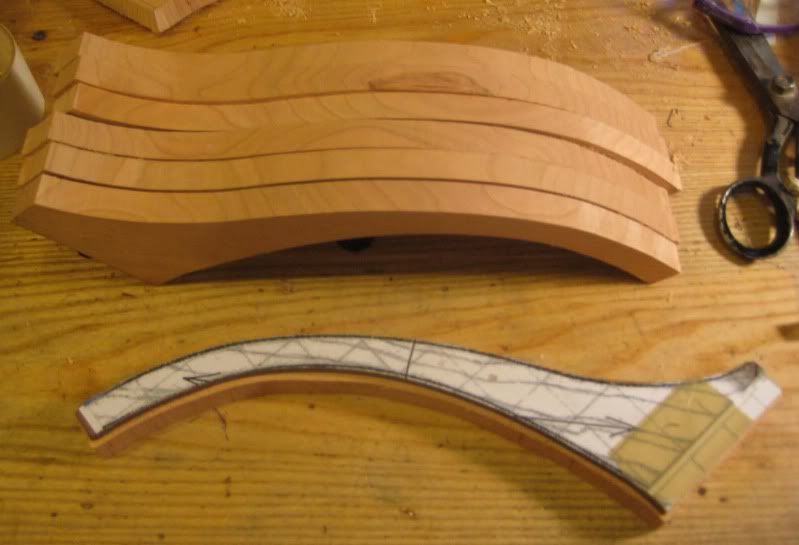
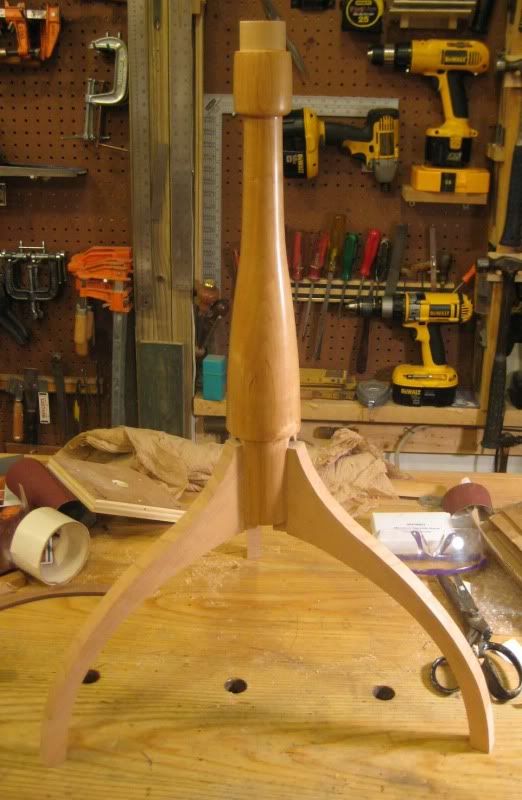
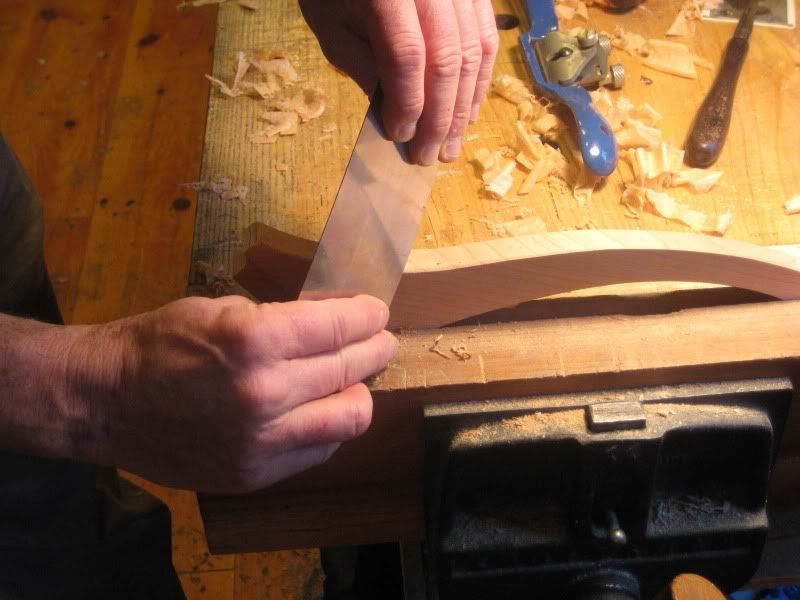
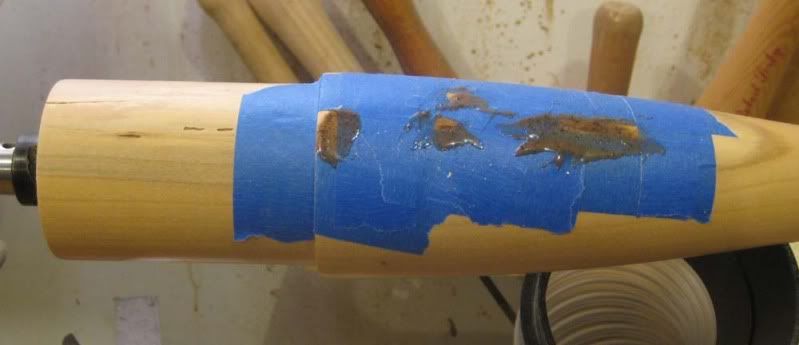
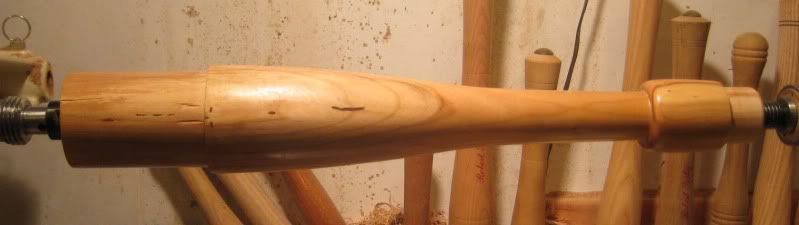
Next, with rasp, spokeshave, scraper and sandpaper, I rounded the corners and fitted the legs. I wanted the legs to flow into the pedestal. This took alot of time, and a good deal of scraping and hand sanding. Pencil marks on the top of the leg show the curve I seek. It should match the curve of the pedestal.

scraping.jpg


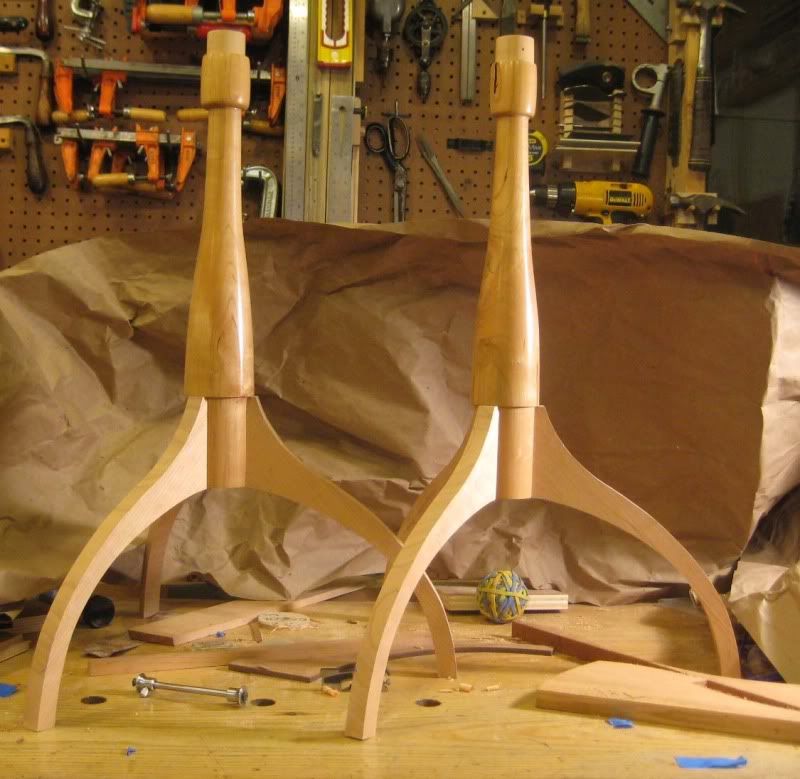
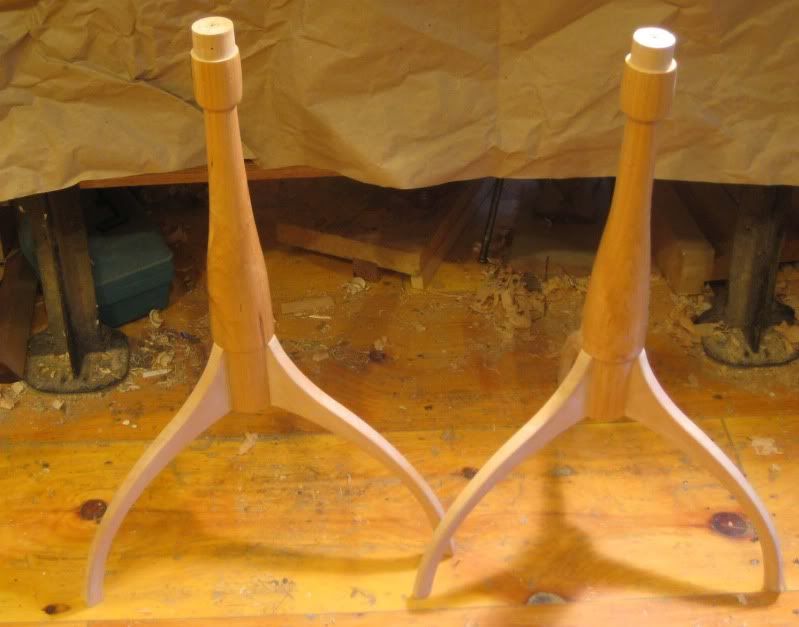
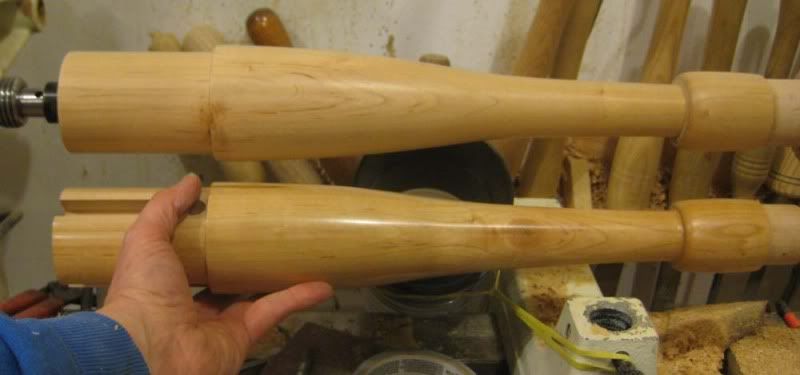
The results - compare the legs now with earlier, they are rounded, tapered, refined and flow into the pedestal. I sanded them to 320 grit, in preparation for some finish, which will be shellac.

2baseswithlegstaperedandsmoothed.jpg


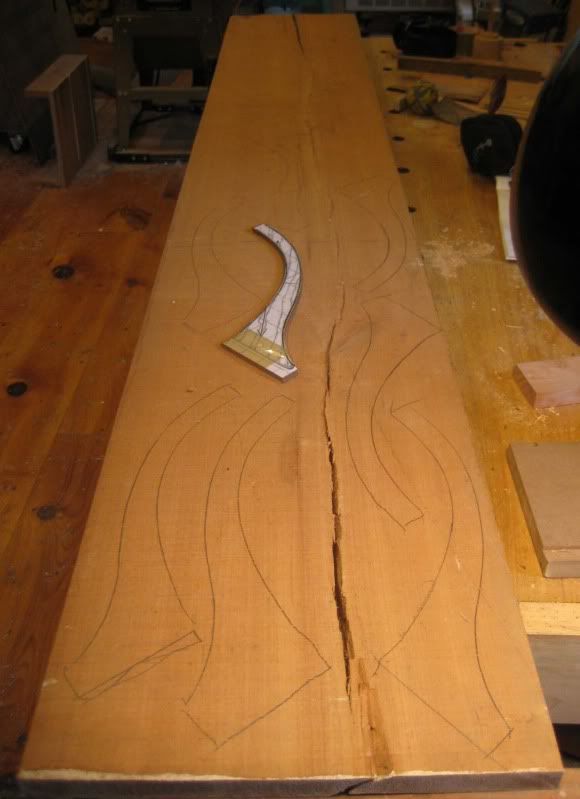
I started on the tabletops. They will be 17 1/2 - 18" round. These boards are cherry, from one tree, are mostly quartersawn, and hopefully will be well matched. The rough stock was 7/8", and the tops will be 1/2" thick. Here they are jointed and planed, ready to select and combine for the best appearance. More to come another day....

stockfortops.jpg
 
Wow Ken a whole lot of work there, but man, all I can say is "Nice Legs Ken" and I'm not known for complimenting guys on their legs :D

These are sure going to be nice tables :thumb:
 
Stu - thanks. My legs were better looking when I was a serious bicyclist.

Bob - thanks also, I didn't come up with the method, I just put it to use, but this was my first attempt at it.

Ken
 
Top