
Jerry Strojny
Member
- Messages
- 13
A couple of weeks ago, a friend (Evan) and I drove down to American Sycamore Retreat for a weeklong "class". We had a one-on-one with Mike Van Pelt building a workbench. He is sponsored by Delta/Porter Cable. So lots of unisaws and porter cable routers around. He started his school in 2001. A few years ago he was on the Woodworking Shows circuit doing the demo's in the Delta booth.
I know this is no Portsmouth Dressing Table, but a workbench to me is the "center" of the workshop. So it was very exciting to me to finally have a "real" workbench. And even better something that I built. Just felt like sharing with the great people here my experience, and encourage any else to tell the story of their bench.
DAY 1
This first photo of a stack of wood that is about how much is in each bench (110 bd ft of hard maple, 35 bd ft of walnut).
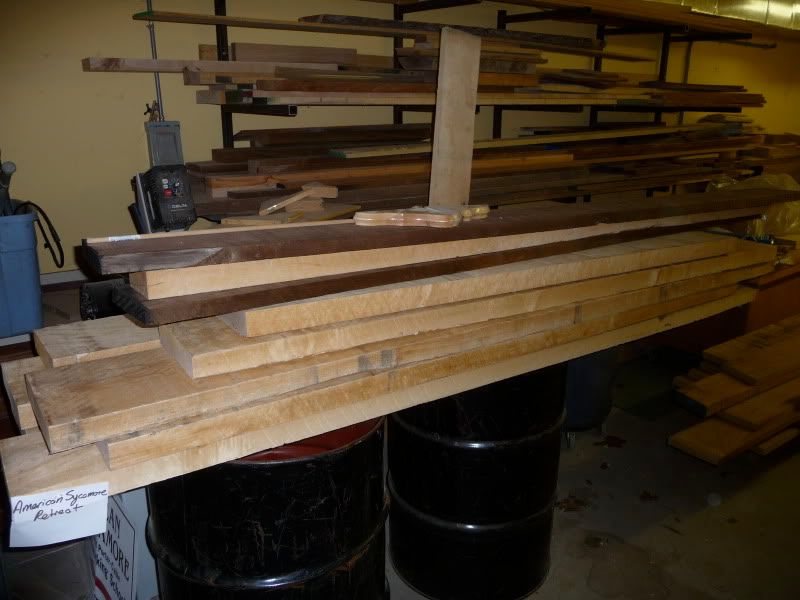
After jointing and planing the the rough lumber, we cut them all down to about 4" wide.
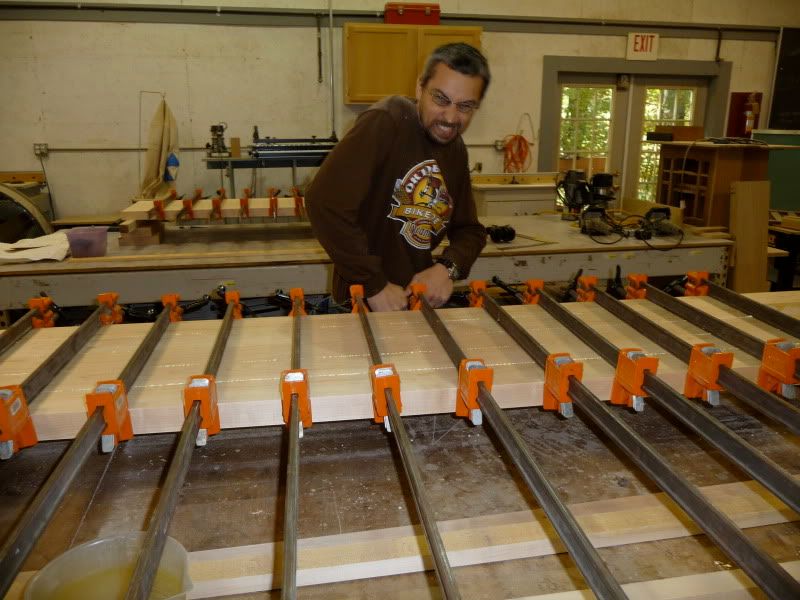
After selecting the boards we each wanted for our top, we marked for biscuits every 6". Then the "marathon" glue up. All hands on deck for these. The three of us had to work fast to get all the surfaces gooped with glue and then clamped....and then we did it again. That was the end of day 1.
DAY 2
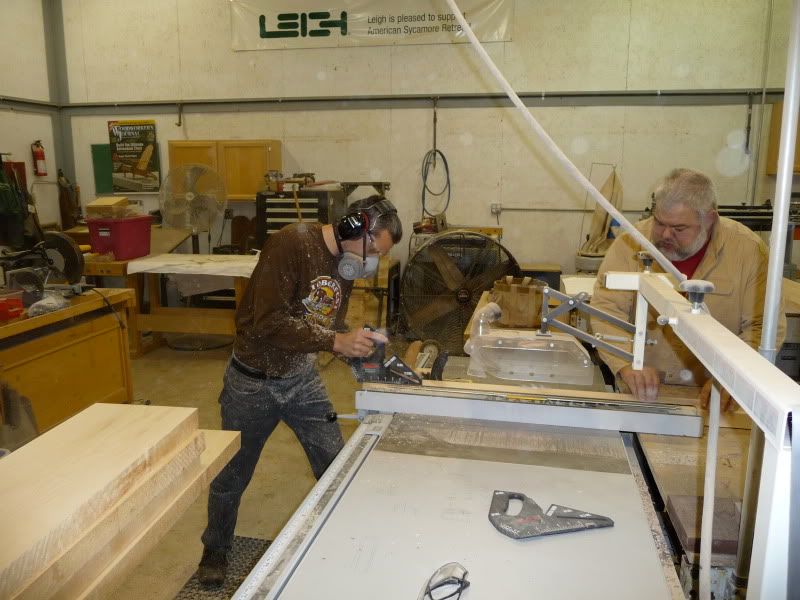
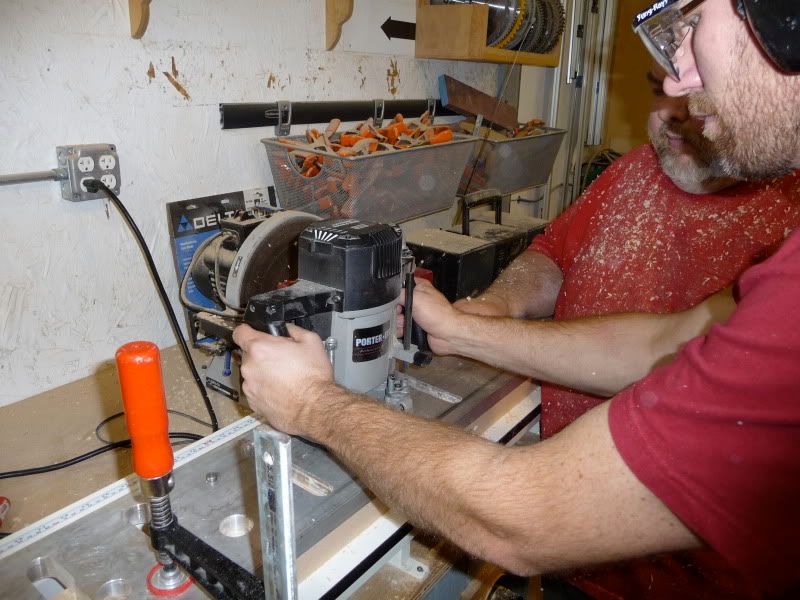
Day 2 started with taking all the clamps off and then getting to work on the aprons. We selected 2 maple boards and 2 walnut boards. After machining those just like yesterday, we got ready to work with the plunge router. Mike has a 1" solid aluminum template made up for routing out the dog holes. Here you can see Evan working one of 26 for each bench. Tedious and repetitive work...it was a long day for me.
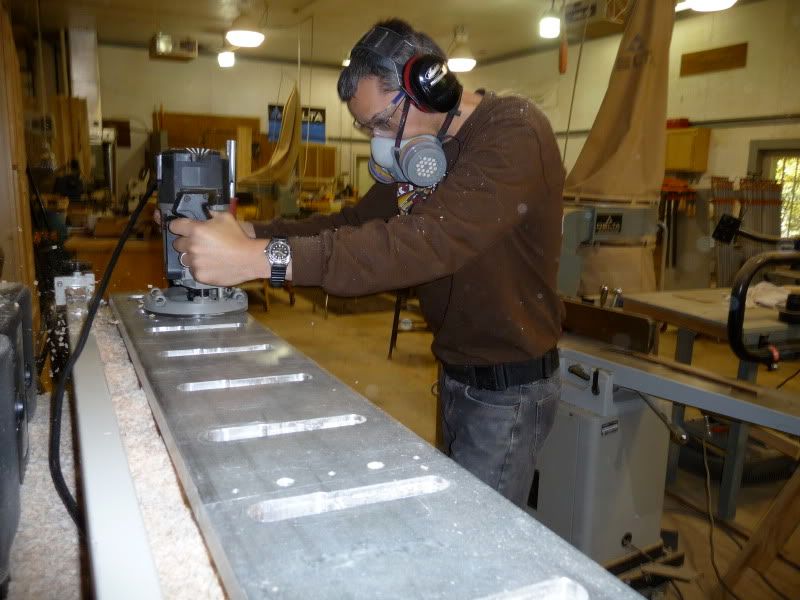
After all those were done, we marked for biscuits and glued the walnut to the maple...voila, you have instant dog holes.
DAY 3
Today we started with cutting the top glue-up down to it's final size. Multiple passes with a router...If it were up to me and Evan, we would have cut it slightly long using a portable saw and then just cleaned up the cut with the router...would have been much faster with the same results. But anyway.
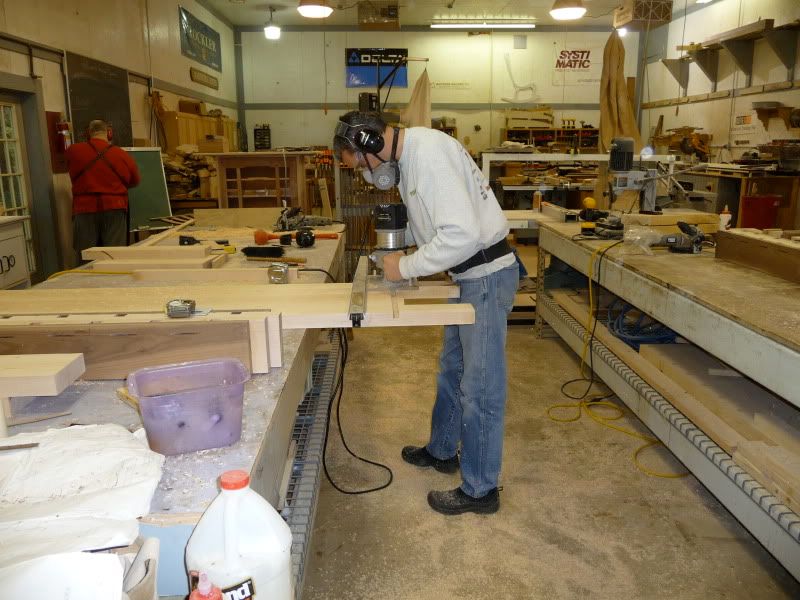
Here you can see Evan cutting more biscuits to attach the apron to the top.
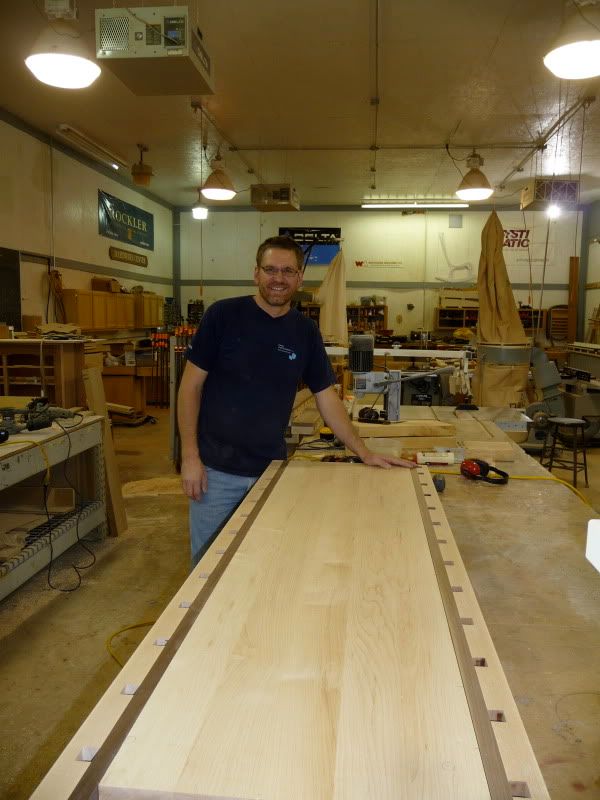
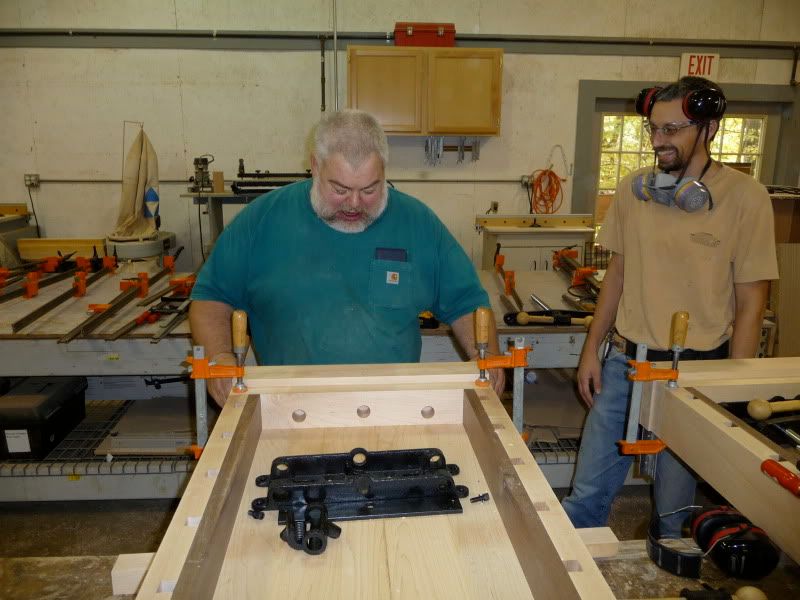
And here it is dry fitted together.
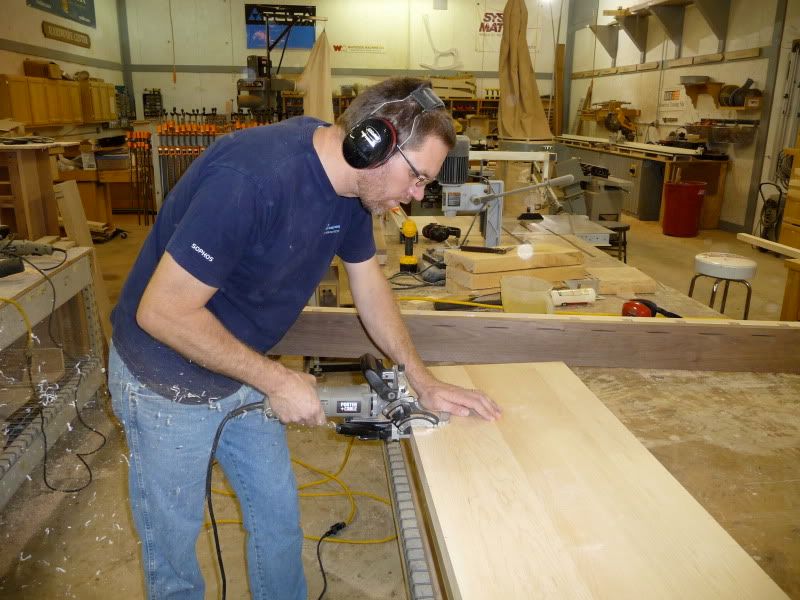
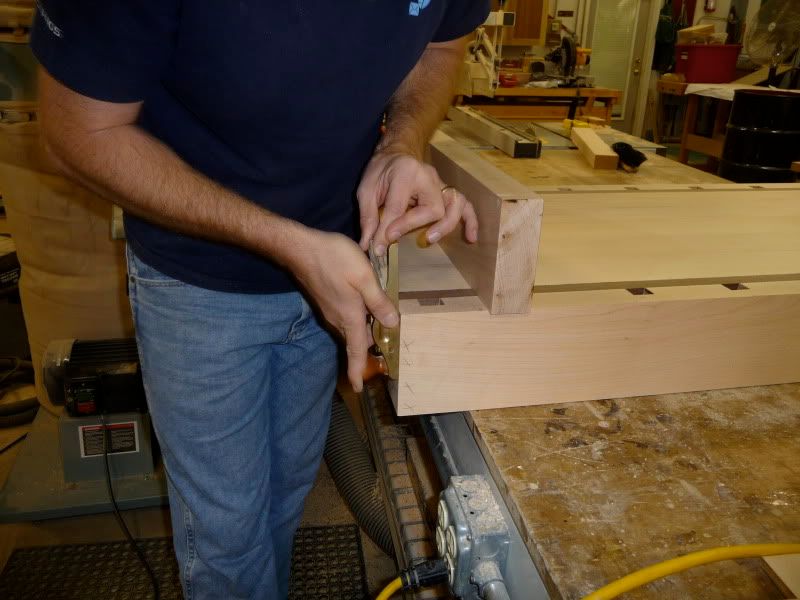
Here I am cutting my aprons down to final size. Must match the length of the top exactly! (well very close at least.)
After all that was fitted to the top, we glued them to the top.
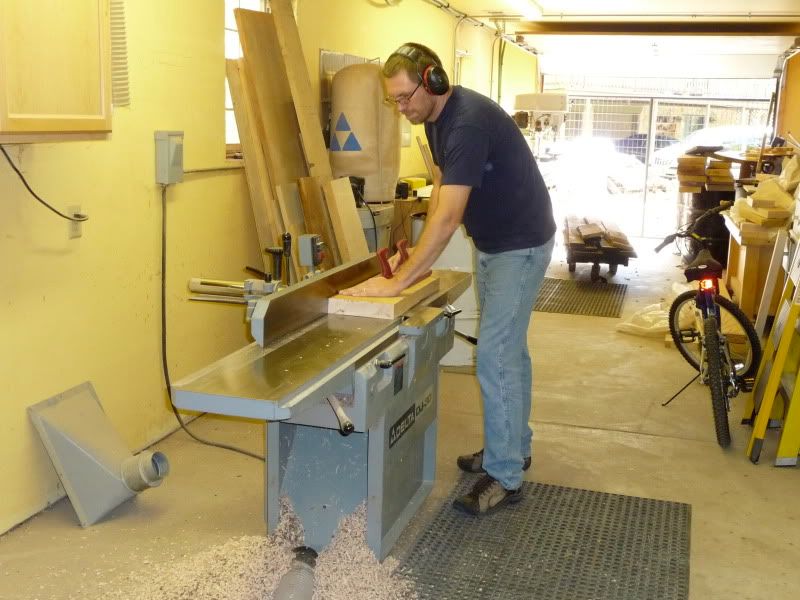
Next we got started on the wood for the vises. Here is Evan face jointing a piece for his side vise. Two pieces are used to make the tail vise. They all get run through the planer, ripped to width on the table saw, and then glued up. Final planing is done the next day to clean up the glue and get them to final width and length. We also had to make the end aprons. These were all done at the same time with the vises.
DAY 4
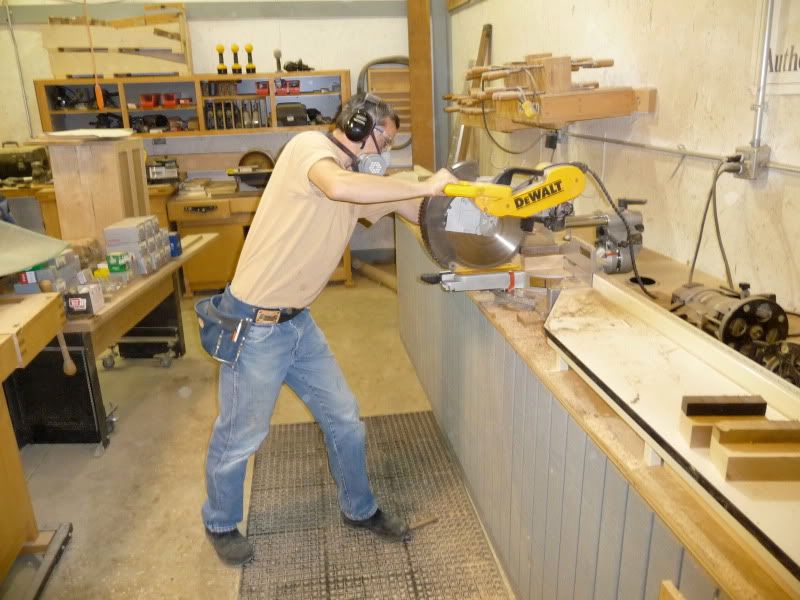
Day 4 - Cleaning up and refining the cuts on the miter saw.
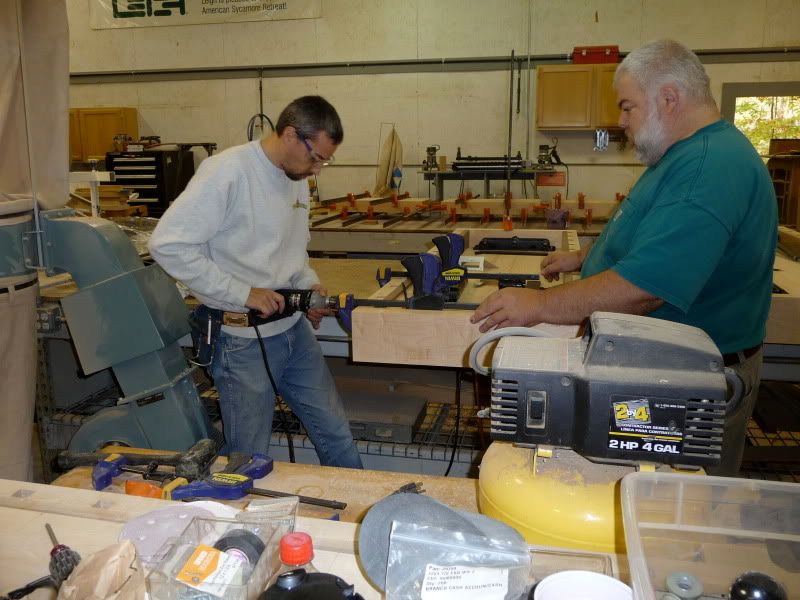
Next we got to drilling holes for the vises. A bit of set up happens before the drill actually comes out. 3 holes for each vise, so after 12 holes, we could finally move on.
Here I had just cut my tail vise to final width...I got lucky on my second try...Mike is admiring how well it lined up the the sides of the bench.
We then marked the center-point for holes in the end and side vises. Took them to the drill press, and drilled those 12 holes. After those were drilled, we marked and pre-drilled the holes for the vise hardware that gets attached to the underside of the bench and screwed those down.
Here is near the end of the day. Apparently we had also machined and glued up wood for the legs...you always start to forget to take pictures by day 3 or 4 of anything don't you?
DAY 5
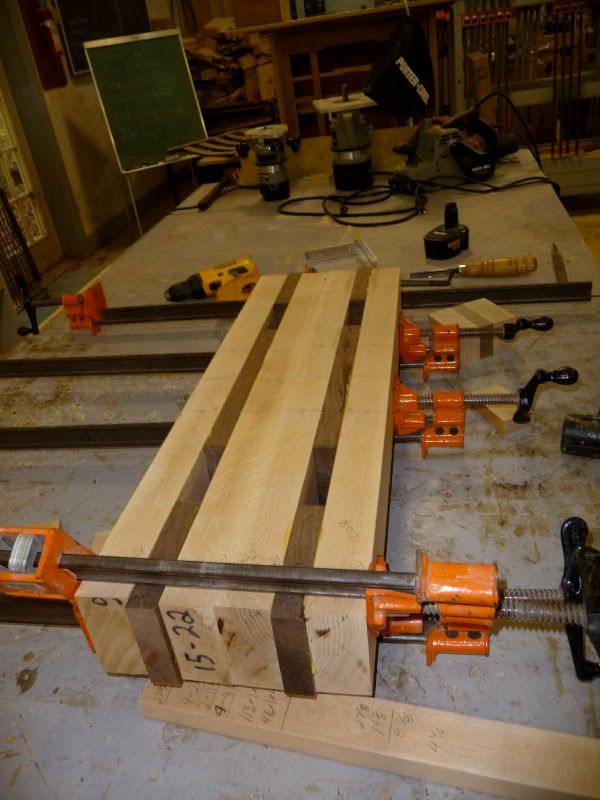
We worked on the base this day. In the picture below, you can see two feet glued up. The spaces are the mortises for the tenons that will be cut into the bottom of the legs.
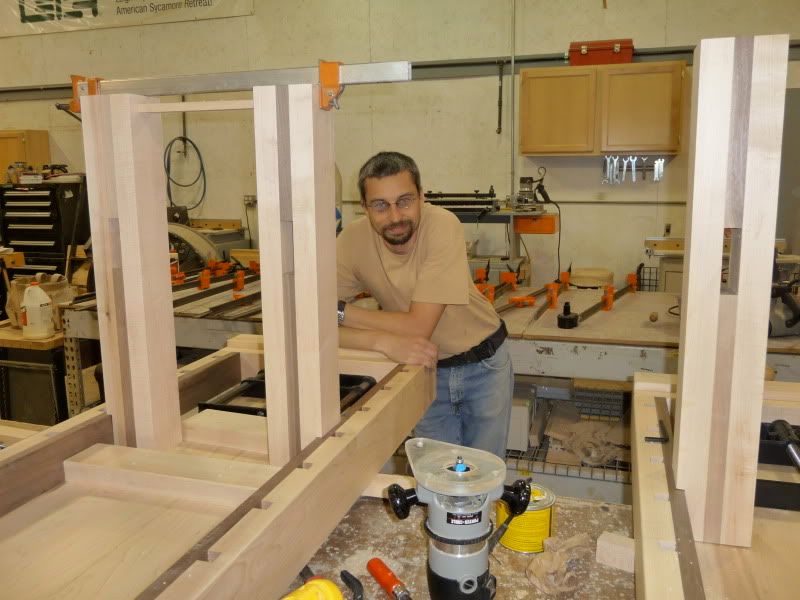
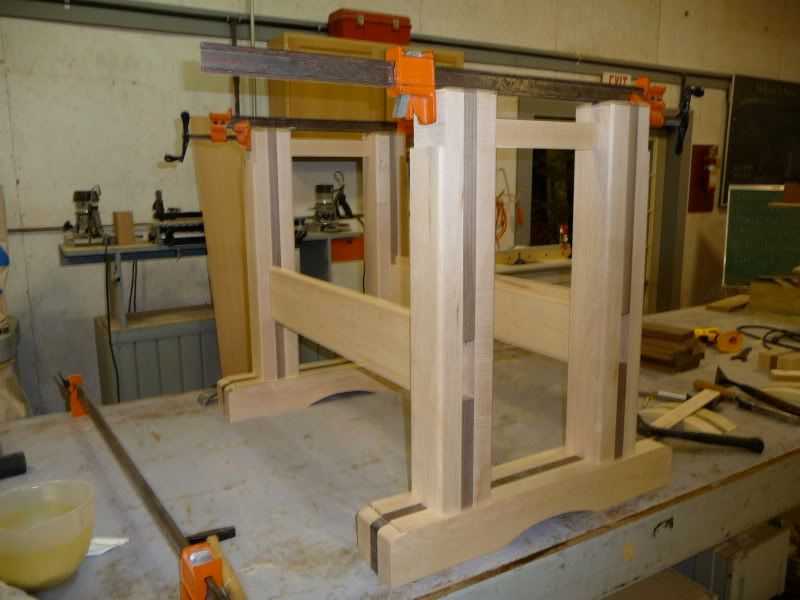
Here is the base dry fitted.
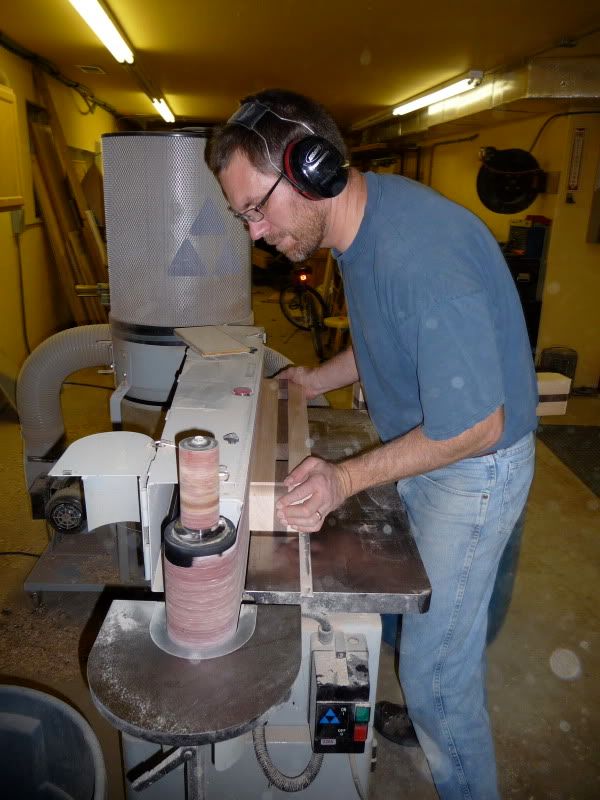
After cutting the legs to length, they were sent to the router table. Mike has a big profile bit that put a nice detail to the top of the leg...you can it here, Even is sanding the side of the foot on Mike's oscillating belt sander.
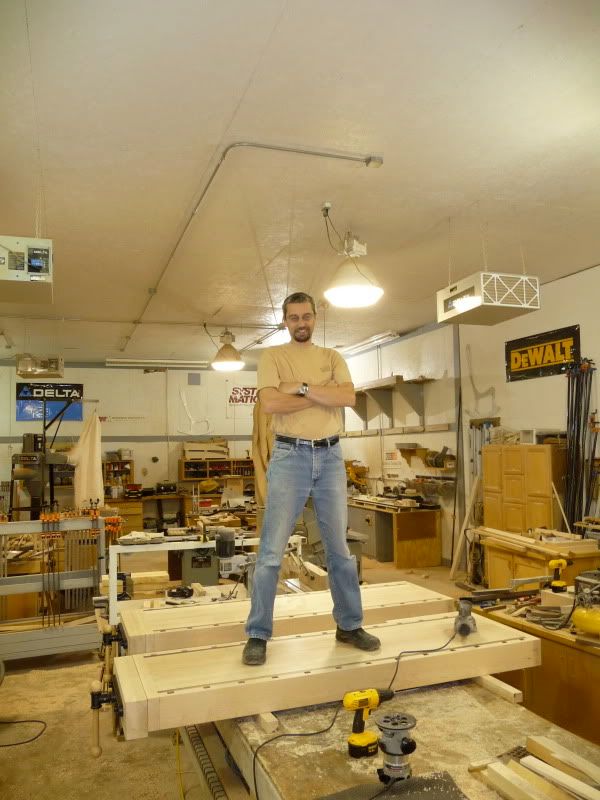
End of the day, we flipped over the bench tops...it's been a few days since we saw them. We were pretty proud of what we had done so far.
DAY 6
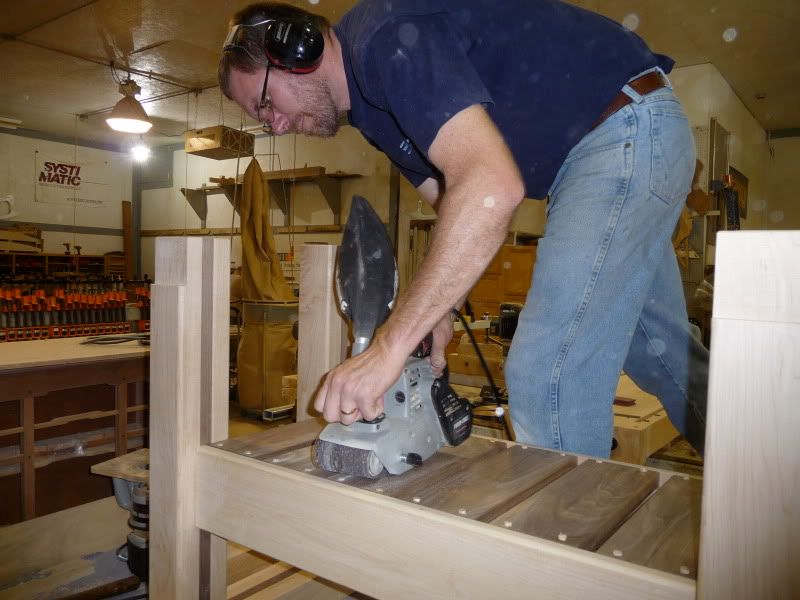
Last day. All the base pieces had been glued up so all that was left was machining some wood for the shelf. I guess I forgot to take any photos of the shelf stretchers...but how many times do you need to see jointing, planing, ripping, cutting the length? The only unique thing was cutting the tenons on the end. Table saw with a dado cutters. Nothing special. After machining the walnut for the shelf slats, the tops were rounded over (1/8") and then marked for pre-drilling. Drill press did the "heavy work" of the pre-drilling. Maple plugs were used on the walnut slats. Here you can see Evan touching up the tops of the shelf slats to match the top of the stretcher. (A 1" rabbit was cut for the slats to sit on.)
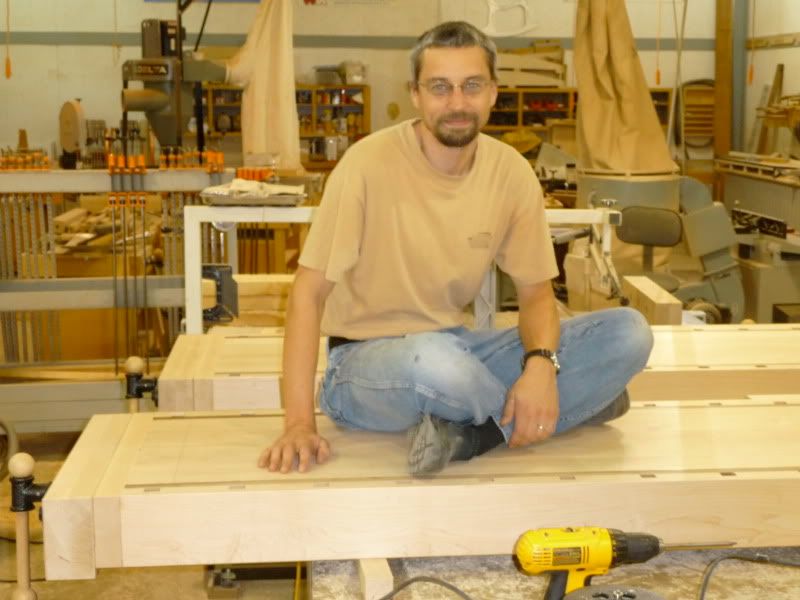
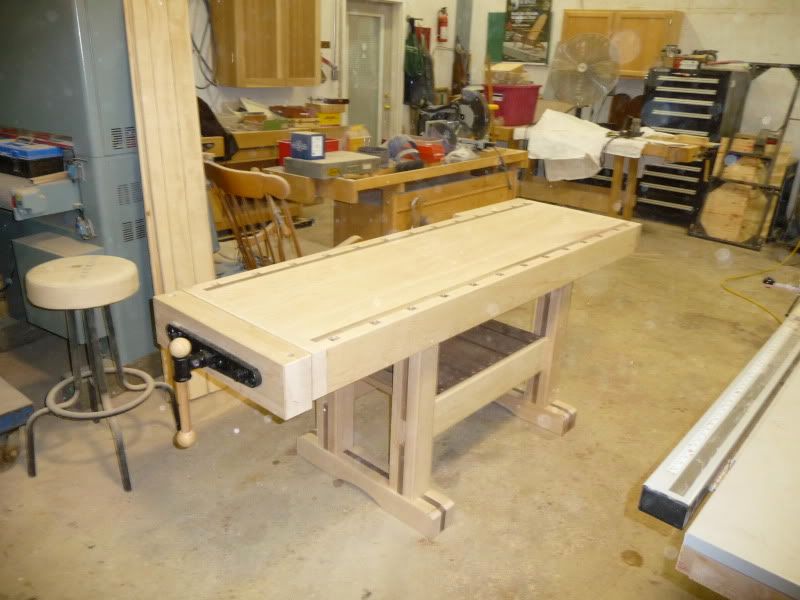
Here is my bench with the top on for the first time. All that was left was making the "end caps" that fill in the open side of the tenon in the legs. The tops and sides were sanded with many grits, until it was smooth as....you know what.
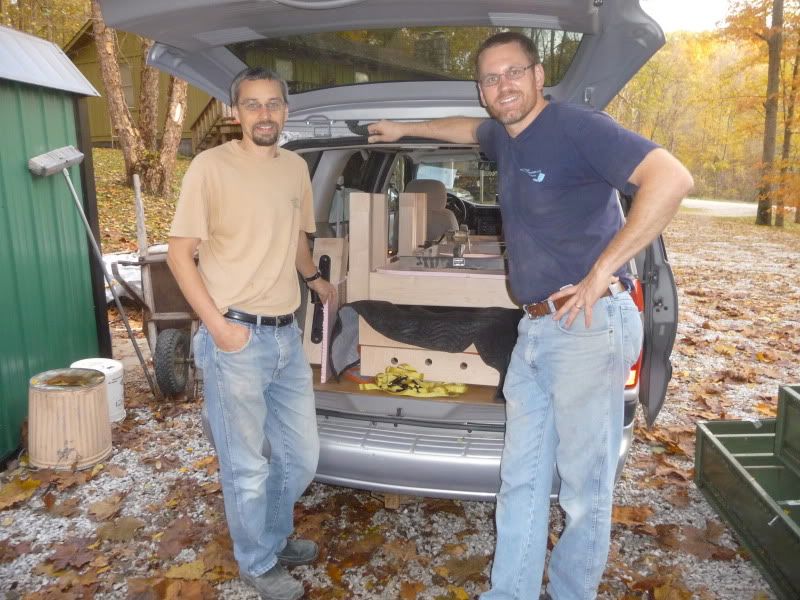
Here we are, benches loaded up and ready to go. We hung around the shop till about 7:30 chatting with Mike. I was sore after that week. Lots of heavy lifting for a desk jockey. But well worth it. I love the bench....but I suppose I should actually use it before I give the official thumbs up.
Incase anyone was wondering, the bench is 78" long, 81" if you include the jaw of the vise. 24" wide. Aprons are just over 5" and the top is 1 3/4" thick. The side and tail vises are 6" tall. The vise hardware is Rockler's 12" vise. The legs are about 4" square, the feet are about 4"x5" and 28" long. When I got it home I set the individual pieces on a bathroom scale. The overall weight is about 322 pounds. It is a very solid and stout bench. In the future I hope to add a board jack (like shaker style benches) and also add some drawer storage on that shelf in the base. Any ideas for the board jack would be greatly appreciated. Oh yeah, I'm still debating as to what finish to but on it. Any suggestions with pros and cons would also be appreciated. Happy building! Tis the season.
I know this is no Portsmouth Dressing Table, but a workbench to me is the "center" of the workshop. So it was very exciting to me to finally have a "real" workbench. And even better something that I built. Just felt like sharing with the great people here my experience, and encourage any else to tell the story of their bench.
DAY 1
This first photo of a stack of wood that is about how much is in each bench (110 bd ft of hard maple, 35 bd ft of walnut).
After jointing and planing the the rough lumber, we cut them all down to about 4" wide.
After selecting the boards we each wanted for our top, we marked for biscuits every 6". Then the "marathon" glue up. All hands on deck for these. The three of us had to work fast to get all the surfaces gooped with glue and then clamped....and then we did it again. That was the end of day 1.
DAY 2
Day 2 started with taking all the clamps off and then getting to work on the aprons. We selected 2 maple boards and 2 walnut boards. After machining those just like yesterday, we got ready to work with the plunge router. Mike has a 1" solid aluminum template made up for routing out the dog holes. Here you can see Evan working one of 26 for each bench. Tedious and repetitive work...it was a long day for me.
After all those were done, we marked for biscuits and glued the walnut to the maple...voila, you have instant dog holes.
DAY 3
Today we started with cutting the top glue-up down to it's final size. Multiple passes with a router...If it were up to me and Evan, we would have cut it slightly long using a portable saw and then just cleaned up the cut with the router...would have been much faster with the same results. But anyway.
Here you can see Evan cutting more biscuits to attach the apron to the top.
And here it is dry fitted together.
Here I am cutting my aprons down to final size. Must match the length of the top exactly! (well very close at least.)
After all that was fitted to the top, we glued them to the top.
Next we got started on the wood for the vises. Here is Evan face jointing a piece for his side vise. Two pieces are used to make the tail vise. They all get run through the planer, ripped to width on the table saw, and then glued up. Final planing is done the next day to clean up the glue and get them to final width and length. We also had to make the end aprons. These were all done at the same time with the vises.
DAY 4
Day 4 - Cleaning up and refining the cuts on the miter saw.
Next we got to drilling holes for the vises. A bit of set up happens before the drill actually comes out. 3 holes for each vise, so after 12 holes, we could finally move on.
Here I had just cut my tail vise to final width...I got lucky on my second try...Mike is admiring how well it lined up the the sides of the bench.
We then marked the center-point for holes in the end and side vises. Took them to the drill press, and drilled those 12 holes. After those were drilled, we marked and pre-drilled the holes for the vise hardware that gets attached to the underside of the bench and screwed those down.
Here is near the end of the day. Apparently we had also machined and glued up wood for the legs...you always start to forget to take pictures by day 3 or 4 of anything don't you?
DAY 5
We worked on the base this day. In the picture below, you can see two feet glued up. The spaces are the mortises for the tenons that will be cut into the bottom of the legs.
Here is the base dry fitted.
After cutting the legs to length, they were sent to the router table. Mike has a big profile bit that put a nice detail to the top of the leg...you can it here, Even is sanding the side of the foot on Mike's oscillating belt sander.
End of the day, we flipped over the bench tops...it's been a few days since we saw them. We were pretty proud of what we had done so far.
DAY 6
Last day. All the base pieces had been glued up so all that was left was machining some wood for the shelf. I guess I forgot to take any photos of the shelf stretchers...but how many times do you need to see jointing, planing, ripping, cutting the length? The only unique thing was cutting the tenons on the end. Table saw with a dado cutters. Nothing special. After machining the walnut for the shelf slats, the tops were rounded over (1/8") and then marked for pre-drilling. Drill press did the "heavy work" of the pre-drilling. Maple plugs were used on the walnut slats. Here you can see Evan touching up the tops of the shelf slats to match the top of the stretcher. (A 1" rabbit was cut for the slats to sit on.)
Here is my bench with the top on for the first time. All that was left was making the "end caps" that fill in the open side of the tenon in the legs. The tops and sides were sanded with many grits, until it was smooth as....you know what.
Here we are, benches loaded up and ready to go. We hung around the shop till about 7:30 chatting with Mike. I was sore after that week. Lots of heavy lifting for a desk jockey. But well worth it. I love the bench....but I suppose I should actually use it before I give the official thumbs up.
Incase anyone was wondering, the bench is 78" long, 81" if you include the jaw of the vise. 24" wide. Aprons are just over 5" and the top is 1 3/4" thick. The side and tail vises are 6" tall. The vise hardware is Rockler's 12" vise. The legs are about 4" square, the feet are about 4"x5" and 28" long. When I got it home I set the individual pieces on a bathroom scale. The overall weight is about 322 pounds. It is a very solid and stout bench. In the future I hope to add a board jack (like shaker style benches) and also add some drawer storage on that shelf in the base. Any ideas for the board jack would be greatly appreciated. Oh yeah, I'm still debating as to what finish to but on it. Any suggestions with pros and cons would also be appreciated. Happy building! Tis the season.
 A great tutorial as well.
")


