Jeff Horton
Member
- Messages
- 4,272
- Location
- The Heart of Dixie
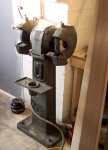
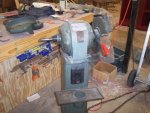
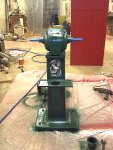
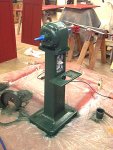
Well, had the day in the lab and got tired of watching paint dry. Decided it was time to start on the Grinder. Since I have the VFD and cleaning up wouldn't create dust I figured I could work on it. It shouldn't take but 2 or 3 days since it really just needs cleaning and painting.
Had it torn down in about an hour. Only hard part was getting one guard off. It was the broken one. I suspect this grinder was being moved and they lost it. It's obvious it has a high center of gravity and it's heavy enough if you lean it over to far it going to fall. One man... well an average man couldn't stop it once it started. I have to be very careful moving it around by myself.
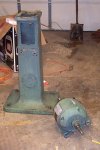
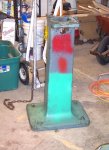
I have it torn down and pretty well cleaned. Turns out it was green! I bought some paint I thought was burgundy but it's really red. Not sure I like it either. I am debating if I want to go back and see what else they have. They did have a green I was tempted by, so it may go back green. But no KERMIT green.

Tomorrow it going to be FRIGGED for us. So I am going work on cleaning the parts and and see if I can't get this painted tomorrow.
Jeff
Had it torn down in about an hour. Only hard part was getting one guard off. It was the broken one. I suspect this grinder was being moved and they lost it. It's obvious it has a high center of gravity and it's heavy enough if you lean it over to far it going to fall. One man... well an average man couldn't stop it once it started. I have to be very careful moving it around by myself.
I have it torn down and pretty well cleaned. Turns out it was green! I bought some paint I thought was burgundy but it's really red. Not sure I like it either. I am debating if I want to go back and see what else they have. They did have a green I was tempted by, so it may go back green. But no KERMIT green.
Tomorrow it going to be FRIGGED for us. So I am going work on cleaning the parts and and see if I can't get this painted tomorrow.
Jeff

