glenn bradley
Member
- Messages
- 12,071
- Location
- SoCal
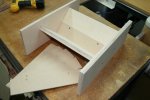
I decided to use the Box Swap as an excuse to make a more rugged version of my miter key slot cutting jig. First I apply a little "what-if" work in Sketch Up:

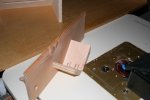
I take one of the horizontals and drill a couple 5/16" holes that I will connect with the router table and some stop blocks:


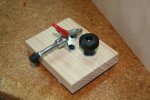
Without changing the fence or stop positions, swap bits and cut the trough for the t-bolt that will secure the clamping block. I use the same bit to make the large rabbet that will accept the ZCI:
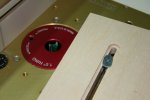

I want to be able to replace parts as they get worn out so I join the two horizontals with a spline. I center the height on the thinner part and reference the surface of the mating part so that things line up. The stacked featherboards help keep the piece run through on edge stable and safe:


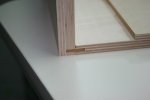
When I make things like replaceable inserts, ZCI's or custom backer boards, I always make a few extra. It takes only a few minutes longer than making one. This way when the item I am using fails at the worst possible moment (like there's a good one?) I just grab one of the ready-mades and get back to work:
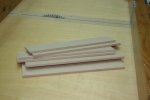
Just a few more . . . .

I take one of the horizontals and drill a couple 5/16" holes that I will connect with the router table and some stop blocks:


Without changing the fence or stop positions, swap bits and cut the trough for the t-bolt that will secure the clamping block. I use the same bit to make the large rabbet that will accept the ZCI:


I want to be able to replace parts as they get worn out so I join the two horizontals with a spline. I center the height on the thinner part and reference the surface of the mating part so that things line up. The stacked featherboards help keep the piece run through on edge stable and safe:


When I make things like replaceable inserts, ZCI's or custom backer boards, I always make a few extra. It takes only a few minutes longer than making one. This way when the item I am using fails at the worst possible moment (like there's a good one?) I just grab one of the ready-mades and get back to work:

Just a few more . . . .
Last edited:

