Alex Reid
Member
- Messages
- 739
- Location
- Zushi, Japan
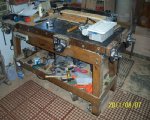
Love the joinery on the legs. Wonderful job.
After some time with the workbench/SawStop set up I built a while back, I've decided that it just don't work.
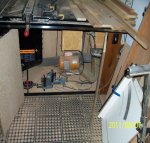
Here you can see the old set up.....
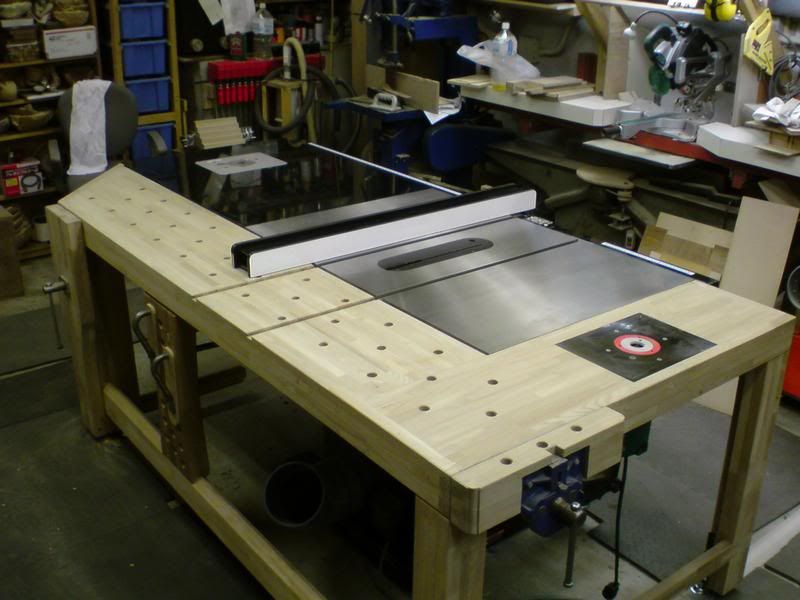
I thought this was a good idea at the time, I was wrong, it does not work well.
It is too big, it takes up too much space, and I can only work from one side of the workbench, and each time I want to use the saw, I have to clear the whole thing off, don't work well...
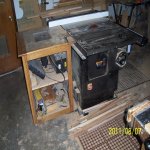
I decided that I want the saw turned so the cutting direction is on the long axis of the workshop and I want a separate workbench.
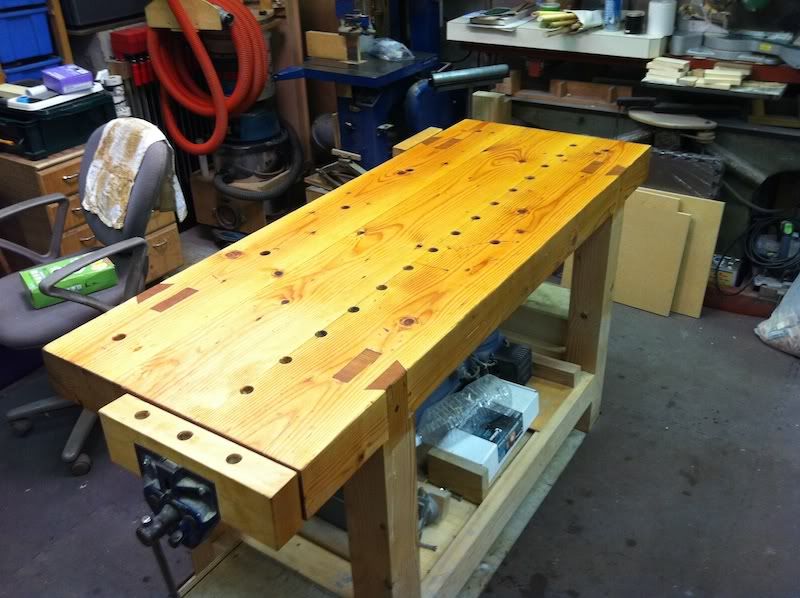
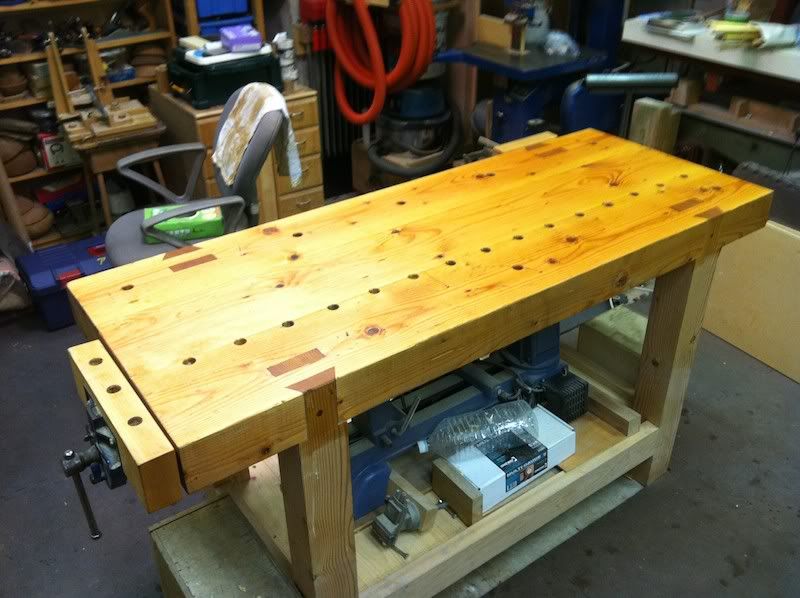
I trimmed the rails down to 162cm/63" this should be an OK width, I had to cut down the extension table with the router insert as well.
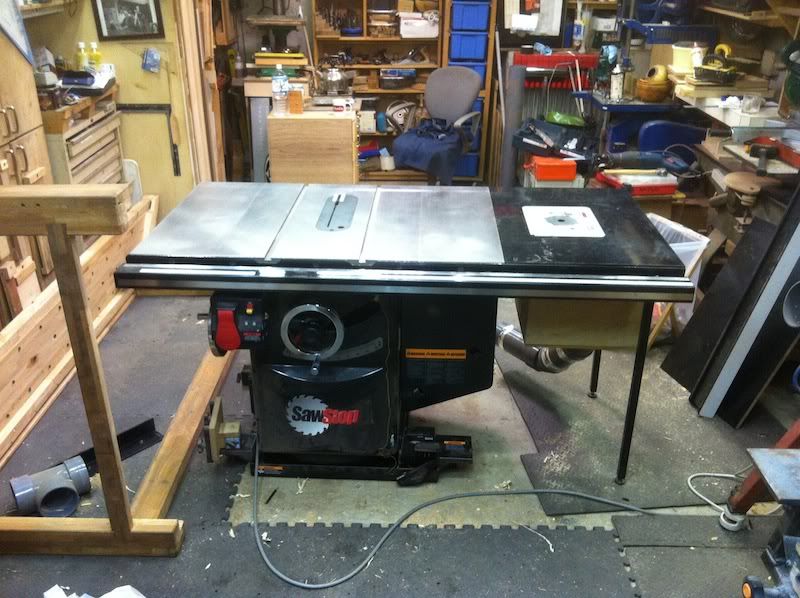
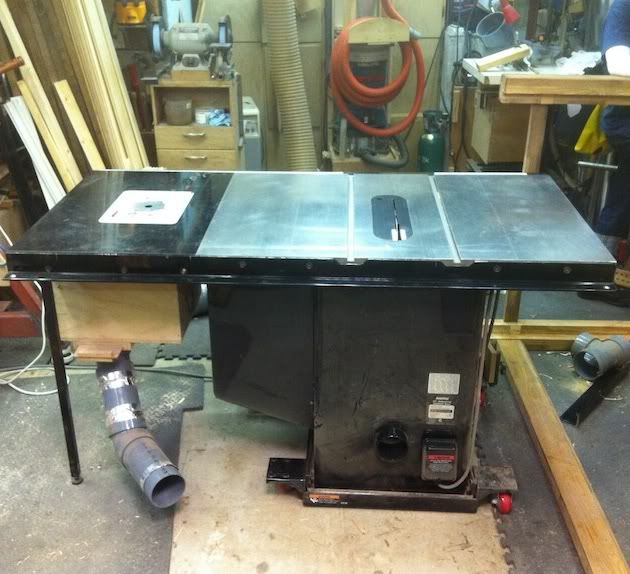
One of the other reasons I was doing this was the DC on the SawStop just did not work well, I figured with a direct shot to the saw from the 6" hose it would work better, I'm sure it will, as this is what I found in the 4" DC pipe next to the saw.....
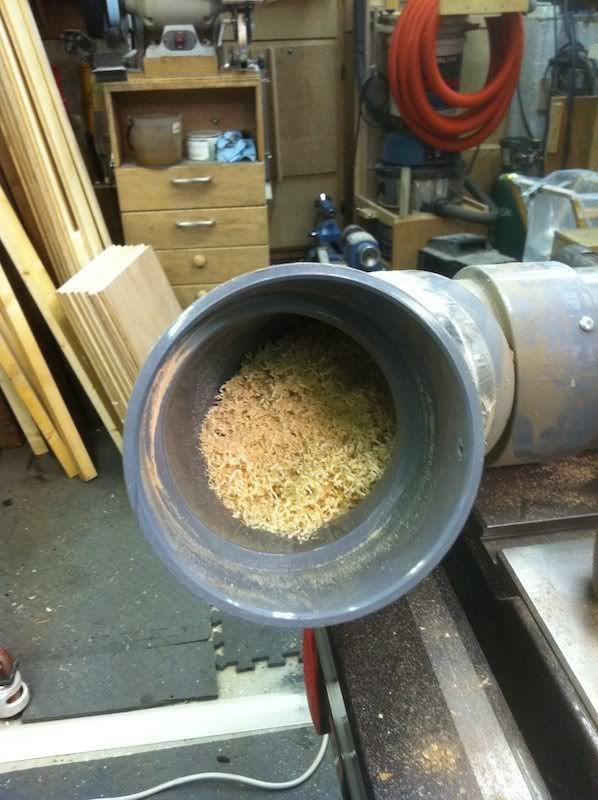
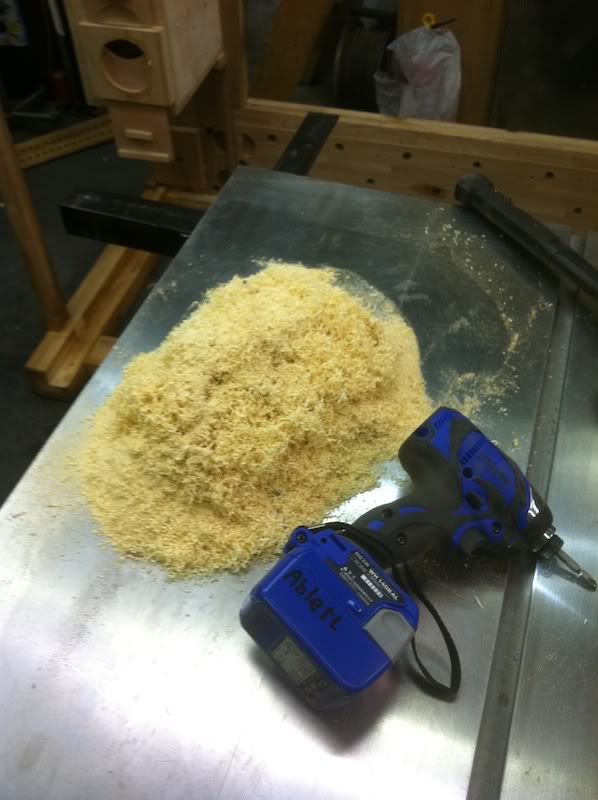
Yep, that pile of dust
No wonder the DC sucked on the saw
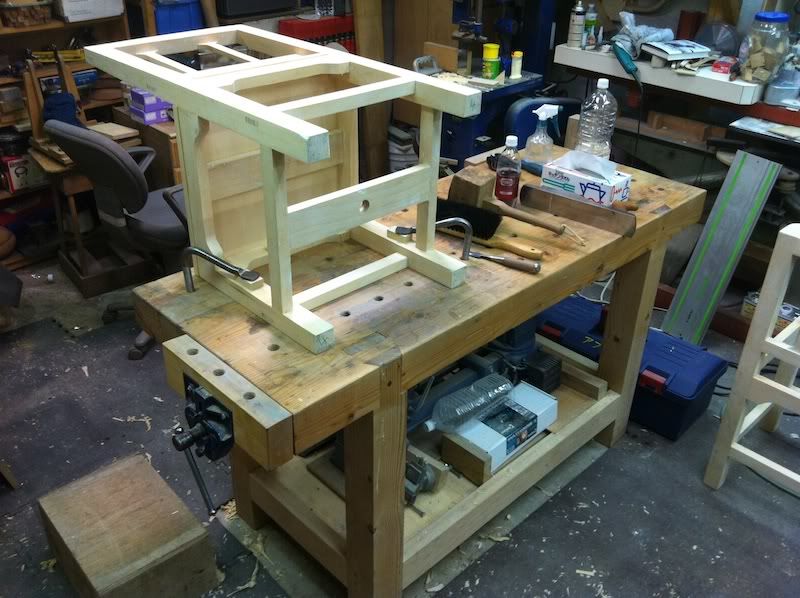
I have the SawStop basically done, now I need to buy the wood to make my workbench.
I'm going to make a Roubu or French workbench as described by Christopher Schwarz in his "The Workbench Book", like this......
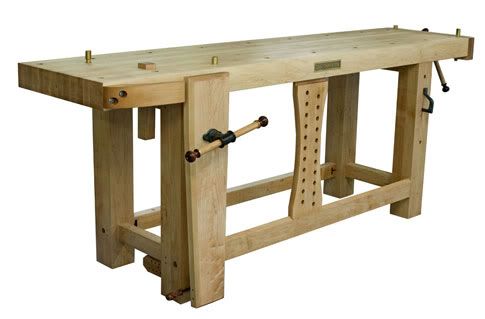
He recommends Southern Yellow Pine, but I cannot find it here, to make a truly heavy duty bench out of say Maple here would cost me a lot, a WHOLE lot.
One wood that is close to SYP is Douglas Fir, and I found some!!
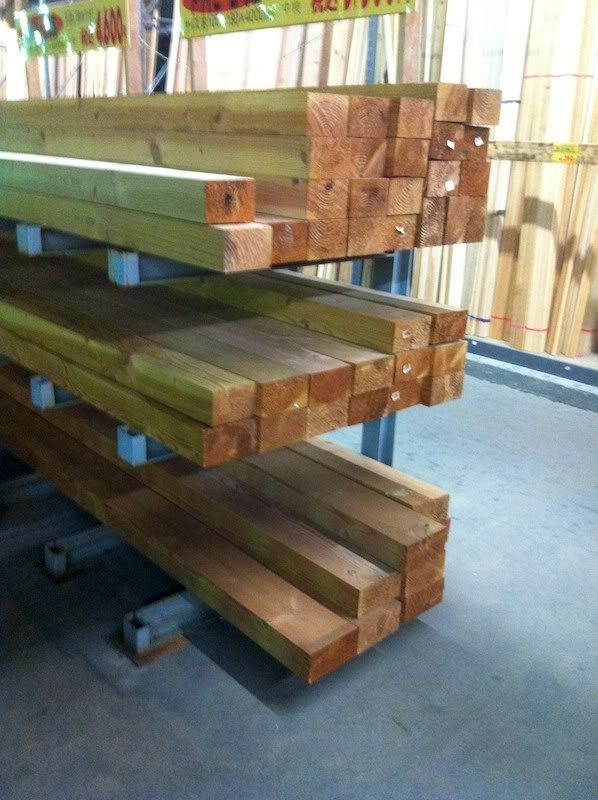
These are meant to be ridge beams, the top ones in this stack are 4" x 6" by 13' long and cost about $50 each, I think my workbench should be about 24" wide, so 4 of these beams laid side by side will be close to that, and a squared off piece for each leg, I should be good to go!
Should be quite the bench......
 I think what caught you by surprise is that Stu's post was included (or 'Quoted') in your post. That's because you clicked the "Quote" button at the bottom of Stu's original post. If you want to comment without including another person's text and pictures, click the "Reply" button instead.
 ")
You did fine Gene. Great post and good advice.
The thread is still under Stu's name, but your name was showing up as the most recent person to post in the thread.