More Dog Holes - Better Pics

glenn bradley

Member
Messages
11,548
Location
SoCal
Stop me if you've heard this one . . . "I decided I needed more dog holes . . . "

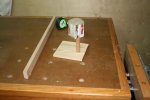
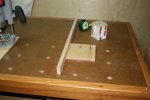
I figured out that my current project would go easier if I had more hold down locations on the bench so I took about an hour after work and added some. I've used several methods and I'm sure some work better than others in different materials. I use my Vari-o-Dog and a piece of 5/8" scrap to assure a consistent offset. This is of course much easier once you already have a set of holes to use as a guide.
More Dog Holes 1.jpg More Dog Holes 2.jpg

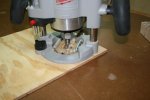
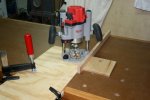
I use a router and a precision locating jig (read "a board") for a nice clean entrance hole. The vac hook up really keeps the chips down. I finish the hole with a backer board and a big ole brad point bit.
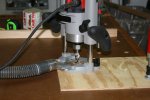
More Dog Holes 3.jpg More Dog Holes 4.jpg

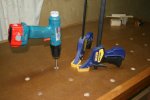
Clamping on a backer board to avoid blowout is easier once you have some existing holes too. There, another dozen holes ought to do me for awhile.
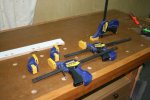
More Dog Holes 5.jpg More Dog Holes 6.jpg
 
Last edited:
Glenn,

You usually give very clear, easy to follow, explanations. I think you need to show how you keep distance from bench edge uniform better. I think you need to explain the clamps a bit also.

As you know I have done the same technique. I was taught by the master---you. If a person understands it, it is a great technique and easier than you indicate.

Doggone it is nice to indicate improvement to you. You are always helping me and telling me how to do it better. I just had my chance to get even.

Enjoy,
Dad
 
Glenn i broke that ice a while back after procrastinating for ages. Even though i poped em everywhere i still seem to come up short with no hole where i need it.:rofl:

If you dont have a set of those gramercy hold downs i highly recommend them. They trully are amazing.:thumb:
 
well i too would like to know first of all what bit is that you have in the router and second, how do you use those clamps with out the ends on them in the dog holes,, you must have something under neath to keep them from pulling back up???? keep him on track Jim he isnt completely trained yet:)
 
The only thing I do differently is drill the hole at a slight angle. Instead of drilling them at 90 degrees to the surface I make a jig that allows me to drill the holes tilted a couple of degrees in the direction from which the pressure is expected to be applied.
 
Better Pics

You usually give very clear, easy to follow, explanations.

OK, As promised (read in a "Terminator" voice) "I have detailed files".

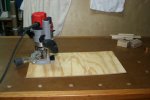
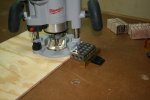
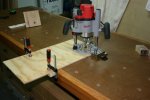
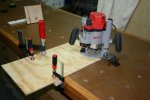
Here is the router mounted to the piece of plywood and a view from underneath.

dog holes explained 001.jpg dog holes explained 002.jpg

Position the router over your target mark or, as in my case over an existing hole and lower the bit to hold the position. Use something that fits in the previous dog hole and some other reliable item to act as a spacer for that distance (remember, we are using existing dog holes here).

dog holes explained 003.jpg dog holes explained 004.jpg dog holes explained 005.jpg

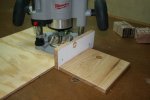
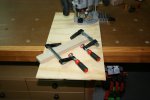
With the router and board in this known position, clamp on a piece of scrap tight against the edge of your workbench top.

dog holes explained 006.jpg dog holes explained 007.jpg dog holes explained 008.jpg

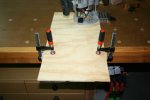
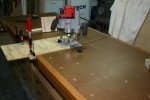
Raise the router and slide the board,s crap and clamps down a ways past where the next dog hole will go. Move your spacer assembly down to the hole we first had the router bit dropped into to set up the spacers,s crap and clamps.

dog holes explained 009.jpg dog holes explained 010.jpg

cont'd ....
 
Last edited:
I add an additional clamp to make sure nothing wanders and plunge the top half of the new dog hole. Repeat as required.

dog holes explained 011.jpg dog holes explained 012.jpg

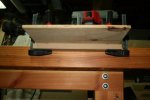
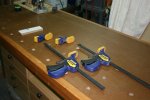
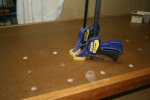
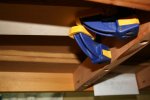
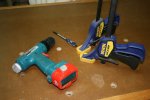
Once the tops of all the new dog holes are plunged, I add a backer board before drilling the through-holes. Take the heads off your clamps and drop the headless bars through the two holes closest to the new half-hole.

dog holes explained 013.jpg dog holes explained 014.jpg

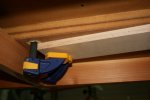
Put the heads on underneath the workbench top and clamp a piece of scrap in position to act as a backer board.

dog holes explained 015.jpg dog holes explained 016.jpg

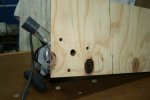
Now take the 3/4" drill bit of your choice and finish the hole by drilling through the bench top into the backer board. Repeat as required.

dog holes explained 017.jpg dog holes explained 018.jpg

P.s. you can see where I blew out a little when the clamp slipped and let the backer escape. If you had better clamps than the Quick-Grips to do this with, I'd use them.

The only thing I do differently is drill the hole at a slight angle. Instead of drilling them at 90 degrees to the surface I make a jig that allows me to drill the holes tilted a couple of degrees in the direction from which the pressure is expected to be applied.

I use a lot of shop made and after market accessories that expect the holes to be perpendicular to the top. I do have some of my first holes at a bit of an angle but got stymied by this and went to straight. I angle the face of the dogs a bit instead.

121
 
Last edited:
Top