
- Messages
- 36,134
- Location
- ABQ NM
Things have been a bit slow around the forum, so I figured I'd dig through some of my shop photos and see if I could find anything interesting to post. (Since my shop's 800 miles west of me, looking at pics has to substitute for real shop time.) 
This is an ash bowl I roughed out a couple of years ago. It appears I only got photos of prepping the blank and roughing the outside (well, and the finished shots), but I think it's still an interesting series of photos. I showed a few of these back then, but not the whole sequence.
This is one of several large blanks I slabbed with a chainsaw out of some wood I got for free at the nearby firewood lot that was closing. They just opened the gates and put up a "Free Wood" sign. I ended up with some nice large sections of nearly-dry ash. None of the other people grabbing wood wanted them because they were too big to load. It was one of those times the lift gate on my truck came in very handy.
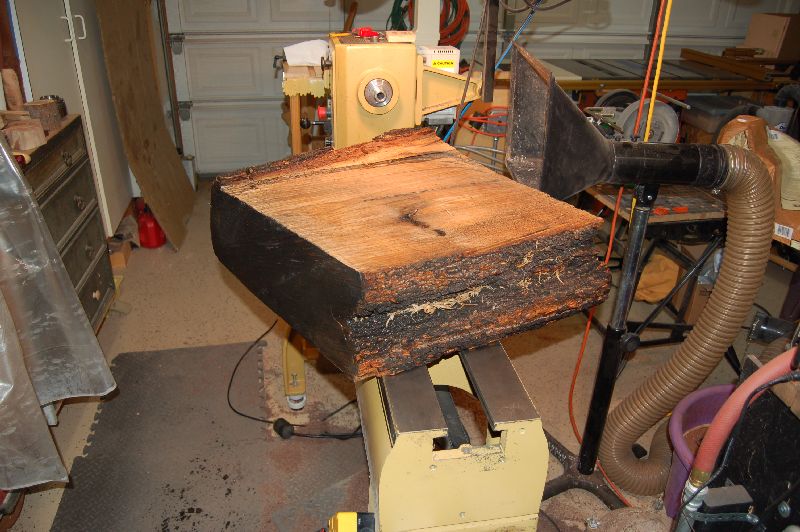
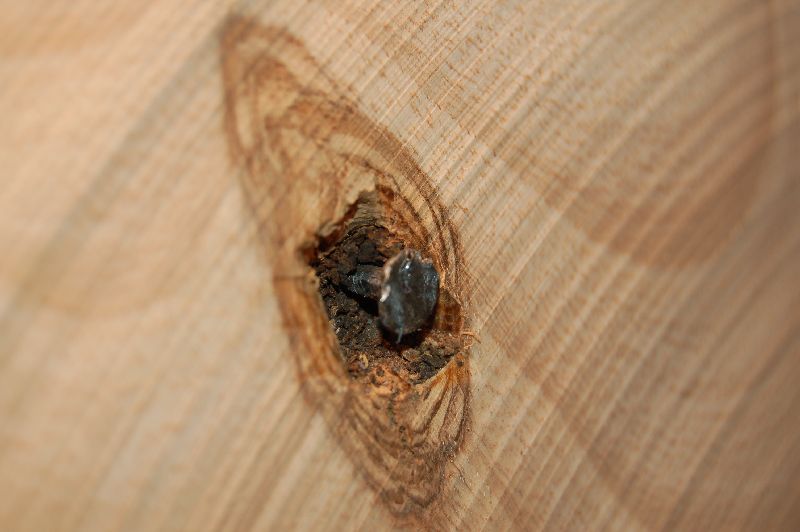
In the process of cutting it with the chainsaw, I did discover a bit of a problem:
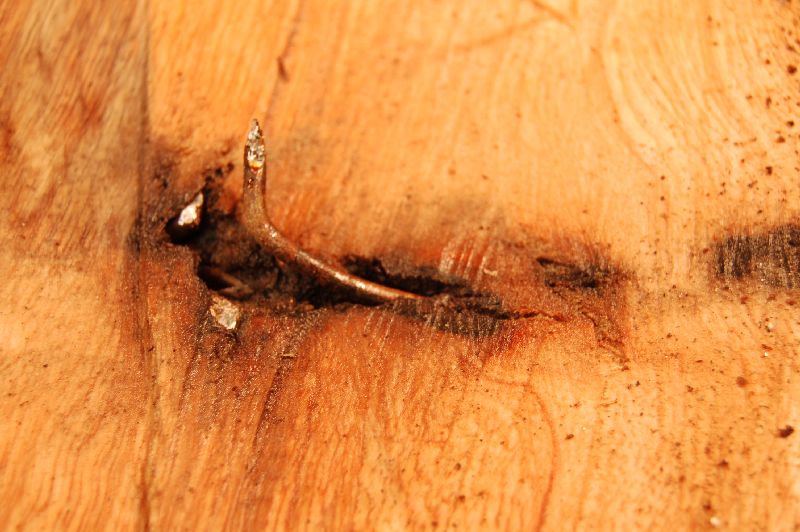
My Stihl metal detector had struck gold. Or steel. Whatever. Somewhere along the line, the tree had grown around a wire fence and also picked up a nail or two. A mining expedition was in order:
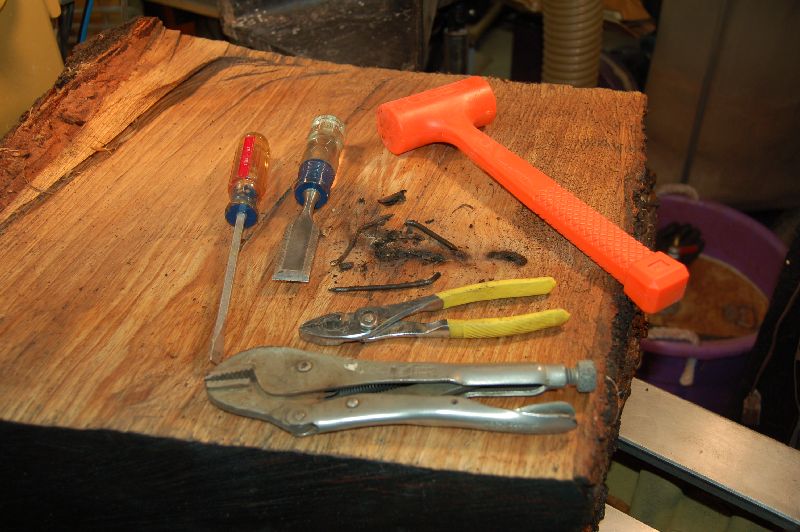
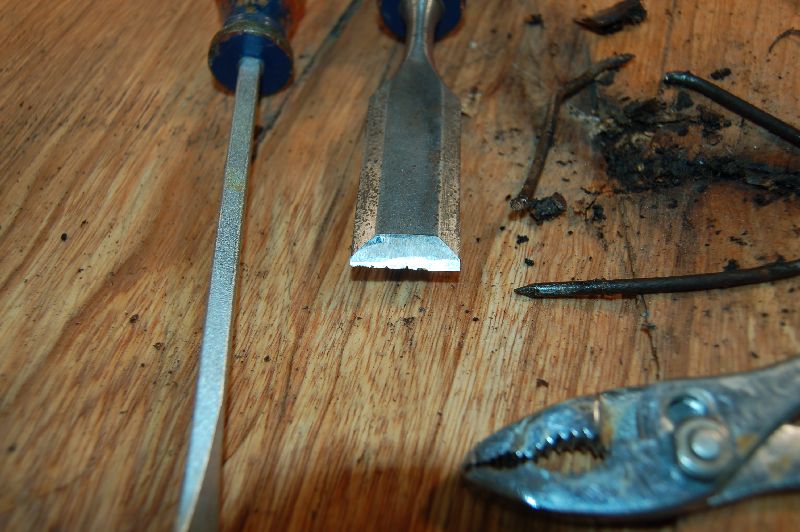
After a bit of digging, I was able to get out all the metal. And before anyone jumps too hard on me for using a chisel to dig out wire and nails, let me say that is one of my beater chisels. The goods ones were safely in the drawer. Good thing, too, because the chisel needed a trip to the Tormek after I was done:
After that was done, I used my real metal detector to make sure I had found all the metal. It came up clean.
Next step was to mark out a circle. I don't bother trying to get real accurate when I mark the circle. The lathe will make everything round in the end, so why bother worrying about it now? I used a compass to scratch a line in the wood, then sketched over the line with a lumber crayon.
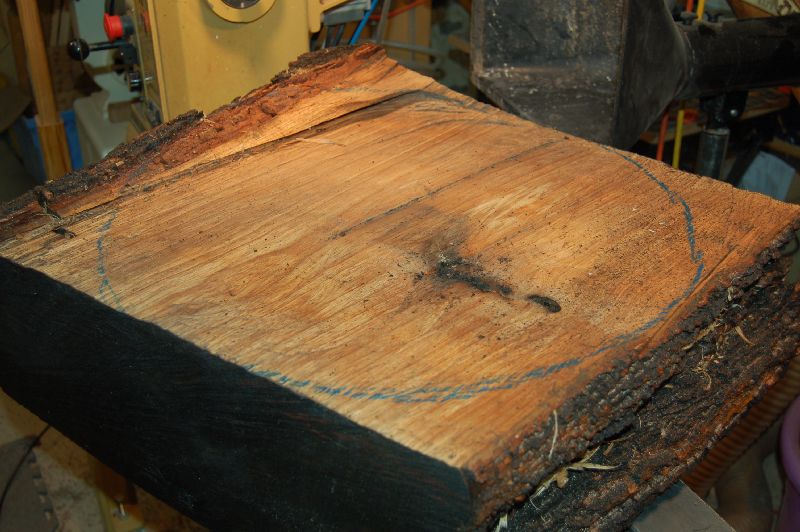
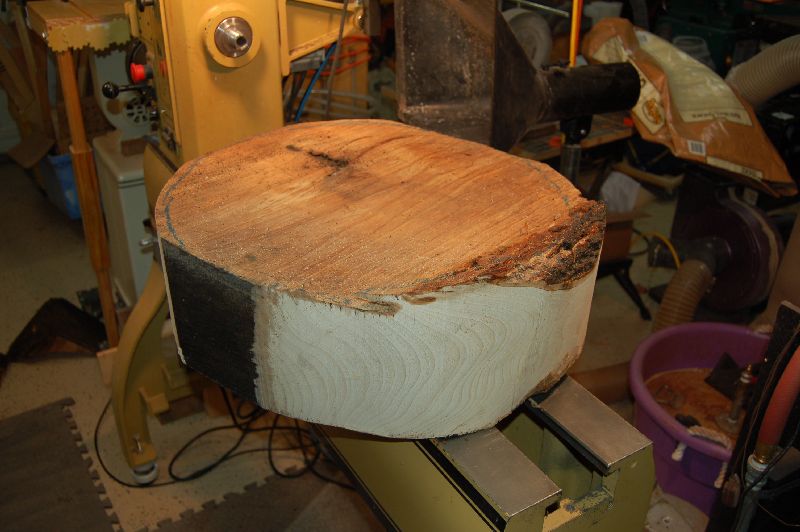
A quick trip to the bandsaw, and here's the result. As you can see, I only used the blue line as a suggestion, not an order. When I'm wrestling a 75 pound blank on my bandsaw, I'm not shooting for laser accuracy. (I'm also guessing my blade was getting dull, because normally I would have followed the line a bit closer.)
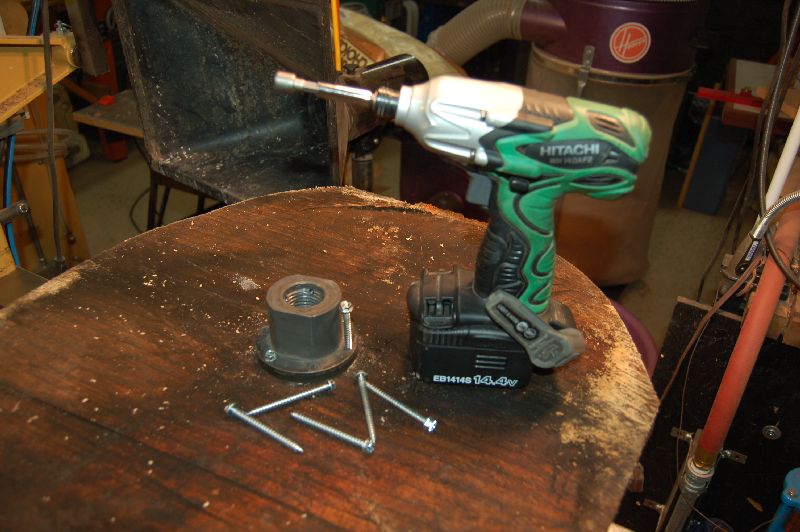
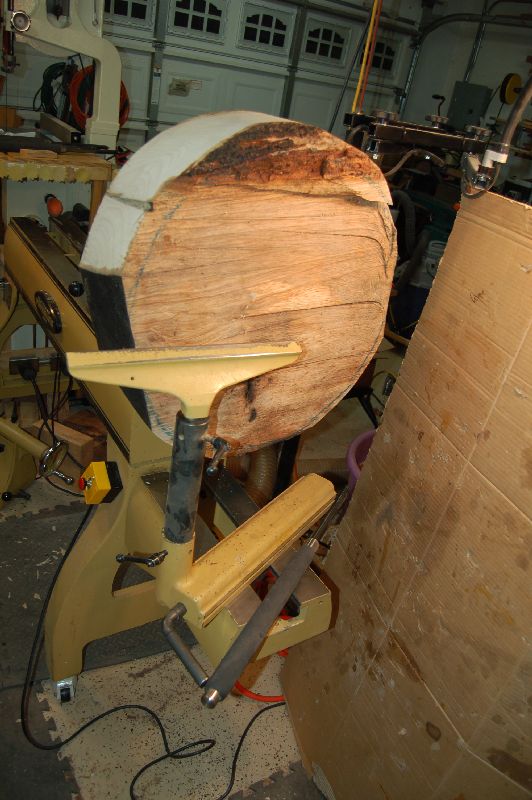
Next up, the faceplate, impact driver, and some hex head sheet metal screws (2 1/4" or so, as I recall). No pilot holes...just drive them puppies in. I used the steel faceplate that came with my lathe. I use aluminum faceplates more than I use the steel one, since they don't rust when in contact with wet wood, but this blank was pretty heavy and wanted a bit more beef. Plus, as dry as this wood was, I wasn't too worried about rust. There was a discussion here recently about faceplate sizes. For the record, this is a 3" faceplate on a 24" or so blank.
The blank ended up big enough that I had to slide the headstock on my lathe to the end of the bed and use the dropped extension bed for the banjo and toolrest.
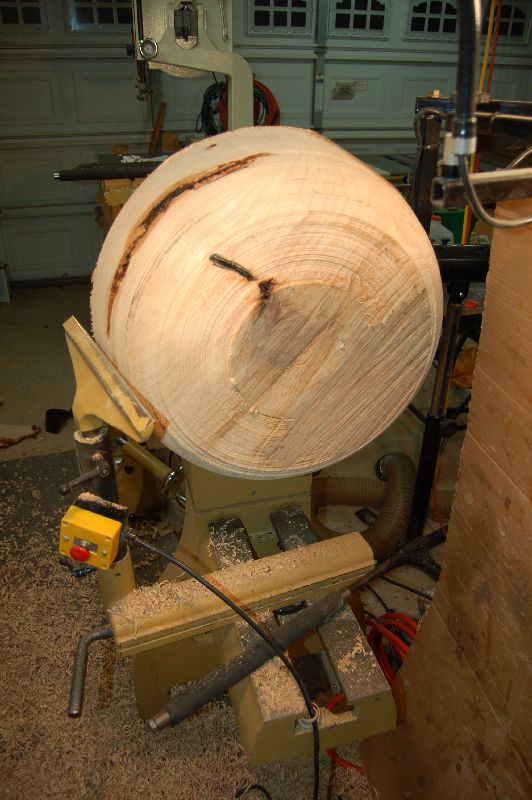
Slowly but surely getting things round. Good action shot of the remote On/Off switch too. I would hate to use a big lathe without one:
This bark inclusion on the side of the blank will ultimately get turned away by the time I get the form I'm looking for:
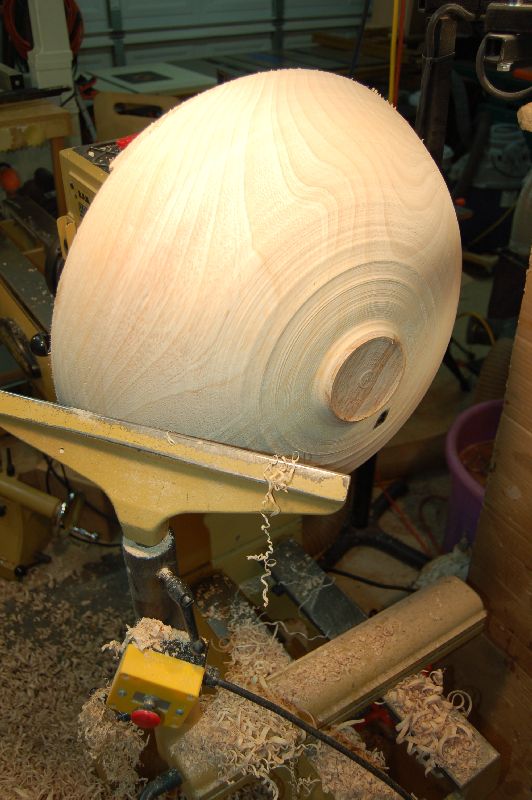
More roundy-roundy...starting to take shape and getting the tenon formed on the bottom:
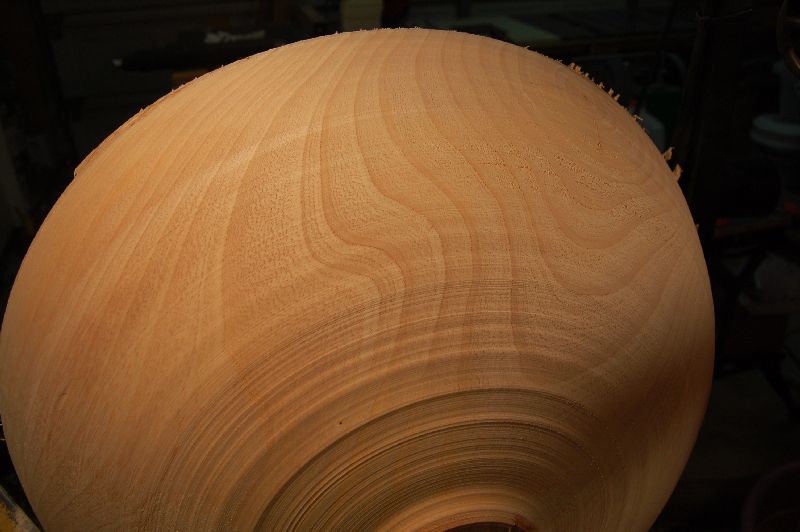
The figure in this blank is looking promising:
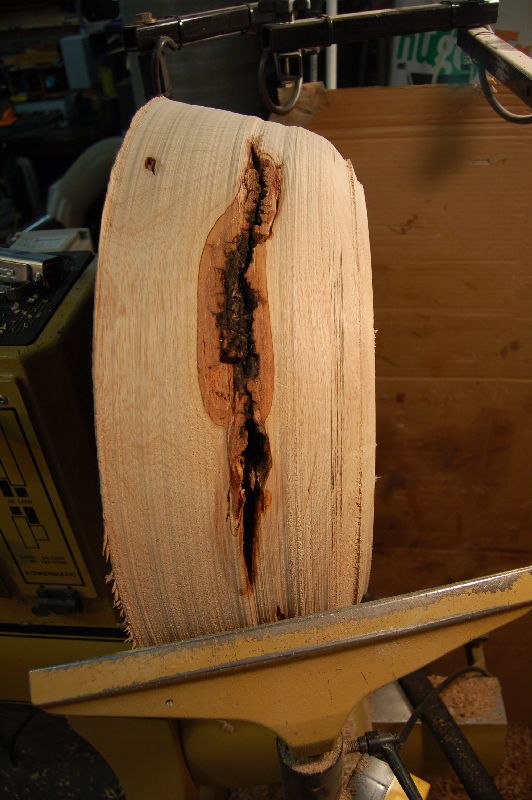
Unfortunately, there's a checked knot that I decide I don't want on the side of the bowl, so it looks like the bowl will lose a fair bit of depth and diameter when I turn the inside:

Nonetheless, I'm making a fun mess:
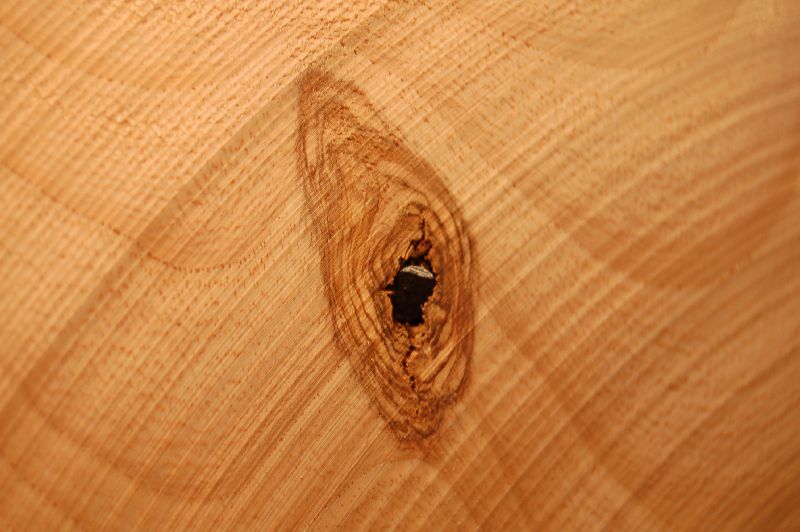
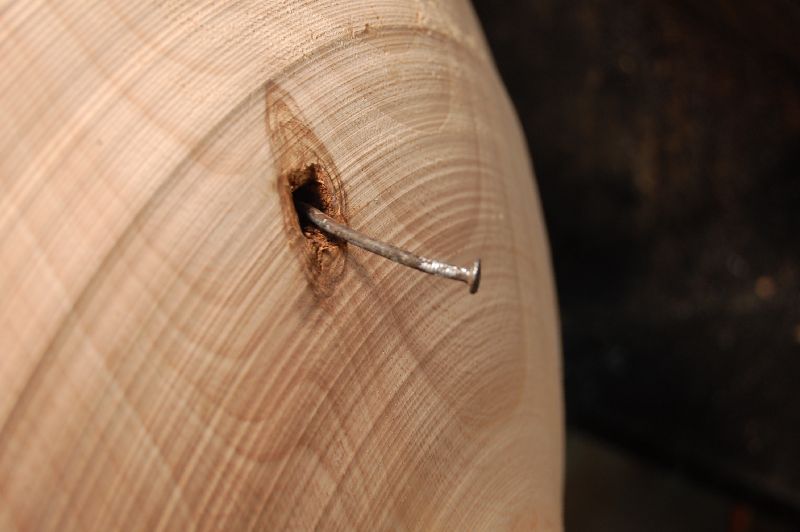
But pretty soon, I noticed a tick-tick-tick sound as I was cutting the wood. This can't be good. There's a shiny spot in one of the traces of the bark inclusion:
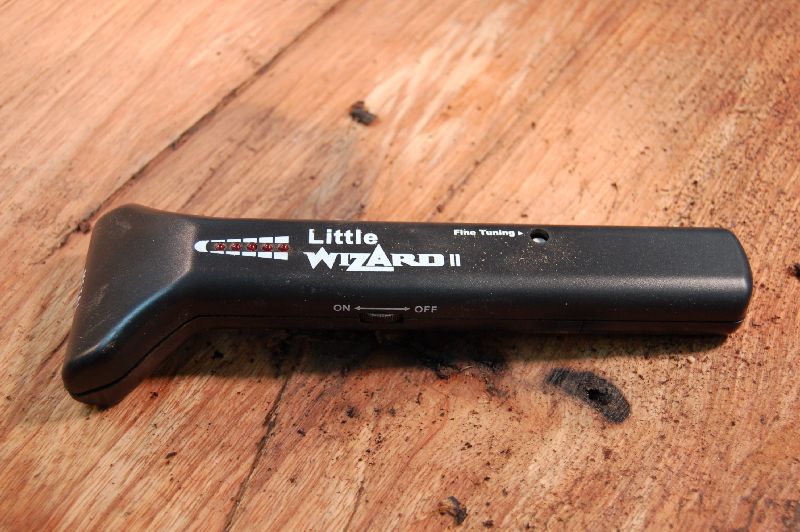
What the Little Wizard metal detector had missed, the Thompson Tools detector had found with no problem. Another nail:
Yup, it's a nail alright:
It came out more easily than the wire did, though:
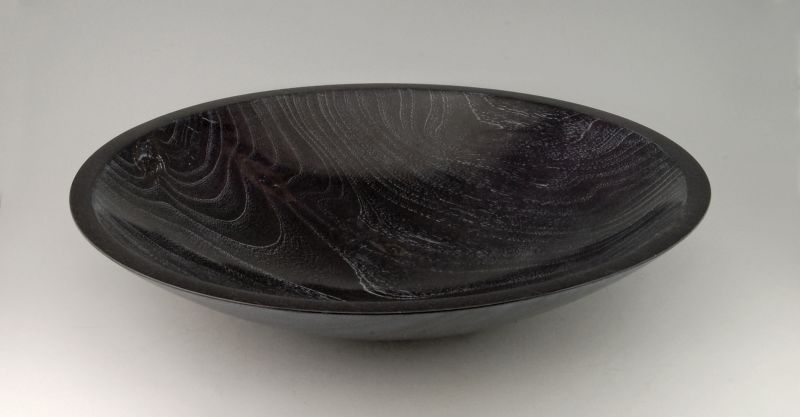
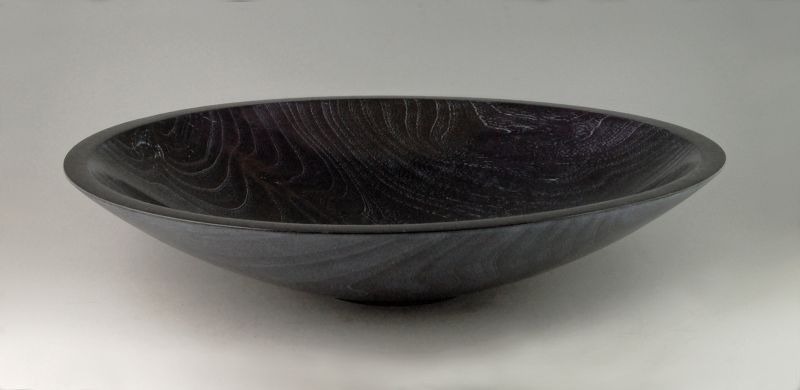
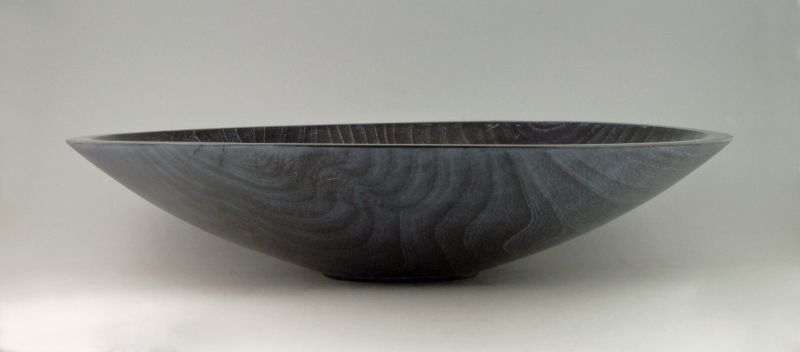
At that point, I apparently stopped taking progress photos. I finished turning the outside of the bowl including the tenon, mounted it in the chuck and hollowed the inside. I also turned away the checked knot that I showed above, which made the bowl quite a bit smaller. (Nothing in the rule book says the bowl has to be the same size as the blank you start with. I like turning wood with natural flaws, but if there're in a spot that I don't think will look good, I get rid of them if possible.) By the time I got the bowl finish turned, there were a couple of inclusions and holes that I decided to fill with black epoxy. I wasn't real happy with the way that looked when it was done, so I went ahead and dyed the whole thing black and finished it with Formby's Tung Oil Blend. Then I used liming wax to highlight the grain, followed by a coat of Renaissance wax. Since this wood was already fairly dry, I turned it to finished dimensions with no additional drying. It did warp a bit on me in the end, but I was OK with that. Here are some pics of the finished piece (which have also been posted here in the past):
I hope you enjoyed the show. Thanks for watching.
This is an ash bowl I roughed out a couple of years ago. It appears I only got photos of prepping the blank and roughing the outside (well, and the finished shots), but I think it's still an interesting series of photos. I showed a few of these back then, but not the whole sequence.
This is one of several large blanks I slabbed with a chainsaw out of some wood I got for free at the nearby firewood lot that was closing. They just opened the gates and put up a "Free Wood" sign. I ended up with some nice large sections of nearly-dry ash. None of the other people grabbing wood wanted them because they were too big to load. It was one of those times the lift gate on my truck came in very handy.
In the process of cutting it with the chainsaw, I did discover a bit of a problem:
My Stihl metal detector had struck gold. Or steel. Whatever.
Somewhere along the line, the tree had grown around a wire fence and also picked up a nail or two. A mining expedition was in order:
After a bit of digging, I was able to get out all the metal. And before anyone jumps too hard on me for using a chisel to dig out wire and nails, let me say that is one of my beater chisels. The goods ones were safely in the drawer. Good thing, too, because the chisel needed a trip to the Tormek after I was done:
After that was done, I used my real metal detector to make sure I had found all the metal. It came up clean.
Next step was to mark out a circle. I don't bother trying to get real accurate when I mark the circle. The lathe will make everything round in the end, so why bother worrying about it now? I used a compass to scratch a line in the wood, then sketched over the line with a lumber crayon.
A quick trip to the bandsaw, and here's the result. As you can see, I only used the blue line as a suggestion, not an order. When I'm wrestling a 75 pound blank on my bandsaw, I'm not shooting for laser accuracy. (I'm also guessing my blade was getting dull, because normally I would have followed the line a bit closer.)
Next up, the faceplate, impact driver, and some hex head sheet metal screws (2 1/4" or so, as I recall). No pilot holes...just drive them puppies in. I used the steel faceplate that came with my lathe. I use aluminum faceplates more than I use the steel one, since they don't rust when in contact with wet wood, but this blank was pretty heavy and wanted a bit more beef. Plus, as dry as this wood was, I wasn't too worried about rust. There was a discussion here recently about faceplate sizes. For the record, this is a 3" faceplate on a 24" or so blank.
The blank ended up big enough that I had to slide the headstock on my lathe to the end of the bed and use the dropped extension bed for the banjo and toolrest.
Slowly but surely getting things round. Good action shot of the remote On/Off switch too. I would hate to use a big lathe without one:
This bark inclusion on the side of the blank will ultimately get turned away by the time I get the form I'm looking for:
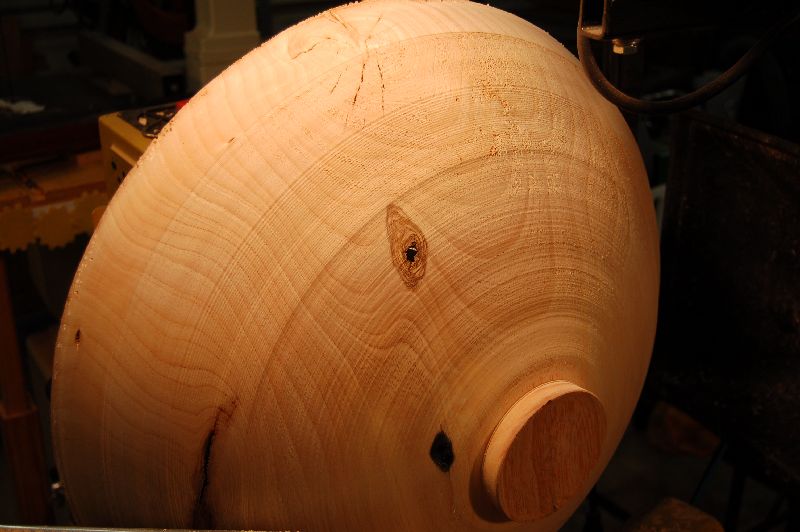
More roundy-roundy...starting to take shape and getting the tenon formed on the bottom:
The figure in this blank is looking promising:
Unfortunately, there's a checked knot that I decide I don't want on the side of the bowl, so it looks like the bowl will lose a fair bit of depth and diameter when I turn the inside:
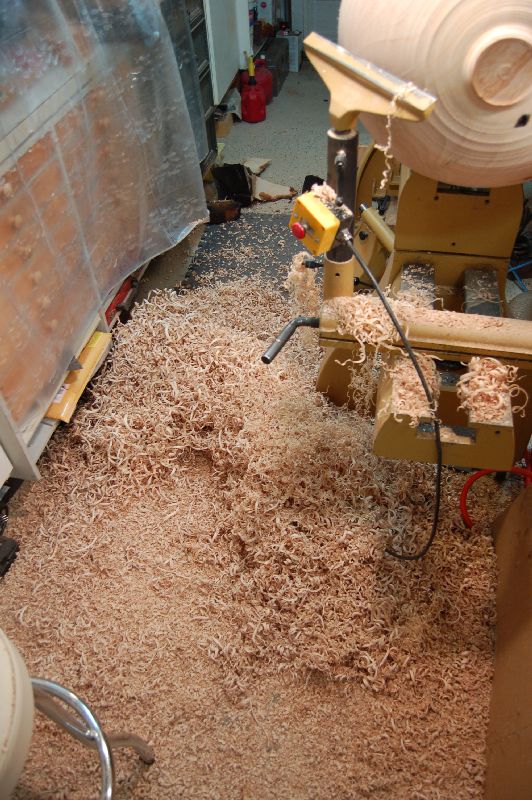
Nonetheless, I'm making a fun mess:
But pretty soon, I noticed a tick-tick-tick sound as I was cutting the wood. This can't be good.
There's a shiny spot in one of the traces of the bark inclusion:
What the Little Wizard metal detector had missed, the Thompson Tools detector had found with no problem.
Another nail:
Yup, it's a nail alright:
It came out more easily than the wire did, though:
At that point, I apparently stopped taking progress photos. I finished turning the outside of the bowl including the tenon, mounted it in the chuck and hollowed the inside. I also turned away the checked knot that I showed above, which made the bowl quite a bit smaller. (Nothing in the rule book says the bowl has to be the same size as the blank you start with. I like turning wood with natural flaws, but if there're in a spot that I don't think will look good, I get rid of them if possible.)
By the time I got the bowl finish turned, there were a couple of inclusions and holes that I decided to fill with black epoxy. I wasn't real happy with the way that looked when it was done, so I went ahead and dyed the whole thing black and finished it with Formby's Tung Oil Blend. Then I used liming wax to highlight the grain, followed by a coat of Renaissance wax. Since this wood was already fairly dry, I turned it to finished dimensions with no additional drying. It did warp a bit on me in the end, but I was OK with that. Here are some pics of the finished piece (which have also been posted here in the past):
I hope you enjoyed the show. Thanks for watching.


 You know it's time to sweep up the shavings when you have to bend over to reach the lathe.