Start Of A Little Reno....

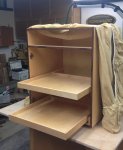
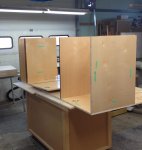
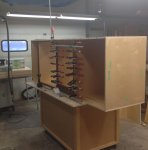
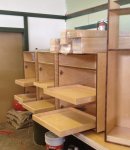
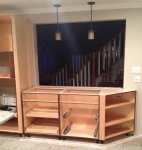
The past week I got my first set of base cabinets done and my wife asked me if her kitchen was going to have a bunch of slide outs like my shop.
I quickly told her yes.....

I am using Blum Movento under mount slides. They are pricey but sure seem to work slick.

IMG_1690.jpg

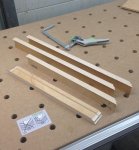
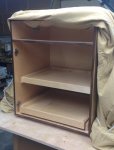
The slide outs will be made with scrap pieces of pre finished ply from the carcasses.

IMG_1689.jpg

Two done tonight and the next two are all cut and ready to be assembled tomorrow night.
Or so the game plan goes.
These have drawer lock joinery.

IMG_1691.jpg

IMG_1686.jpg

The kitchen will have around 10 slide outs.
I'm hoping this will keep the boss happy.:thumb:

Hope everyone is getting a little shop time.


.
 
So this evening we cleaned up the shop and got ready to do a little demo work....
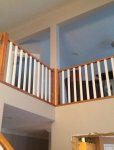
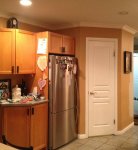
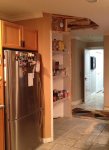
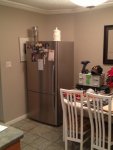
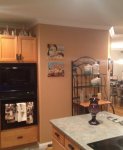
This is what I'm starting with. The boss wants her kitchen opened up so the front closet is going to come out.
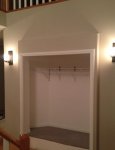
IMG_1693.jpg

IMG_1694.jpg

Should be pretty straight forward if everything goes to plan. If everything goes to plan.:(
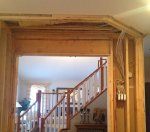
In no time we have a nice hole that starts to open the kitchen up.
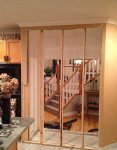
IMG_1695.jpg

Then I find a header in the wall. And not to sure why the framers spent the time to put it in...
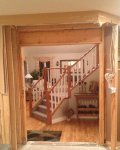
IMG_1699.jpg

It's not carrying anything and I want to opening to be higher.
Well the boss really does.....
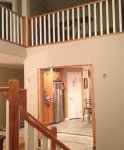
IMG_1698.jpg

So tomorrow the header will come out. I want a 7-8 inch drop only as the ceiling, sides and that front will be walnut raised panels
The second joist is a tad further away from the rim joist so my bearing wall will be a bit deeper than anticipated. Now we will have to modify from the original game plan and make the cabinets 25 1/5" deep. This is why I didn't make these ones yet. (One for our side)

I also have to get a 220/20 amp line to a convection/steam oven that will be going in.
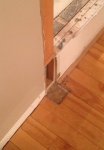
IMG_1701.jpg

Where the closet sat proud of the wall left a place where I can come up from the basement where I have a sub panel.
This makes the electrical easy but I will have to come up with something to cover this up when the flush stub wall goes in.

Are we having fun yet.

.
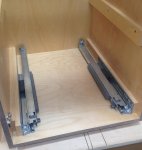
 
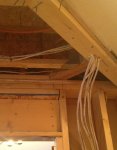
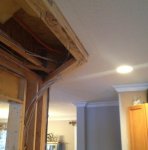
I got up nice and early this morning and took the final piece of drywall off the ceiling in what used to be a closet.
Didn't really like what I found....
There is no rim joist so it it is taking the load of the second floor. The other thing is they put an angle flush beam in and it is carrying that load. Not to sure why they framed it this way, but this is what we have to work with.

IMG_1706.jpg

There is no possibility the header is taking the load from the roof on the second story.
There is a 6x6 post from the main running up to the roof beam to carry that. The header is for the flush beam and because of the lack of a rim joist.

IMG_1705.jpg

After looking some more I found that the angle beam was put in to get to the other load bearing wall in the kitchen.
And to carry the landing on the second floor.
So we will need something to support it properly.

IMG_1707.jpg


So I think if I take the header out (2 2x10) and replace it with a 3 ply 2x8 (it's a 6" wall) I will gain (1.5+1.5+2) 5" in height.
The header can be 6" longer which will give me a little wider opening.... And still pick up my bearing loads correctly.

IMG_1704.jpg

Or so the game plan goes.

.
 
The past week we got a lot more of our demo done....
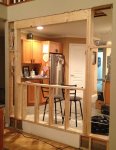
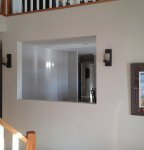
New header in where the closet was. We gained 5" in height ant 10 " in width for the opening.
My electrical is almost done and this section will be boarded today.

IMG_1715.jpg

With this section well under way I have started to take out the pantry.
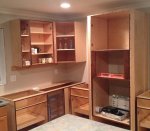
This will end up being a wall of walnut cabinets that will have a panel ready sub zero built in.
The pantry will be two big cabinets that will have a bunch of slide outs for the boss.

IMG_1717.jpg

IMG_1736.jpg

I have a drywall pro that will be coming in to do the matching of knock down texture in week.
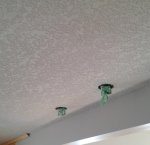
Fingers crossed I will not have to paint the ceiling as the kitchen ceiling leads into the dining room and hallways...

Hope everyone is getting a little shop time.

.
 
Thanks Steve.
One thing I did underestimate on this little reno though was how long it was going to take...
But in saying that she sure is going to be a beauty when it's all done.
 
I am still learning to accurately judge the time required to do something. After all these years I still have not perfected the formula for visiting relatives, weddings, funerals, holidays, the flu, etc. You are making great progress and I applaud your stick-to-it-ivness (?).
 
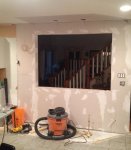
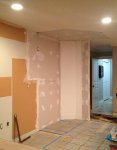
This week we got ready for the drywall taper to do his thing and get this ready to paint.
Fingers crossed he will be here first thing Monday morning....

IMG_1749.jpg

IMG_1748.jpg

We have now a "Redneck Kitchen"
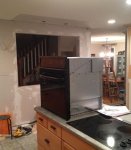
Fridge in the corner, tools on the table and an old oven on top of the island.:D

IMG_1746.jpg

IMG_1747.jpg

You go to love it when a plan starts to come together.
Downside this week I got an email about the oven that was picked.
The new models were to be ready for sale late last year. That was bumped to April of this year which was no big deal.
Now this new generation line will not be in production until December of this year.:(
I'm really glad I have not make the cabinet for the steam oven and regular oven yet.....
We will see if one is going to wait that long for that new line.

Hope everyone is getting a little shop time.

.
 
Very cool thread Gary, following along.
Back a few pages wheb i saw the pantry demo, i felt sorry for those existing kitchen cabs, thought to myself if they only knew what was coming their way soon.lol

The "boss" must be delighted. Its easy to see how you get to buy great tools. :D

sent from s4
 
My demo is done so we can start to move forward again.:thumb:
The taper made 4 trips to get done and I am really happy how the ceiling turned out.
I was worried I would have to paint the whole ceiling but the match from new to old is close to perfect.
To match the color he tinted his mud with diet coke....

IMG_1757.jpg

IMG_1756.jpg

So now with this out of the way I can start on the next batch of carcasses.


.
 
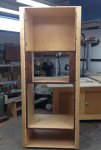
This cabinet for the oven and steam oven took a little longer to build than I expected....
I want the two be flush mount so I had a little head scratching.
For one cabinet I can't believe how many dominos were used.

IMG_1758.jpg

IMG_1759.jpg

IMG_1760.jpg

It looks a bit out of proportion but the feet are not on and there is 3 1/2" trim that goes up the sides and along the top.
Downside of week was another delay in the production of the oven. April 2015....:eek::eek: The old oven is smaller than the new one so it will fit in the hole and have to be used for the next year
But one is committed now. At least we can order the new steam oven in April of this year.:thumb:

Hope everyone is getting a little shop time.
I hope we get a break in this crappy weather. -30 is getting a little hard to handle......


.
 
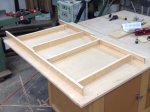
This week we got the last of the carcasses done and made a bunch more slide outs.
Not the hardest things to do but they are time consuming to make. Well for me anyways...

IMG_1763.jpg

IMG_1764.jpg

In this first phase I have a total of 10 slide outs. The kitchen should end up with 23.
The boss is happy as her kitchen is getting close to how many I have in my shop. :thumb:


Hope everyone is getting a little shop time!
 
The last week I got my crown moulding replaced and my hanging lights in.
So now we are far enough along the line to start to place some of these carcasses.
None of my bases are fastened in place as of yet and one needs a few filler strips. But we are getting an idea of how this is going to look.

IMG_1779.jpg

IMG_1781.jpg


The boss is going to visit the grandkids for 10 days so now I have 10 days to get the last of the bases out in this first phase,
build the cabinet to hold the cast iron sink, install the new base carcasses and have the granite people measure up for the new tops....
I don't think I will get it all done. :(


Hope everyone is getting a little shop time.
 
Top