Gosh twang it

Been a little slow here lately...Table saw determined it was clean the shop time, motor stalled and proceeded to only hum when turned on. Removed it, blew it out with the air gun, dust cloud caused temporary loss of vision{lol}, put it back together and...nothing but hum. Well we'll just take it out again and give another look-see...2 of the 4 power connections were loose at the terminals, in fact one of the female threads was stripped. So I tightened the one and found a small self-taping screw to work in the other and put it all back together on the TS...Still humming a tune, Grrrrrrr.... So I pulled it off the saw again figuring it's going to the rebuild shop. Starring at it with teary eyes{lol} I decided what the heck...I proceeded to tap all over the motor with the handle of a screwdriver and thinking about the old saying "get a bigger hammer". Took the air gun to it again, and again another dust cloud appeared...anyways not to make this any longer than it already is, I put it back on the saw for kicks and giggles and ....Wa-laa the vocals were loud and clear....Guess there really is something to be said about dust-collectors eh? ....maybe some day.

After a thorough shop vacuuming/clean-up I got back to work on the git-box...
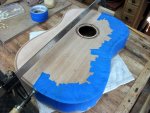
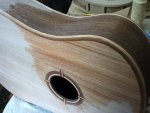
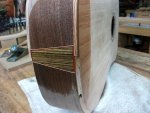
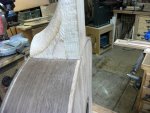
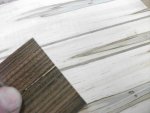
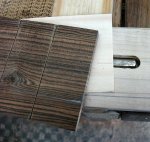
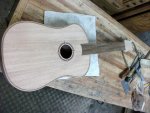
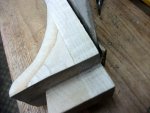
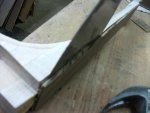
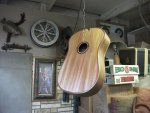
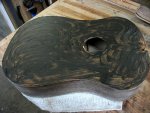
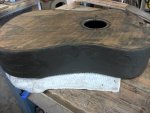
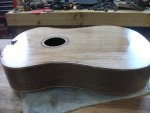
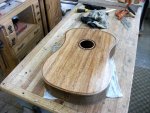
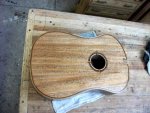
The 'trim/binding' was loads of fun :rolleyes: 16 pieces needed to be pre-bent to ease assembly, of course with my fat/heavy hands that translates into 21 pieces accounting for broken attempts. But she's looking almost completely dressed. Need to start work on the bridge next as I'm procrastinating starting onto the neck/body joint. I plan on using the dove-tail joint which will be another first, so I'm trying to build up the courage :rofl:

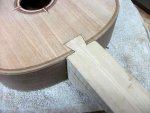
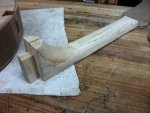
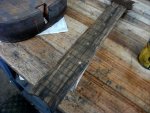
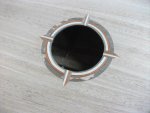
Anywho, here's a few shots of the binding and the body tail piece{whatever it's called}...now I'm off to clean the grill. it's needs a heavy duty cleaning this time, been a little slack on it as of late. sooooo :wave:
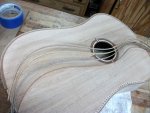
Trim1.jpg Trim2.jpgTrim3.jpg Tailpiece.jpg
 
Thanks guys :)

Not in what I'd call the traditional sense Ryan. But there is steaming as the pieces soak for a bit in water and when pressed against the heat pipe...well you know the rest :thumb: I'd like to make a chamber type set-up some day just to play around with.
FWIW, the bending was the easiest part, trying to glue them up 4 at a time per half side was an adventure. Think I had more glue on me by the end than the pieces did :doh::rofl:
 
It's getting closer :)

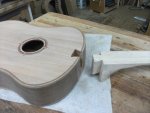
Well, I dove into the neck yesterday and today, and so far the dogs have kept Murphy at bay. :D
NeckJoint2.jpg NeckJoint1.JPG fit.jpg
I'm happy with the results, though I still have some minor sanding to do at the body. This being my first attempt at any kind of dove-tail. Add in the fact I've never attempted a joint with hand tools only, it's not perfect, but, Uhm, er, let me turn around so someone can pat my back for me, I didn't break anything, throw anything or even cuss...:eek::rofl:

Started the neck shaping today, more hand tool experience that I surely need. All rasps & files to this point, though I did use a coping saw on the heel to get started...
Shaping.jpg

Previously{a week or so ago} I did route the slot for a truss rod. Just a rod, nonadjustable, good enough For Martin Guitars way back when, good enough for me & this attempt. Oh yeah, the fretboard survived it's tumble off the bench. I glued the crack as Vaughn suggested, and luckily the ding was on the cut-off side{ding not shown, just a pre-blunder photo} and hopefully the 'skip' saw marks will disappear when I radius the fretboard...
crack.jpg trussrod.jpg

Here's a pre-look-see, with the fretboard just laying on top...It's now being glued to the neck so the final
shaping can commence tomorrow...
Pre look.jpg

Did I mention that I'm enjoying the daylights out of this...Can't hardly wait till I get more organized, tools & jig{s}-wise for the next one :thumb: Hopefully, more practice will be a benefit, unlike my singing attempts :rofl:
 
:doh::doh::doh::eek::eek::eek:

Doh1.JPG Doh2.JPG

When I cut the fretboard pattern out, I miss aligned it by a fret when taping the pages together :bang: so instead of a 24.5 inch scale length, I had a 23"...glad I had decided to mark out the fret markers when I did or it could of been disastrous. Thankfully the gluing of the fretboard to the neck was less than 24 hr's old and came apart fairly easily with a sharpened putty knife.
Actually I'm looking on this as a good thing now...I think aesthetically it would look better with the saddle moved back to the 25.5 inch range, so that's what I'll shoot for when I figure out what I'm going to replace the fretboard with.....Murphy my man, you sure keep me close to the bottle :pullhair:
 
No, I haven't gave up :)
Just been a lot of honey-do's on the list lately, but you know what they say..."Happy wife, happy life". :D

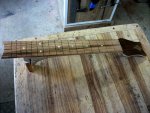
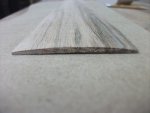
Since I couldn't find anything worthwhile in my scrap pile{s} to replace the Bocote fretboard, I settled on a piece of oak that's been laying around. I was going to go out and buy something exotic, but figured I save the moola and put it towards the next one ;). I put a 12" radius on the fretboard and then added another piece of oak to beef her up some and stuck her down on a sliver of maple and chunk of walnut. Added fret-markers of maple, and a little inlay in the headstock.
12inchRadius.jpg Fretboard.jpg

Neckprefiller.jpg

Then it was onto the body...put 2 coats of sanding sealer on her & then got to play in the mud. I mixed up a home-brew filler of non-shrinking spackling and some ebony & walnut stain I had laying around. And then, as that song goes "rub it in, rub it in"....top & sides of the body and threw some on the neck as well. Of course now I'll need to re-cut/open the fret-slots, but I'm OK with that at this point.
Bodyprefiller.jpg filler1.jpg

filler2.jpg neckfiller.jpg


After the filler had dried, I wet sanded her down and put on another couple of coats of sanding sealer...
she's starting to look good with some makeup on.

afterfillsealercoat.jpg onemorecoat.jpg

Oh, and being as she reminds me of a peanut with that godforsaken ugly upper bout, I've decided on naming her, what-else....'Peanut' :D
Peanut.jpg
 
Crash & burn

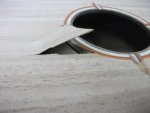
:( had a finish problem that was driving me nuts to the point I decided to sand it all down and start over. That should of been my first warning sign{me thinking again :doh:}. Needless to say, I went from 60 to zero in about 1.2 minutes. I started sanding and with-in a minute I was into the rosette...
Pic 001.jpg

Well, I figured 'oh well' I'll just sand the walnut part that hasn't worn thru and just live with it. Dumb move # 2 as when I ran my hand across it cleaning the dust off, I felt something funny....I had sanded so much in one spot that all that remained was paper thin.

Anyways... Larry stopped by, and him & I put some liquid knowledge to the test. He wiped my tears, give me some valuable knowledge in my future finishing attempts and left me in better spirits. I had another look-see and with just a tad of pressure I got this...
Pic 002.JPG

Par for the course in my life....back to drawing board is about all I can say at this point :cry:

Thanks for your comments, thoughts and compliments through-out this adventure, but I'm not sure this project is going any further at this point and time. Can't win for losing as they say......:eek:
 
Top