Bill Lantry
Member
- Messages
- 2,663
- Location
- Inside the Beltway
Hey, folks,
This is actually my second... the first one, yesterday, somehow magically turned into a disk and a ring!
Anyway, I'm trying to teach myself how to do this stuff. I'm posting here so that the experts can tell me what bonehead mistakes I'm making, and so others who, like me, know nothing about lathes may benefit from my foolishness.
For practice wood, I grabbed a 2x6 hemfir cutoff left over from making the lathe stand. Cut it on the band saw till it was about 5 1/2" square, then cut off the corners. Took a few tries, as you can see from the cutoffs (I clearly need to make a circle cutting jig:

While I'm at it, here's my really terrible chisel sharpening system:
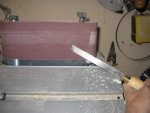
Really need a jig for that, but cannot buy one. Someone out there must have a plan for making one, I hope!
Here's the blank, attached to the face plate. I just used any screws I could find... I guess I really need some #8 3/4" screws? The firstones bent pretty badly. At his stage, I'm rounding off the corners, and trying to get something round for the bowl chuck to grab on to.

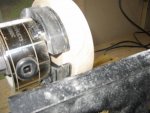
While it's still on the face plate, I mount the chuck. I tried to getit tight enough to hold, but not too tight.
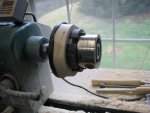
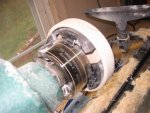
Here, I've turned it around so you can see how the face plate was attached.
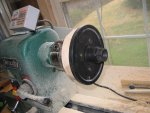
Now I've got the faceplate off, and I'm thinking I can finish rounding the outside and go after the middle...
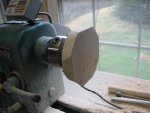
I've got the cheap harbor freight chisels everyone gets at the start. Don't even know their names yet. So far, I've only used three... I figure I'd better get good at sharpening before I ruin any more than that!

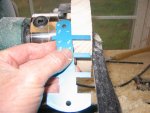
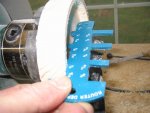
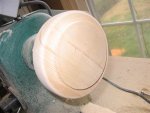
Now I've got the outside pretty round. I've been putting the tool rest as close as I can to the work. I still can't figure out a good means of tool presentation, but oh well. Mostly I get flying dust rather than long curly shavings.

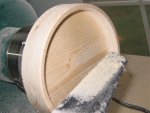
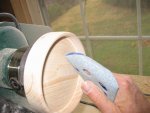
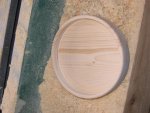
Now I've reset the tool rest, and I'm ready for the fun part: going after the 'face'
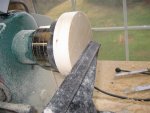
My camera can't handle something spinning at 2400 rpm. rats!
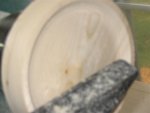
on to the next step:
This is actually my second... the first one, yesterday, somehow magically turned into a disk and a ring!
Anyway, I'm trying to teach myself how to do this stuff. I'm posting here so that the experts can tell me what bonehead mistakes I'm making, and so others who, like me, know nothing about lathes may benefit from my foolishness.
For practice wood, I grabbed a 2x6 hemfir cutoff left over from making the lathe stand. Cut it on the band saw till it was about 5 1/2" square, then cut off the corners. Took a few tries, as you can see from the cutoffs (I clearly need to make a circle cutting jig:

While I'm at it, here's my really terrible chisel sharpening system:

Really need a jig for that, but cannot buy one. Someone out there must have a plan for making one, I hope!
Here's the blank, attached to the face plate. I just used any screws I could find... I guess I really need some #8 3/4" screws? The firstones bent pretty badly. At his stage, I'm rounding off the corners, and trying to get something round for the bowl chuck to grab on to.

While it's still on the face plate, I mount the chuck. I tried to getit tight enough to hold, but not too tight.

Here, I've turned it around so you can see how the face plate was attached.

Now I've got the faceplate off, and I'm thinking I can finish rounding the outside and go after the middle...

I've got the cheap harbor freight chisels everyone gets at the start. Don't even know their names yet. So far, I've only used three... I figure I'd better get good at sharpening before I ruin any more than that!

Now I've got the outside pretty round. I've been putting the tool rest as close as I can to the work. I still can't figure out a good means of tool presentation, but oh well. Mostly I get flying dust rather than long curly shavings.

Now I've reset the tool rest, and I'm ready for the fun part: going after the 'face'

My camera can't handle something spinning at 2400 rpm. rats!

on to the next step:
Last edited:

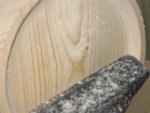
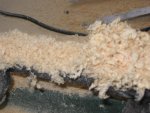

 Another suggestion look at other peoples work in the turning showcase to get ideas on shapes.
 Any of 'em that survive the ride are OK in my book. Sign it and date it, and don't ever give it away. A few observations and/or suggestions (but remember I'm less than a year into this game myself)...
 I've seen recommendations specifically discouraging the use of drywall screws, since they don't have as good of shear strength as wood screws or pan head sheet metal screws.