Lora Irish
Member
- Messages
- 115
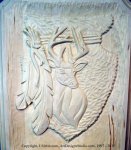
Rough Out Steps
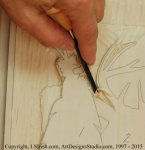
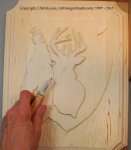
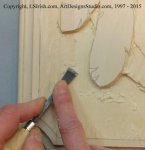
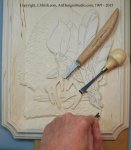
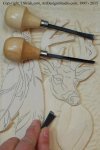
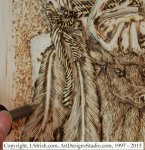
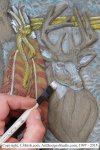
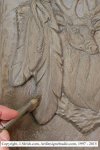
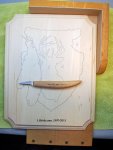
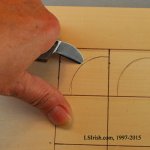
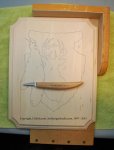
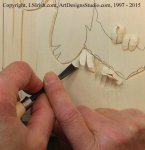
A stop cut separates one area of the carving. In this photo the stop cut will prevent the gouge strokes used in the background from moving into the design area.
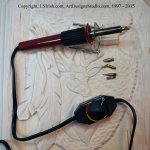
Step 4 Using the bench knife create a stop cut, by holding the knife at a 90 degree angle to the wood, creating a thin, vertical slice to make the first stroke.
---
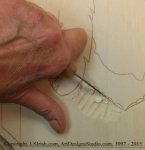
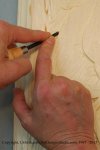
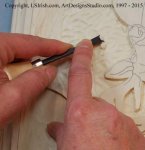
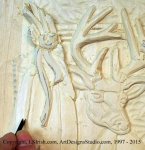
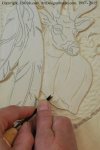
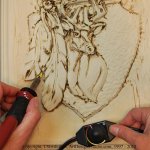
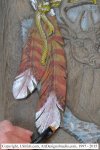
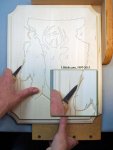
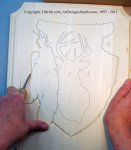
Two bench knife strokes create the v-trough of the stop cut.
Step 5 The second stroke of the stop cut is made by angling the knife edge away from the boundary lines of the pattern. As the second cut is pulled a narrow v-shape trough is created.
---
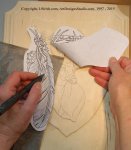
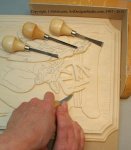
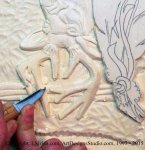
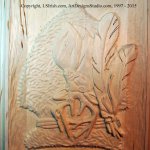
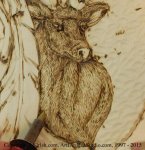
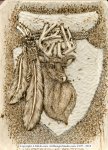
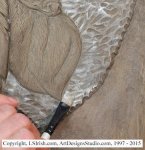
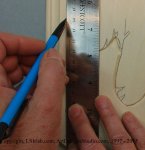
Allowing a small margin along your pre-routed edges gives an even, neat finished outer edge to the project.
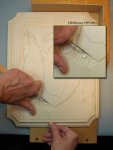
Step 6 Using a pencil and ruler mark a ¼” border line along the outer edge of the top carving surface of your plaque.
---
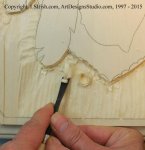
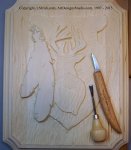
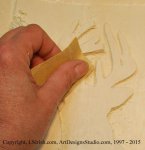
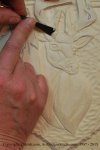
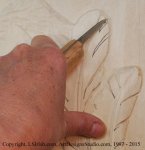
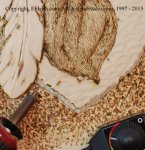
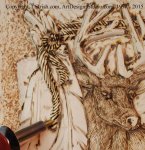
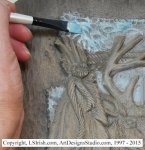
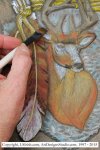
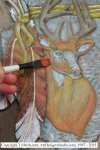
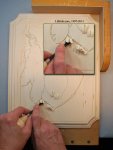
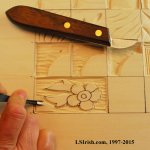
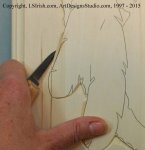
Begin the background rough out using a large round gouge.
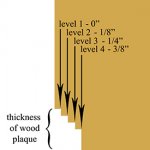
Step 7 Using the large round gouge begin roughing out the background wood. Work your cutting strokes with the direction of the wood grain. The background area will be roughed out to a depth of 3/8” or ½ the total thickness of the wood plaque at its deepest point along the outer boundary of the design.
EDIT - To learn more about how to create a stop cut, please see post #33. To learn more about rough out cutting, please see post #34. To see how these two techniques - stop cuts and rough out cuts - work in a small practice pattern, please see post #35.
A stop cut separates one area of the carving. In this photo the stop cut will prevent the gouge strokes used in the background from moving into the design area.
Step 4 Using the bench knife create a stop cut, by holding the knife at a 90 degree angle to the wood, creating a thin, vertical slice to make the first stroke.
---
Two bench knife strokes create the v-trough of the stop cut.
Step 5 The second stroke of the stop cut is made by angling the knife edge away from the boundary lines of the pattern. As the second cut is pulled a narrow v-shape trough is created.
---
Allowing a small margin along your pre-routed edges gives an even, neat finished outer edge to the project.
Step 6 Using a pencil and ruler mark a ¼” border line along the outer edge of the top carving surface of your plaque.
---
Begin the background rough out using a large round gouge.
Step 7 Using the large round gouge begin roughing out the background wood. Work your cutting strokes with the direction of the wood grain. The background area will be roughed out to a depth of 3/8” or ½ the total thickness of the wood plaque at its deepest point along the outer boundary of the design.
EDIT - To learn more about how to create a stop cut, please see post #33. To learn more about rough out cutting, please see post #34. To see how these two techniques - stop cuts and rough out cuts - work in a small practice pattern, please see post #35.
Attachments
Last edited: