Chinese Chairs Ver 2.0

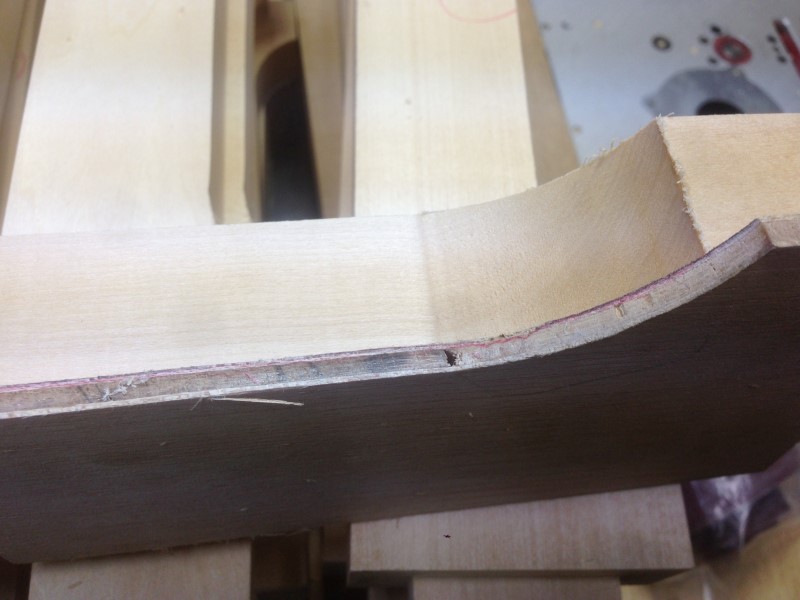
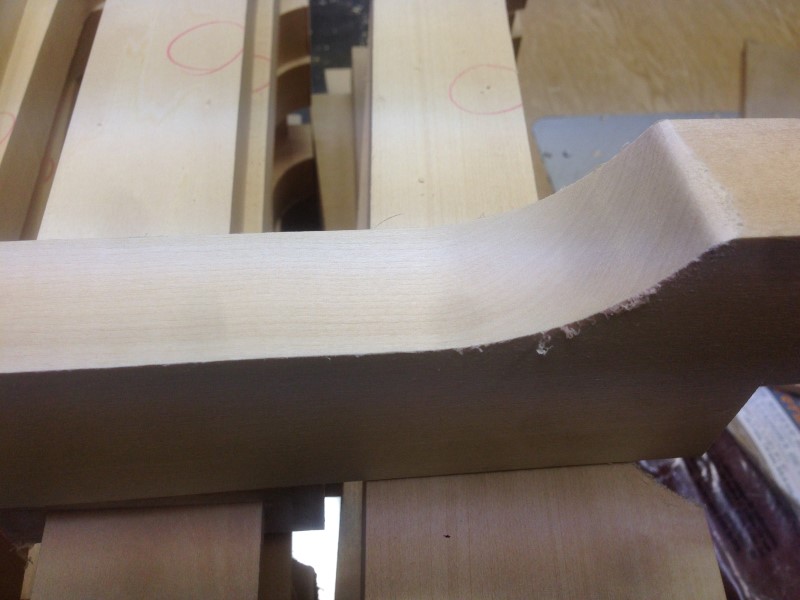
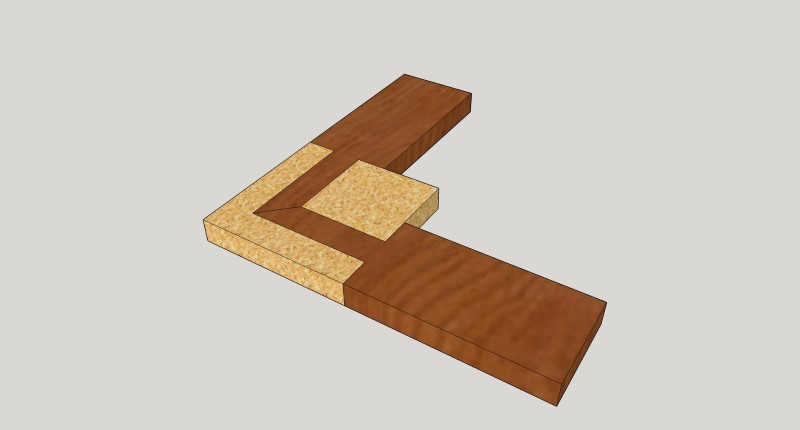
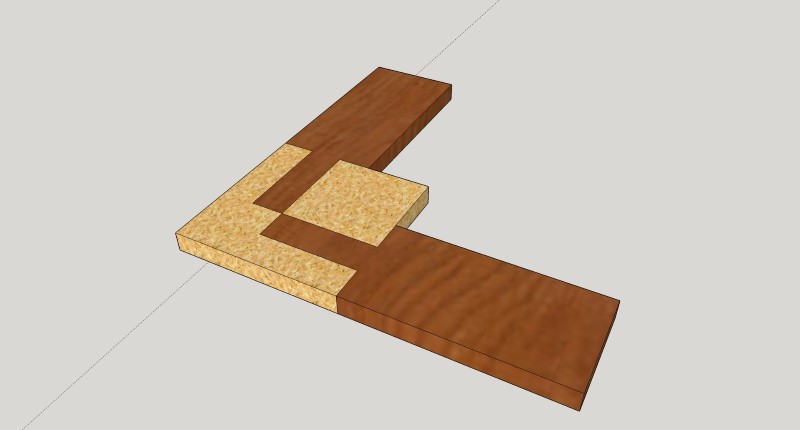
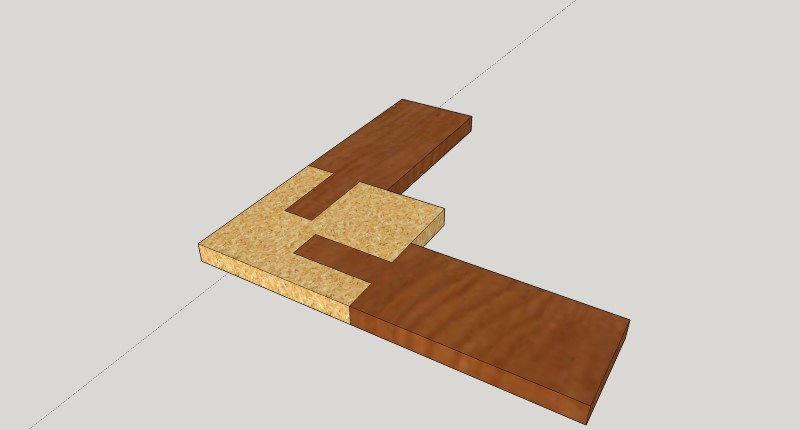
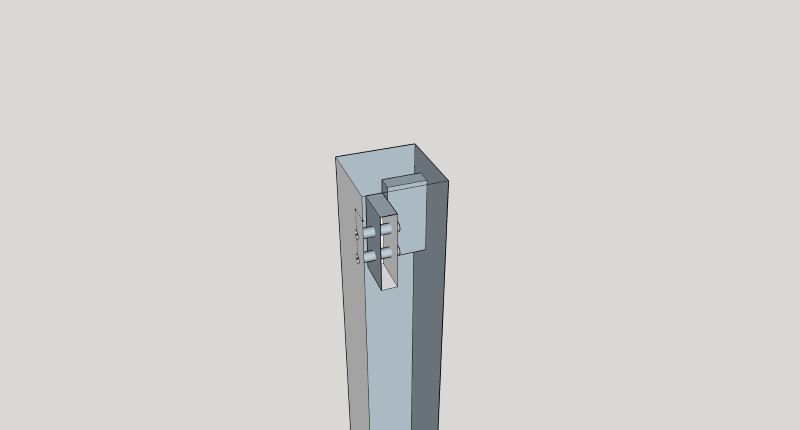
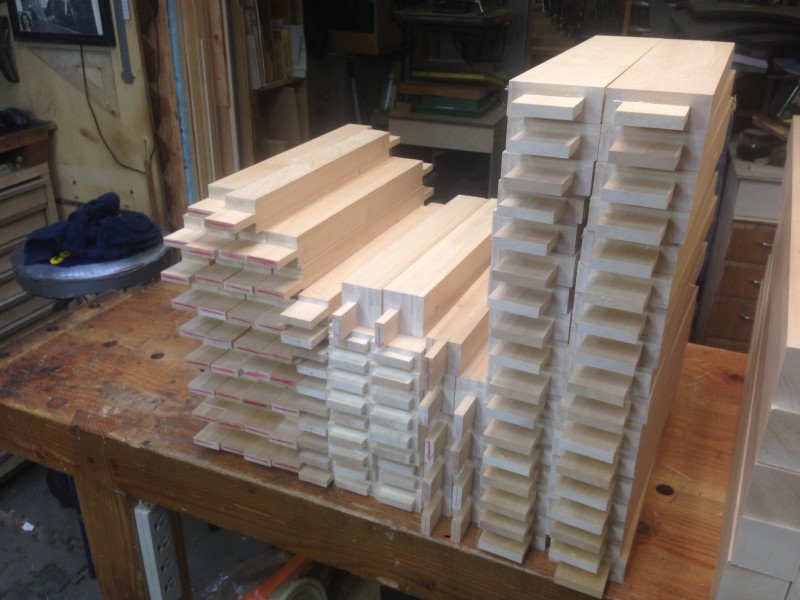
I agree with Charlie. I can easily see the leg splitting from top down. Keep four shoulders on your tenons. There is a great deal of strength in those shoulders. Far more than the length of the tenon gives. You are pinning the tenons anyway, so depth is less important.
 
Great feedback, thanks!

I've been fooling around with SketchUp.

This was the first plan...

45_tenon_leg.jpg


the tenons meeting in the middle.

This was my next thought...

short_tenon.jpg


I think this is what Charlie and Carol are suggesting....?

25mm_tenon.jpg

Tenon is 25mm long, 10mm thick and 50mm tall

Running with that, here is a leg showing the mortises and even one has pins...

leg1.jpg


leg2.jpg


What do you think?

Cheers!
 
That is better. I'd lean to shortening them so the distance between them equals the thickness of them. That little extra wood between them lends incredible strength. So maybe just a couple of mm's shorter?
 
They are at 25mm now, basically 1", which is half the length that the one front to back through tenon was, I'm concerned this might be a bridge too far for them.


Sent from my iPhone using Tapatalk
 
I think your current design looks good. I like Carol's recommendation for shoulders on all sides. Even though the extra wood above the tenon doesn't add much strength to the mortise since it is all end grain, it does provide a strong base for the shoulders, which I forgot to consider.

Getting philosophical for version 3.0, what if the mortise were moved slightly towards the outside of the leg (just a couple mm). This would allow a longer tenon without reducing the support between the sides of the legs (the part that functions like the web of an I beam)
 
Thanks Charlie and Carol I learnt a thing or two on this one. Until the various sketches i had battled to grasp the point of shortening the tenon.

Sent from my SGH-I337M using Tapatalk
 
Banging away, nothing to exciting, but I am done with the tenons....

IMG_9604.JPG


.... and empty the cyclone..... again... :doh:

Now I have to figure out how to do mortises on the WoodRat... :huh:

Wish me luck!

Cheers!
 
Something else, I have to cut the profile on the 32+ seat apron, it looks like this....

IMG_9606.JPG


How would you go about this?

I thought just free hand it on the bandsaw then clean up the edges with the oscillating spindle sander.

Make a template guide for the bandsaw, but I don't know how well it will work with the tighter inner curves.

Make a template and use a hand held router.

Ideas?

Cheers!
 
Rough on the bandsaw and pattern route imho. The spindle sander is handy for final cleanup but to slow for this in my experience, maybe I'm just not aggressive enough with the grits :D 
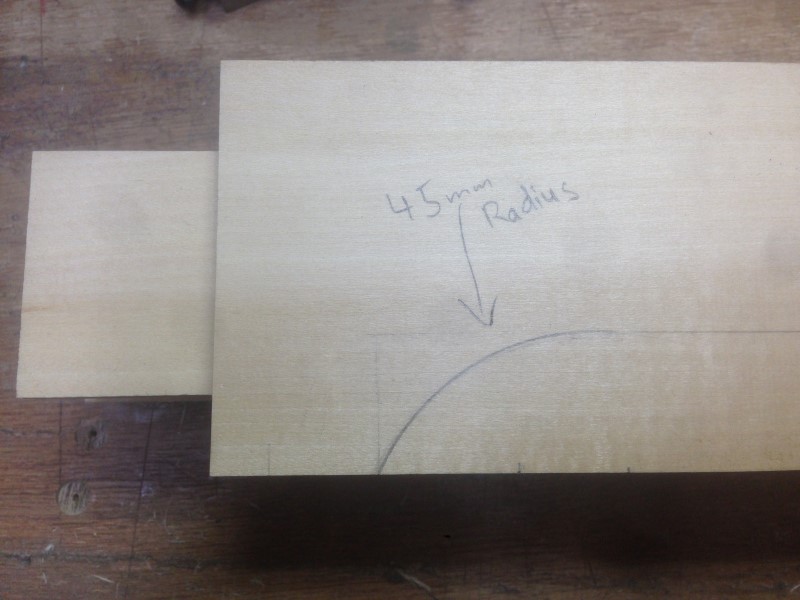
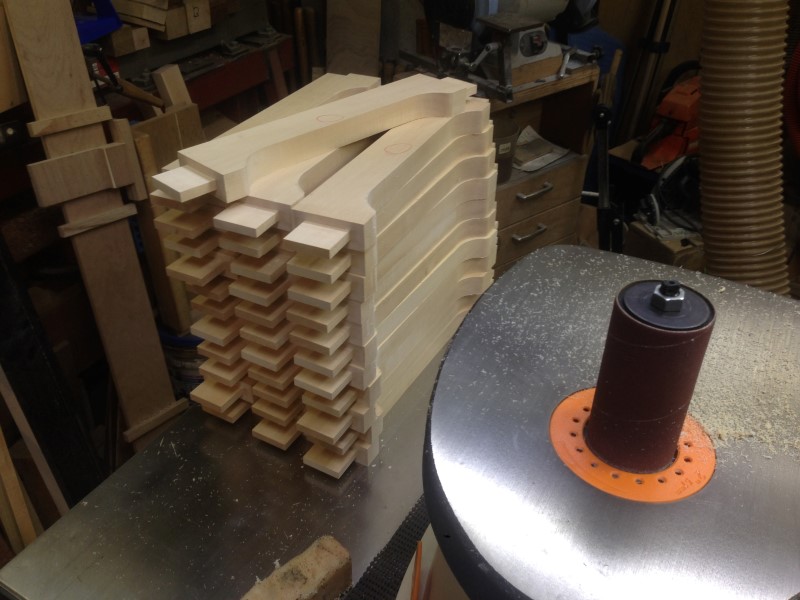
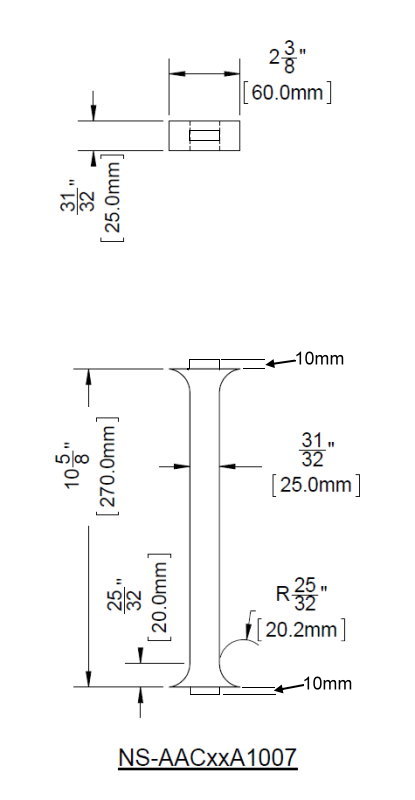
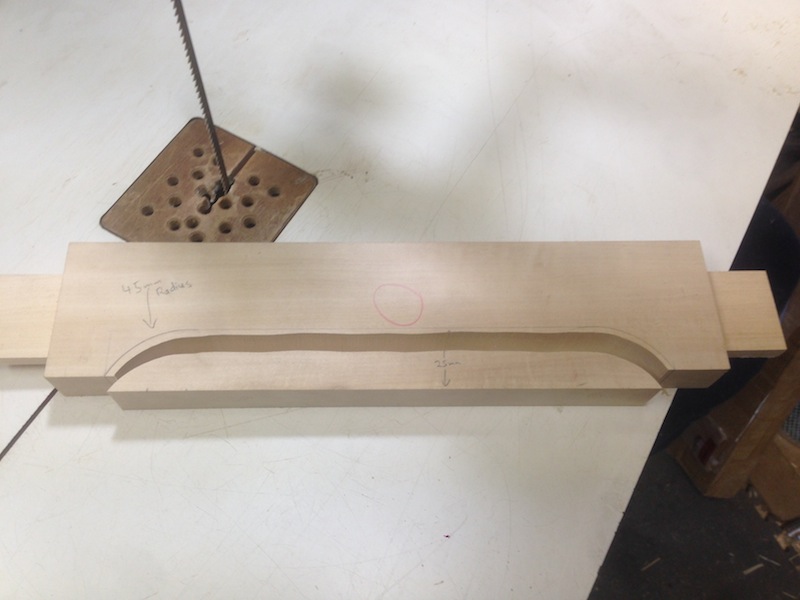
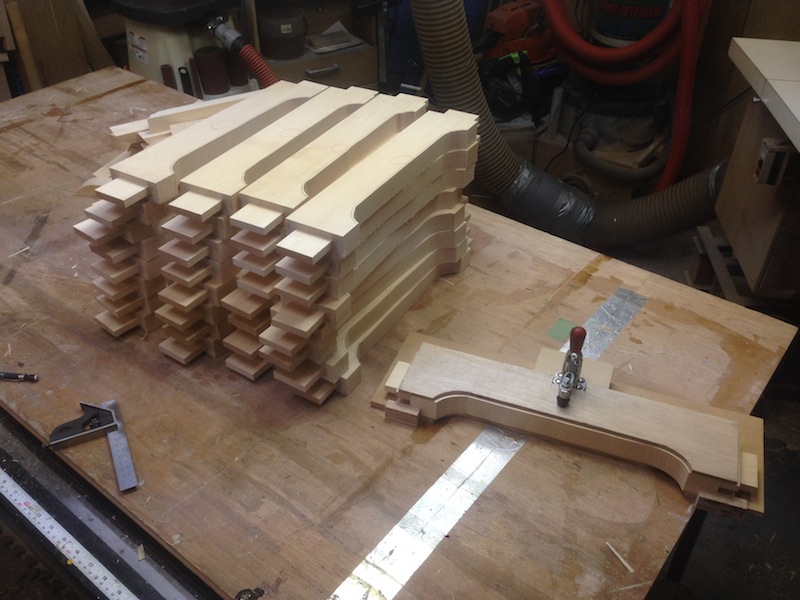
But you still have to manually try to hit the line. A pre-cut pattern is repeatable and easy.

If its to thick for one pass on the router, use a pattern to go ~half way~ and then use a bottom bearing bit from the other side to finish the cut.
 
Ryan has it. Though I would make a holding template and trim route on the router table after roughing cut with the band saw. Much quicker and more stable than hand holding a router. Don't forget, boredom sets in with 32 pieces to do. That boredom has another name - Murphy!
 
So I went the bandsaw then template router route....

IMG_9608.JPG

Rough cutting on the bandsaw.

IMG_9609.JPG

The template routing jig I've made.

The only bit I have that is long enough has the bearing on the end, so I'll put that in the router table and then clean up all the pieces.

Cheers!
 
I'd do the profile and forming on the CNC! Mainly because I don't have a bandsaw.. :D But seriously, the setup I have would be pretty easy to screw down a jig for placing them and I'd probably flip two face to face and draw up the cut as an oval so it would be 2 at a time.

:lurk: 
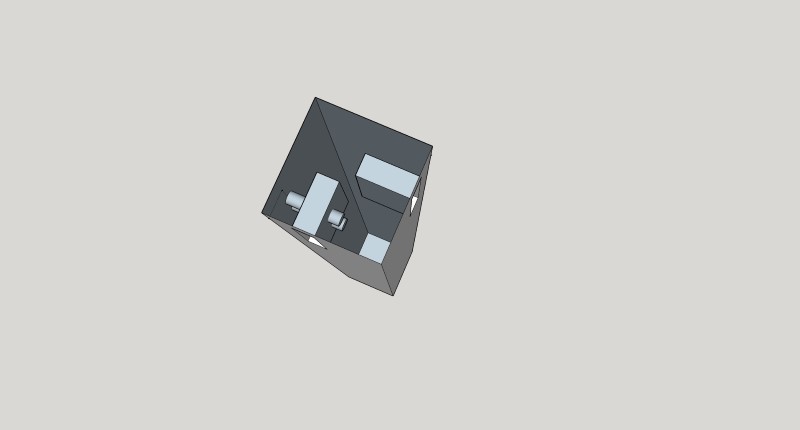
It's great watching the design on these and them come together!
 
Early discussions were bandsaw and hand router.... ugh. Bandsaw and router table is my vote - or actually since I have a shaper, I would do the routing on the shaper which is a router table on 5 hp (5.5 kw) worth of steroids. Even though I have lots of power, I find that roughing with the bandsaw is essential. With a large diameter cutter, I just route against the fence from the center to the curve, flip over and do the other end.
 
Yeah I was never going to do a handheld router.

So you know that guy Murphy, well he seems to be over here in Japan on occasion too.

IMG_9612.JPG

See that little hole in the template?
Yeah, it was not there when I started to do my template routing, but it turned up just in time to leave a nice divot in most of my pieces, as you can see.

IMG_9613.JPG


Oscillating spindle sander to the rescue!!
Boy that thing works slick, I put the #240 tube on and it cleaned the divot and any other slight burn marks etc in a jiffy!

IMG_9614.JPG


OK those are done, next up the back slats...

back_slats.jpg


The tips of the back slats come to a very fragile point, might have to modify these a bit too.

Cheers!
 
Last edited:
Top