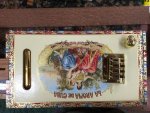
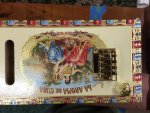
First Cigar Box Guitar (CBG) Build

Ted this is looking great. I've built about 4 or 5 CBG's and they are a lot of fun. Yours is really going to be beautiful. I don't think I've seen one with a natural edge on the neck like that. Very clever and well executed.
 
A little bit of progress on this project. First it was stalled awaiting parts and then by over thinking. I didn't like the look of the open gear tuners so I ordered some others and then had to re-drill the holes. The neck piece was too thick for the tuning pegs and I chose to use a forstner bit to create spaces for the tuners, rather than sawing or sanding the piece thinner. I'll know better next time. The scalloped look is kind of cool looking, so I'm happy with that.
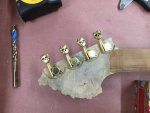
amp 001.jpg

Choosing a pick up got me reading more and more until I was overwhelmed with choices. I now have disc piezeo's, rod piezeo's and a couple of lipstick pick ups to choose from. I read that a pre-amp was needed for the rod piezeo so now have a few Chinese made pre-amps to play with. Then I started to wonder if this Cherry neck would be strong enough and started to look at ways to strengthen it. Some suggested in-letting a 1/8" x 1/2" steel bar into the neck, glued in with epoxy. Others actually added truss rods. I'm really not sure that four strings will cause much deflection, but am leaning toward the 1/8" bar.

While all this was spinning around in my over think tank, I managed to put together a little amp kit from CB Gitty. Thanks to John C's excellent soldering videos I ended up with a new soldering station and enough solder for the rest of my life. Unfortunately, I slept part way through video six and missed the part about soldering for inspect-ability and tinning my wires, so I ended up with globs....but it still works.
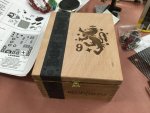
I used my own box....
guitar amp 018.jpg

...and opted to use the back of the box for the speaker because I didn't want to destroy the only decent graphic on the box and I wanted to be able to open it easily.

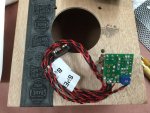
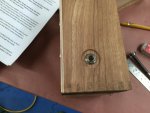
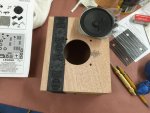
Hole ready for the speaker, a look at the little amp board. Had to forstner the box wall a bit thinner for the on/off volume and out-put jack.
guitar amp 015.jpgguitar amp 017.jpgguitar amp 026.jpgguitar amp 027.jpg


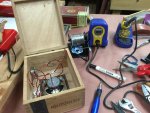
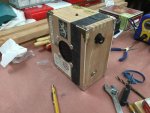
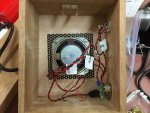
Everything in its place and soldered in. I took some graphics from the inside of the box and added them to the back to make it look more gigar-ish, added the metal corners, replaced the cheap hinges with some brass ones and voila, it's done. I'm waiting to finish the CBG to post how it sounds.
guitar amp 031.jpgguitar amp 029.jpgguitar amp 039.jpgguitar amp 035.jpg
 
Very cool amp Ted. I've had all the parts to build my own amp for some time but have not come across a good box yet. Yours looks IDEAL. This is going to be a very nice outfit when your all done.
 
Very cool Ted.
Excuse my stupid question but did u make the box and just clad it with a cigar box outer panels or is that how the whole box came? Have to excuse me but i aint ever purchased a cigar in my life.

If u going to make a few of these amps i would do some research on the amp. The kit seems bit pricy from that place for what it consisted of.

Sent from my SGH-I337M using Tapatalk
 
Rob, That's how the box came...about eighty cents from cigar store in Oklahoma City. They usually sell them for a dollar but since I bought so many, they gave me a deal. I have a larger box from the same brand with the same graphics that I intend to make a CBG out of.

I totally agree with you on the amp cost. My excuse is that I know nothing about electronics and the kit was an easy way to see how it was done. I won't be building any more kits and have since found places to get better amp boards and other components for a fraction of the cost of this kit. In fact, that little Marshall MS-2R Amp that Vaughn showed in another post is cheaper than this kit and has a headphone jack. The directions for my kit showed how to wire in a head phone jack but not how to wire in a switch. I did find a site with a lot of wiring diagrams for various configurations that I thought I could follow. Baby steps.:)
 
I think your scalloped headstock idea worked out nicely, Ted. :thumb:

If you go with the inletted steel in the neck, you might want to consider using some rectangular bar stock instead of round rod. The rod will flex more than piece of steel with a rectangular cross section. (Particularly if the bar stock is oriented vertically, perpendicular to the fingerboard.
 
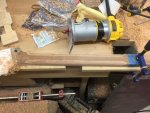
The rain gave me a chance to play with this a bit more, but the faux pas keep piling up.:eek: Picked up some 1/8" x 1/2" flat bar at Lowe's to use as a neck stiffener and cut the groove on the table saw. I misjudged the head stock end of the cut by an extra quarter of an inch and now will have a 'design opportunity' there.
guitar 001.jpg

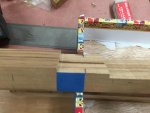
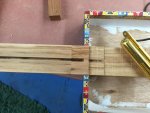
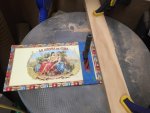
Moving on, I proceeded to cut the notch for the neck on the wrong end of the cigar box, so the graphics were upside down. Luckily, the graphics were the same on the opposite side of the lid, so I sliced off the lid and flipped it over so the graphics faced the right way. Finally, (I hope) used the dado set on the table saw to notch the neck where it passes through the box and made the cut on the wrong edge of the tape that marked the cut. A small patch fixed that spot and most of it will be hidden under the finger board.
guitar 006.jpgguitar 008.jpgguitar 010.jpg

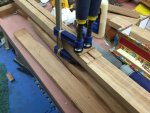
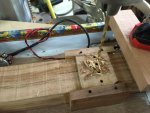
A little work with a half inch round over bit on the back of the neck. The neck glued up. The rounded heel piece will help stiffen the neck where it passes through the box and gets notched for the innards.
guitar 019.jpgguitar 024.jpgguitar 023.jpg

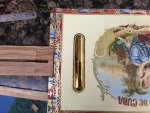
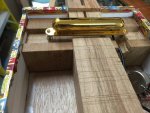
Smoothing up the oval slot for the lipstick pick up....and a look at how it is attached inside the box.
guitar 026.jpgguitar 030.jpgguitar 031.jpg
 
Last edited:
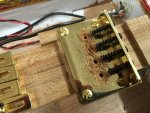
Setting the hard bridge in what I hope is the right spot. It's temporarily attached to the neck to use as a pattern for drilling the through body string holes. To avoid messing up the bridge too much these were only drilled a quarter of an inch and then I removed the bridge. Using those starter holes, the drill press finishes the job. The holes on the bottom will be enlarged to hold some ferrules that will be flush with the bottom and hide the string ends. I will attach the top and then drill back up through the holes from the bottom to locate the bridge on the box top.
guitar 032.jpgguitar 033.jpgguitar 037.jpgguitar 038.jpg

A look at the extra bracing inside the box to hold the pick up and the hard bridge. This piece of Lace wood looked like it might make a nice finger board.
guitar 036.jpgguitar 041.jpg

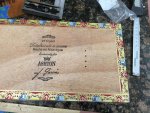
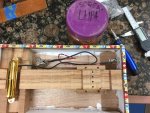
Trying to figure out whether the volume knob will work at the top of the box rather than at the bottom, which seems customary. I drilled the hole for the knob at the bottom, then discovered that the graphics on the other side were brighter. Flipping the top for the nicer graphics puts the hole at the top of the box. Do any of you experienced guys think that will be a problem....maybe interfere with playing??
guitar 046.jpgguitar 044.jpg
 
Nice progress.

Tip for folks who cut on the wrong side of a line. (BTDT): Use a magic marker to color out the intended waste. Now, if you color on the wrong side of the line, there may be no hope for you! :rofl:
 
Great progress Ted. You sure have nice graphics on that box. Great recoveries wish i had your luck.

And Vaughn is right, i cant believe someone actually grows that stink bug weed never mind brings it into their shop. ;)
Next you will be putting it on some food...then there is no saving you. lol

Sent from my SGH-I337M using Tapatalk
 
I don't think the volume knob will be in the way there. It's far enough in back of the bridge that I think you'll be OK. If it was more toward the neck, I think it'd be a different story.
 
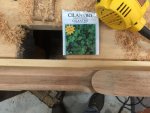
Why do you have a packet of Devil's Weed seeds in that photo? I won't let any of my instruments get close to that stuff (even in seed form) for fear of some of the stank rubbing off onto my guitars. :D

You were lured! You were supposed to tell me the devil weed was the cause of all the mistakes....and then give me your opinion on volume knob placement...and it worked!!:D
 
Top