Joint Genie

I decided to add my review to this thread, that way the info on this tool will stay in the same place, easier to find in the future is someone is interested in the Joint Genie.

First, right out of the box, this is well made...
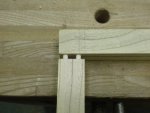
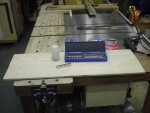
joint-genie_1.JPG joint-genie_2.JPG
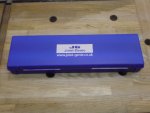
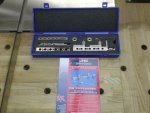
It ships in a very compact, package, a cardboard box covers the solid plastic case that holds the Joint-Genie. The instructions are minimal, at first I wondered about this, but not now, they are minimal because the system is fast and easy, there is no need for a manual, kind of like having a users manual for a pencil, one end writes the other end erases (if equipped with the optional eraser), when dull sharpen......... dead simple.

I tell you, I could easily have my wife or one of my daughters down in the Dungeon making perfect joints with this thing in 10 minutes, no kidding :D :thumb:

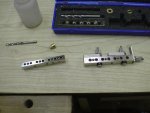
joint-genie_3.JPG joint-genie_4.JPG
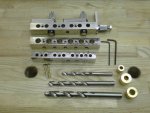
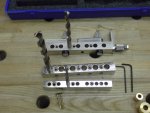
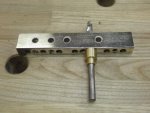
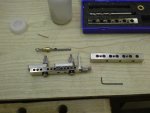
Here are all of the parts out of the case; I got the "Multi Professional" metric set up, as I have metric wood and dowels here in Japan, they also have an imperial set. I have a 6mm, 8mm, and 10mm bar set, that has the bar, the drill bit and the collar that goes with each, the alignment tabs are one set, but can be used on all of the bars.

joint-genie_5.JPG
I'll be using the 6mm bar set on this mock up.

joint-genie_6.JPG
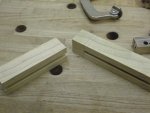
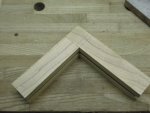
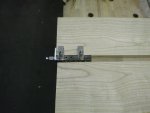
This is the corner joint I want to do, it will be the frame for my >> Genkan Bench <<

joint-genie_7.JPG joint-genie_8.JPG
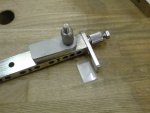
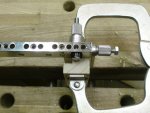
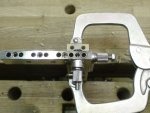
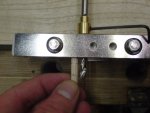
For me, on these pieces of wood, the end spacing is not great, as I want to put double sets of two dowel in the joint, so I made a little spacer to go on the end alignment tab.

joint-genie_10.JPG joint-genie_11.JPG
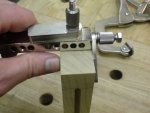
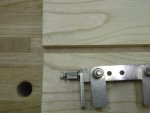
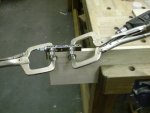
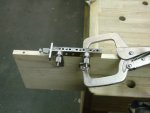
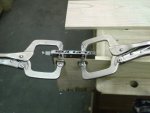
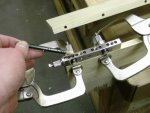
With the spacer on the end alignment tab, the holes are ready to drill, clamp it drill two holes, then flip the bar over and clamp and drill again.....

Cont.........
 
joint-genie_12.JPG joint-genie_13.JPG
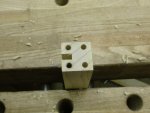
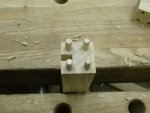
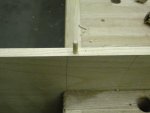
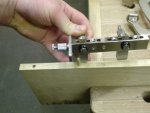
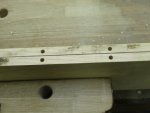
There are the four holes with four dowels in them.

joint-genie_14.JPG joint-genie_15.JPG
I just repeated the process for the other board, it could really not be simpler.

My pic time stamps say 10 minutes start to finish, that is with making the spacer (I had to find my double sided tape :doh: ) and taking pics, this is the first one I've done, and it is really easy.

I know I'll get a lot of use of of this unit.

Thanks for the suggestion Alex! :wave:
 
Last edited:
The instructions are minimal, at first I wondered about this, but not now, they are minimal because the system is fast and easy, there is no need for a manual, kind of like having a users manual for a pencil, one end writes the other end erases (if equipped with the optional eraser), when dull sharpen......... dead simple.

I don't know. Looks like a lot of parts with a lot of holes. I think you are over estimating my deductive powers. Not sure I would know which end to sharpen.
 
I don't know. Looks like a lot of parts with a lot of holes. I think you are over estimating my deductive powers. Not sure I would know which end to sharpen.

That is why it is so important to get the optional eraser, it makes it a lot easier to sharpen :D

Then again, without the optional eraser, you can sharpen both ends :eek: :wave:
 
Stu, your review covers much more detail than mine. You are right about your daughters and wife but I have to say that just ever so slightly on the inside of maybe could my wife pull it off. :D The joint looks good. One thing to keep in mind when using it is to keep your clamps tight and you will have perfect dowel joints every time. I like the one you did there. :thumb:
 
Regular clamps work fine, but I'm finding the vicegrip C-clamps are great, because the are quick and once adjusted to the size of stock, it is even quicker and they hold tight !

I did the two long boards for the top, and it was stupid easy, I'll put the pics up later.

Cheers!
 
I'll show you how I used the Joint-Genie to help me do a panel glue up for the >> Genkan bench << I'm working on.


joint-genie_long_1.JPG
Here are the two boards, and the Joint-Genie

joint-genie_long_2.JPG joint-genie_long_3.JPG
I'm using the 6mm dowels, so I have to change the hardware from the one bar to the other, this only takes a couple of minutes.

joint-genie_long_4.JPG
I set the collar on the drill so the hole will be just over 1/2 the length of the dowel I'm using.

joint-genie_long_5.JPG
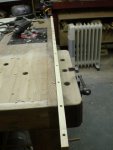
The two boards are placed together like they will be when glued up.
I put an "X" on both corners, so I can keep things orientated.

joint-genie_long_6.JPG joint-genie_long_8.JPG joint-genie_long_7.JPG
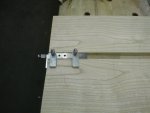
OK, the "X" marked corner is now facing me, I clamp the jig on the edge of the board, with the end tab on the end of the board. I drill two holes, the second hole from the edge, as I thought the first hole was kind of too close to the edge. I then put a dowel in the second hole, using this an as indexing pin for the jig.

joint-genie_long_9.JPG
Repeat until you have holes all along the edge of the board.
 
joint-genie_long_10.JPG joint-genie_long_11.JPG
OK, the pic on the left has the jig set up like it was when I drilled the holes on the board nearest to the camera. The pic on the right has the tabs moved to it will now register on the board yet to drill.

joint-genie_long_12.JPG
Here the jig is again clamped to the edge of the board, on the very end. You can see that the tabs are now on the other side compared to the first board I drilled.

joint-genie_long_13.JPG
Again, I felt the first hole was too close to the end of the board, so I started on the second hole.

joint-genie_long_14.JPG
Here you can see the jig slipping onto the dowel I inserted to use as an indexing pin.

joint-genie_long_15.JPG joint-genie_long_16.JPG
Two sets of holes, I then put glue and dowel in, then tapped it together, and clamped it......

joint-genie_long_17.JPG
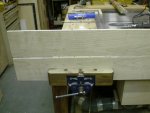
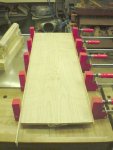
There it is clamped.

It was really easy to use this jig to do this panel glue up.

Cheers!
 
I'm seeing the value of that tool. I'm putting together a little table to use for starting seedlings. I wanted to make the table just a little bit nicer than the previous 2 knocked together out of plywood versions.

I laminated up a table top out of 2x4's and used my biscuit machine for that. For gluing up panels, it just seems to make sense that a biscuit cutter would be faster than the dowel jigs.

For the legs and apron, well, I should have done MxT, but decided to use dowels. I have one of the standard self centering dowel jigs, and it worked fine, but I think the jig you guys have would have made that a much easier task, particularly for doing multiple dowels. With my jig, I had to measure very carefully the position of each hole. With the genie, all you have to do is make sure your alignment tabs are set, clamp, and drill...

I might have to look into getting one of those...
 
I'm confused, the 3/8 unit only is around 99 pounds, and the multi pro with 1/4, 3/8, 5/16 is 118 pounds? Seems like it'd be a no brainer to go the multi pro route, right?

Now lets see, whats the exchange rate... thats about 177$ right now...

Already blew this months tool budget, maybe next month... :D :thumb:
 
While I can see the value in the joint gene in doing offset dowls, I cannot for the life of me see paying the price in buying this product for glueing up panels when all you want is a centering jig. These are available for less then half the price and work just as well and are just as easy to use. Sorry to put a damper on your enthusiaum but I'll stick with my Dowl It, it is self centering and I don't need to use an external clamp. Fast and easy to use and I can do 3/16.1/4, 5/16, 3/8. 7,16, and 1/2 dowels with one jig perfectly centered each time. If I were doing offset dowls then the dowl gene might be the ruight product but for what your using it for I'll save my $$$.
 
Don, does the Dowl It have multiple holes of the same size, so it can be indexed all the way down a long board, or do you have to mark and match each hole location? From what I'm seeing, that's one of the most useful features of the Joint Genie...the row of same-sized holes, so you can drill a few, then use one of the drilled holes to line up the next set of holes.

Seems like it wouldn't be too difficult to make something that worked in a similar manner. Even if the hole spacing wasn't perfect, as long as you used the jig the same way on both boards, everything should line up.
 
Don, you have to take a couple of things into consideration, first, Alex and I are way out of the "Free Shipping" offers or promotions that come with sales at Rockler, Woodcraft, Amazon etc, so we have to pay for shipping, and dearly, so we have to take that into consideration, sure a self centering jig is cheap, only $20 or so, but the shipping is going to be $40. It may sound strange, but I'd much rather buy a tool that is of higher quality and versatile and pay $100 and $40 shipping, than buy a cheap tool that is only good at one thing and pay $20 for it with $40 shipping, like I said, it might sound strange.....

Have you watched the YouTube video of the Joint-Genie at work? I really is dead simple to get perfect joints every time, also, we are in Japan, and use them millimeters and such, so a dowel it jig, in inches is not much use, when I cannot buy dowel locally in inches.

All of those reasons were for me good ones to buy the Joint-Genie, but they may not be good reasons for you. Not all of the members here are from the US :D :wave:

Vaughn, I agree that I could most likely make a good copy of this item, but by the time I did that, with the steel, and such, and the time invested, I'd be only a little ahead of the cost of the Joint-Genie, and I'd be stealing someone else's good idea, that certainly may not bother lots of guys, and I guess stealing may be a little harsh, as they are only making things for their own use, not selling them, but there are some things I could not easily copy, one is that the bars of the jig are hardened steel, I guess I could dig out the forge and go through all of that, but again it adds a lot of cost and time to the process. With regular old cold rolled steel, in time, the accuracy would suffer and then where would I be, my work will have been dumped down the drain.

In this case, I felt it was much better to just pony up the money and buy the jig, I'm sure I'll be using it and enjoying it for a long time to come.
 
Last edited:
Top