Bartee Lamar
Member
- Messages
- 499
- Location
- Alpharetta GA ( Metro Atlanta)
My good friend David asked if I could make some parts for a Fibonacci Gauage he found seraching the internet. His church is doing a summer family week. He is using this gauge for the kids to find the golden ratio in nature. It occurs frequently in plants and flowers.
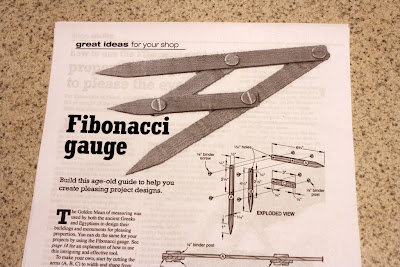
This is from WOOD magazine #173. Found it here
Finding the binding posts took a little luck. I could not find binding posts so I thought I would try pop-rivets. My Google for pop rivets got me to Hanson Rivet and Supply. So Hanson had binding posts buried in their product lines. I was able to get exactly what I wanted.
The trick here is you need 1/8" thick x 1/2" wide strips of wood. I tried this on my band saw and was not happy.
So I then decided to use the table saw, with a 30 tooth glue line rip blade. Using my grippers it worked great. I used a zero clearance blank for dado blades on my SawStop. I removed the riving knife and just had a zero clearance for the blade. It worked GREAT. I had no trouble cutting this very small strips.

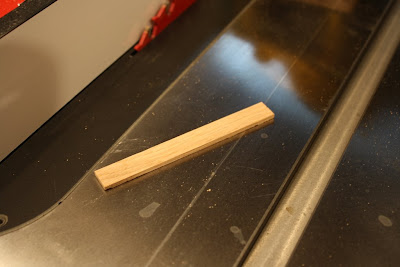
I got the 1/8" gripper leg from Peachtree Woodworking
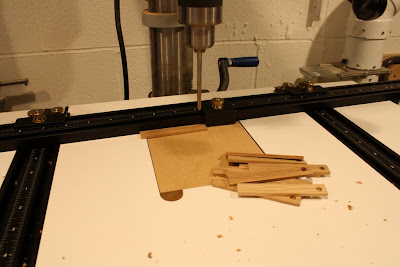
After cutting LOTS of little pieces, I needed to put holes in them. LOTS of holes. So I used my Pinnacle drill press table to set up the repeated holes. This is not an exact process. Lots of trial and error. But I did suceed and it worked great. The really good bits from Lee Valley did a great job.
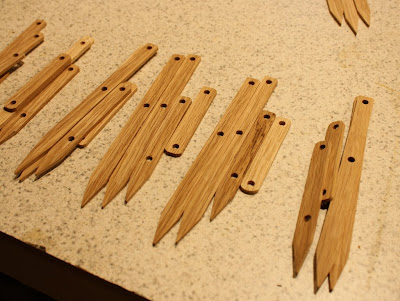
Next I needed to put points on 3 of the 4 pieces. I created a template and marked all of the pieces. Then used the 6" belt sander to grind away. It worked very well. I really appreciate my dust collection now.
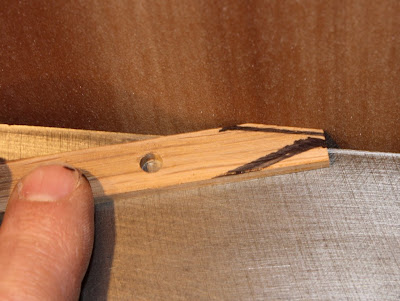
Here is what I ended up with.
And it even looks like the picture.
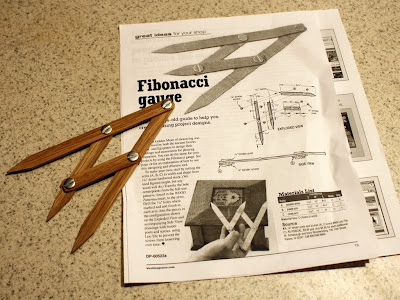
The really cool part is that it works.
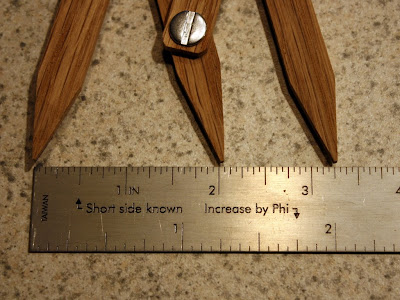
This was a fun few hours in the shop. It's really nice to have all of the tools to do a project that will be fun for the kids.
Here is the web album with a few more pictures
This is from WOOD magazine #173. Found it here
Finding the binding posts took a little luck. I could not find binding posts so I thought I would try pop-rivets. My Google for pop rivets got me to Hanson Rivet and Supply. So Hanson had binding posts buried in their product lines. I was able to get exactly what I wanted.
The trick here is you need 1/8" thick x 1/2" wide strips of wood. I tried this on my band saw and was not happy.
So I then decided to use the table saw, with a 30 tooth glue line rip blade. Using my grippers it worked great. I used a zero clearance blank for dado blades on my SawStop. I removed the riving knife and just had a zero clearance for the blade. It worked GREAT. I had no trouble cutting this very small strips.
I got the 1/8" gripper leg from Peachtree Woodworking
After cutting LOTS of little pieces, I needed to put holes in them. LOTS of holes. So I used my Pinnacle drill press table to set up the repeated holes. This is not an exact process. Lots of trial and error. But I did suceed and it worked great. The really good bits from Lee Valley did a great job.
Next I needed to put points on 3 of the 4 pieces. I created a template and marked all of the pieces. Then used the 6" belt sander to grind away. It worked very well. I really appreciate my dust collection now.
Here is what I ended up with.
And it even looks like the picture.
The really cool part is that it works.
This was a fun few hours in the shop. It's really nice to have all of the tools to do a project that will be fun for the kids.
Here is the web album with a few more pictures


