Alan Bienlein
Member
- Messages
- 2,045
I'm getting back to work on the bed and realized that I need a better mortising jig than the one I cobbled together when I did the foot board. I searched around you-tube and this is what I came up with. I just couldn't get interested in what everyone else had done. To me they were lacking something.
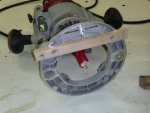
I wanted to keep maximum depth so the base plate needed to go and I attached a piece of quatersawn pecan for the guide rail.

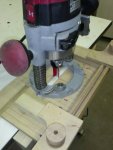
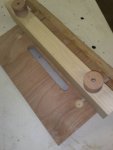
The top of the jig is 1/2" plywood I had lying around and I have a dado thats 3/8" deep for the guide rail to slide in.

I made the stops a little more ridgid than the ones I've seen and made them so I can use the scale I laid out on the top of the jig to make it easier to setup.


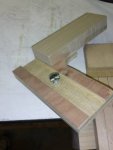
The fence on the bottom is also adjustable for different thickness pieces.

I did a test mortise but forgot to take pictures but I'm extremely happy with the results. I'll make sure I snap a few pictures of it in use when I do the mortises for the head board here shortly.
I wanted to keep maximum depth so the base plate needed to go and I attached a piece of quatersawn pecan for the guide rail.

The top of the jig is 1/2" plywood I had lying around and I have a dado thats 3/8" deep for the guide rail to slide in.

I made the stops a little more ridgid than the ones I've seen and made them so I can use the scale I laid out on the top of the jig to make it easier to setup.


The fence on the bottom is also adjustable for different thickness pieces.

I did a test mortise but forgot to take pictures but I'm extremely happy with the results. I'll make sure I snap a few pictures of it in use when I do the mortises for the head board here shortly.

