glenn bradley
Member
- Messages
- 11,771
- Location
- SoCal
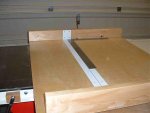
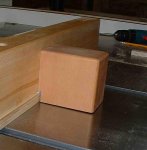
Built this large sled for a specific purpose. Same principle as medium sized ones but built to help me through a project that will involve several large panels. I have made a few of these but they were always slam-bang jobs so, I decided to put a little effort into this one as I suppose it will be around awhile. I didn't go as far as some of the beautiful sleds we’ve all seen but maybe the approach will help others.
Some of the quality on the photos shows that my true calling (if any) is not photography. If anyone needs better (or different) shots, PM me with your email and I can send you full quality attachments.
The first picture shows a slot in the ¾ BB ply to accept the ZCI.
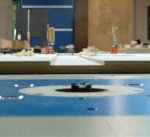
Next pic is a little fine-tuning of the depth with a scraper. No that's not the ZCI strip, just a scrap for measuring.
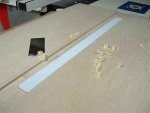
The rails are oak. I’ve always used UHMW before with good luck but the local shop was out of any material long enough. I use the TS fence as a guide and lower the base onto them to get a good positioning.
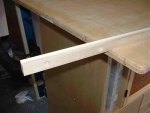
Trim the extra tape if any. The idea is for these to slide, not snag.
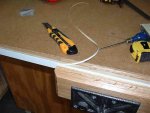
I put thin strips of scrap in the miter slots to raise the oak slides just above the table so the tape will stick.
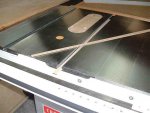
Oak guide rails in place. Screws are the real attachment method but I leave the tape. This has never been an issue. I should mention again that I place the raised and pre-taped runners in the slots, position the fence, place the side of the sled-bed against the fence and lower onto the rails/tape. This makes this step pretty reliableas far as lining up the blade with the ZCI. I should mention that I cut the ZCI slot off-center to allow me to raplace the long ZCI and use the blade at other angles or with a dado.
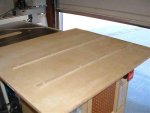
Attach the front fence; this one is glued on. remember, once you make your first cut you have two hlaves held together by the front and rear fence only. Don't scrimp on height or length. DAMHIKT.

I use T-bolts a-la Gary Rogowski. This makes the fence very easy to align or re-align. The fence is also plenty thick in case I need to re-flatten it. It is hard to see in the pic but the recess for the t-bolt head is oval to prevent turning and longer than the length of the t-bolt head to allow forward and backward movement during alignment.

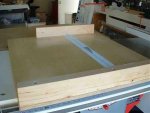
With the rear fence on and the front fence sorta on I cut the ZCI almost back to the front fence.
And on to part 2 . . .
Some of the quality on the photos shows that my true calling (if any) is not photography. If anyone needs better (or different) shots, PM me with your email and I can send you full quality attachments.
The first picture shows a slot in the ¾ BB ply to accept the ZCI.

Next pic is a little fine-tuning of the depth with a scraper. No that's not the ZCI strip, just a scrap for measuring.

The rails are oak. I’ve always used UHMW before with good luck but the local shop was out of any material long enough. I use the TS fence as a guide and lower the base onto them to get a good positioning.

Trim the extra tape if any. The idea is for these to slide, not snag.

I put thin strips of scrap in the miter slots to raise the oak slides just above the table so the tape will stick.

Oak guide rails in place. Screws are the real attachment method but I leave the tape. This has never been an issue. I should mention again that I place the raised and pre-taped runners in the slots, position the fence, place the side of the sled-bed against the fence and lower onto the rails/tape. This makes this step pretty reliableas far as lining up the blade with the ZCI. I should mention that I cut the ZCI slot off-center to allow me to raplace the long ZCI and use the blade at other angles or with a dado.

Attach the front fence; this one is glued on. remember, once you make your first cut you have two hlaves held together by the front and rear fence only. Don't scrimp on height or length. DAMHIKT.

I use T-bolts a-la Gary Rogowski. This makes the fence very easy to align or re-align. The fence is also plenty thick in case I need to re-flatten it. It is hard to see in the pic but the recess for the t-bolt head is oval to prevent turning and longer than the length of the t-bolt head to allow forward and backward movement during alignment.

With the rear fence on and the front fence sorta on I cut the ZCI almost back to the front fence.

And on to part 2 . . .
Last edited:

