glenn bradley
Member
- Messages
- 12,074
- Location
- SoCal
This is straight out of Keith Rust's plans here:
http://www.taunton.com/finewoodworking/SkillsAndTechniques/SkillsAndTechniquesPDF.aspx?id=24118
I just wanted to share how even I could do this :
:
The desire is to be able to face joint a board that is wider than your jointer. First you need some parts:
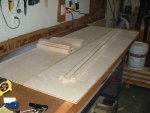
I used 3/4" BB Ply to make some braces. The result is like a torsion box. You want to build this on a known flat reference surface:
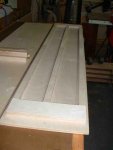
The top and bottom are glued and screwed to the braces. I offset the panels by about 1/2", marked and drilled the holes. This prevents the screws from running into each other from opposite sides of the base (a little blurry on this one, it must have been getting late):
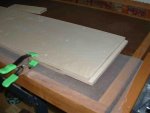
Gratuitous glue up shot. The panel and supports at the back of the bench are just setting there. This is not part of the assembly:
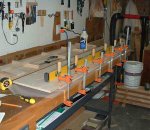
So here's the base assembly. The extra 5/16" hole at each end is for a dowel that will hold the bungee cord:
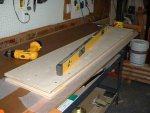
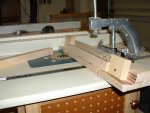
Here's my amazingly refined and sophisticated jig to slot the support rails at 15 degrees to accept the leveling wedges:
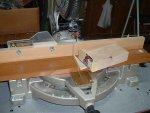
A little double stick tape, squared off 2x4 and some phony credit cards for shims and I can cut the 15 * wedges on the CMS:
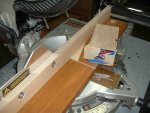
And cut to length without changing the setup:
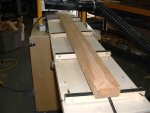
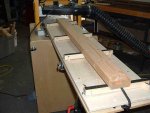
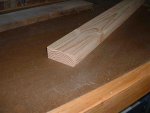
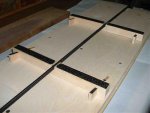
The end result is a row of adjustable supports to compensate for the irregularities of your board. The black stuff is stair tread, there's some on the wedges as well. The supports and wedges are loose. The bungee cord keeps them in place while in use and while being stored:
Once adjusted the board sits still and you can plane the exposed surface. Once flat, you can set the jig aside and plane the board to thickness like usual. You want to keep the front of the board closer to the support than the distance from your infeed roller to your cutter head so that the board is under control before machining begins:
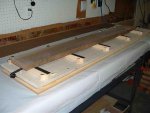
The actual construction was not as involved as writing this post. This should tide me over till I can get a real jointer.
http://www.taunton.com/finewoodworking/SkillsAndTechniques/SkillsAndTechniquesPDF.aspx?id=24118
I just wanted to share how even I could do this
The desire is to be able to face joint a board that is wider than your jointer. First you need some parts:

I used 3/4" BB Ply to make some braces. The result is like a torsion box. You want to build this on a known flat reference surface:

The top and bottom are glued and screwed to the braces. I offset the panels by about 1/2", marked and drilled the holes. This prevents the screws from running into each other from opposite sides of the base (a little blurry on this one, it must have been getting late):

Gratuitous glue up shot. The panel and supports at the back of the bench are just setting there. This is not part of the assembly:

So here's the base assembly. The extra 5/16" hole at each end is for a dowel that will hold the bungee cord:

Here's my amazingly refined and sophisticated jig to slot the support rails at 15 degrees to accept the leveling wedges:

A little double stick tape, squared off 2x4 and some phony credit cards for shims and I can cut the 15 * wedges on the CMS:

And cut to length without changing the setup:

The end result is a row of adjustable supports to compensate for the irregularities of your board. The black stuff is stair tread, there's some on the wedges as well. The supports and wedges are loose. The bungee cord keeps them in place while in use and while being stored:

Once adjusted the board sits still and you can plane the exposed surface. Once flat, you can set the jig aside and plane the board to thickness like usual. You want to keep the front of the board closer to the support than the distance from your infeed roller to your cutter head so that the board is under control before machining begins:

The actual construction was not as involved as writing this post. This should tide me over till I can get a real jointer.
Last edited:

