Steve Southwood
Member
- Messages
- 5,069
- Location
- Santa Claus, In
Slow down Stu, all the parts ain't even there yet
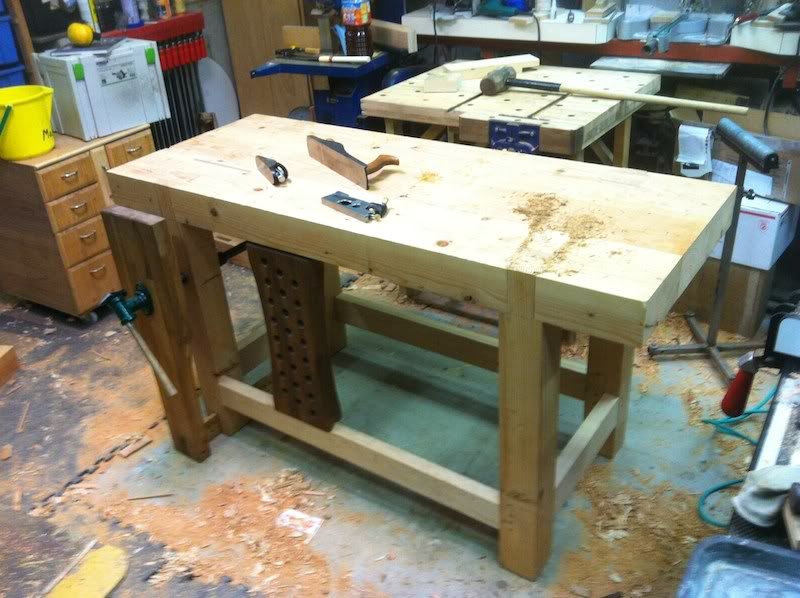
Steve, I have the chair job lined up, and they want at least one done by the 20th of this month, so I want to get the bench at least on it's feet so I can use the work surface!Slow down Stu, all the parts ain't even there yet
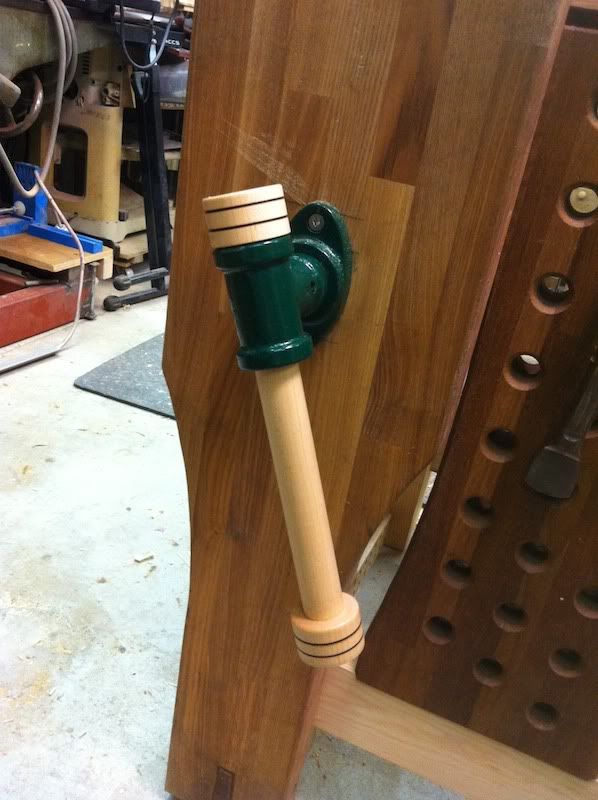
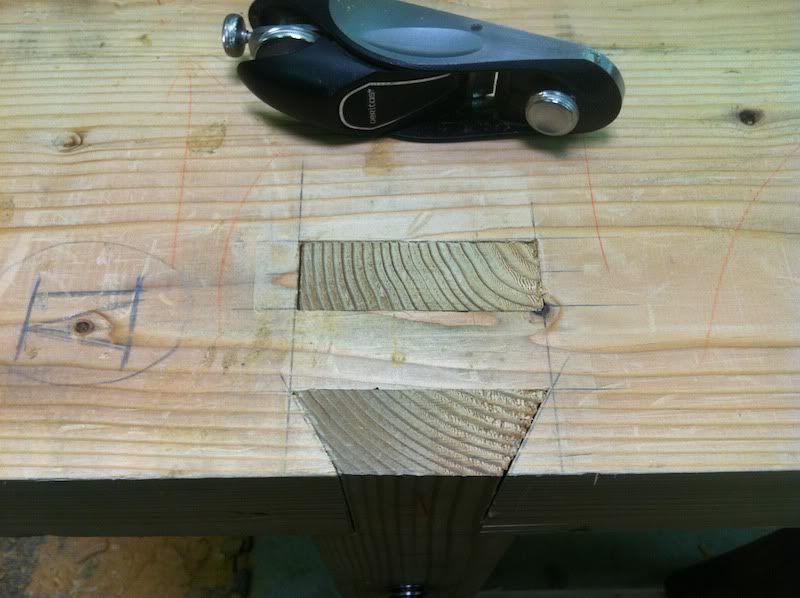
I'm really liking the idea of making a jig and using the router to cut the tops and the bottom, as I don't think I have a bit long enough to plunge all the way though, or even half way through

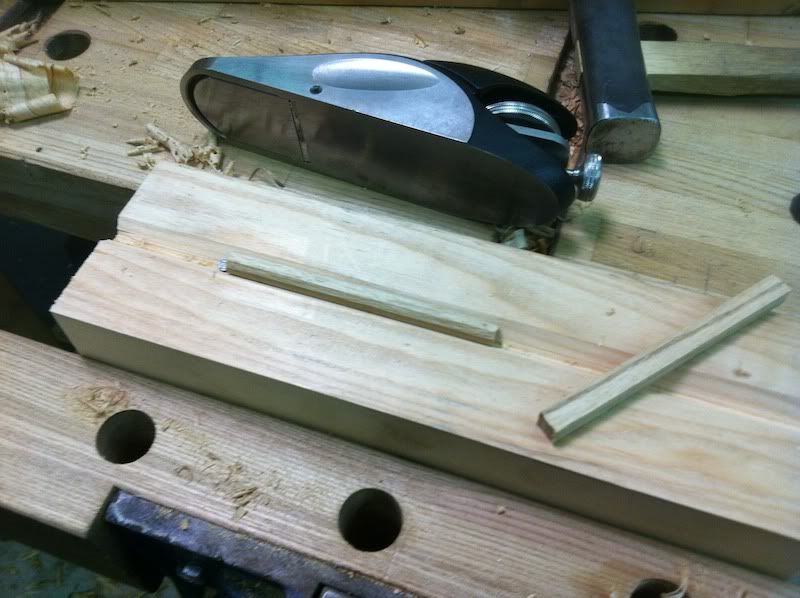
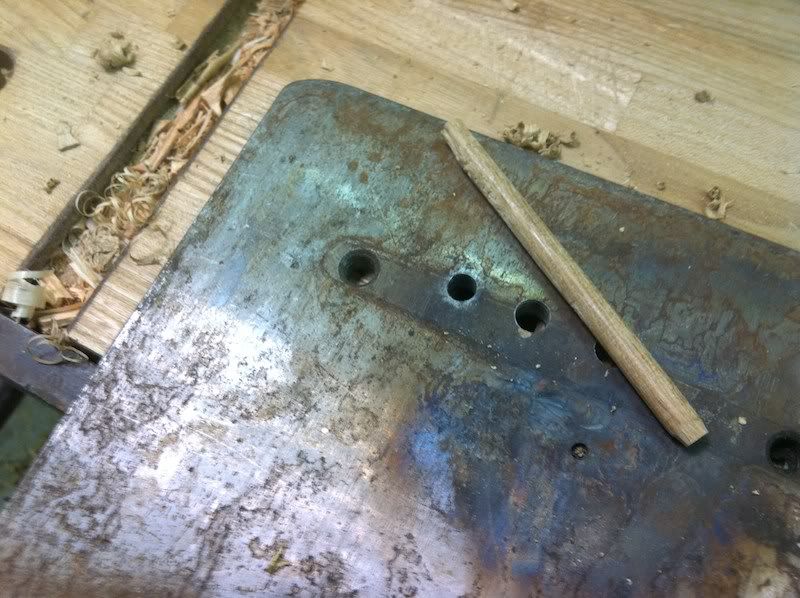
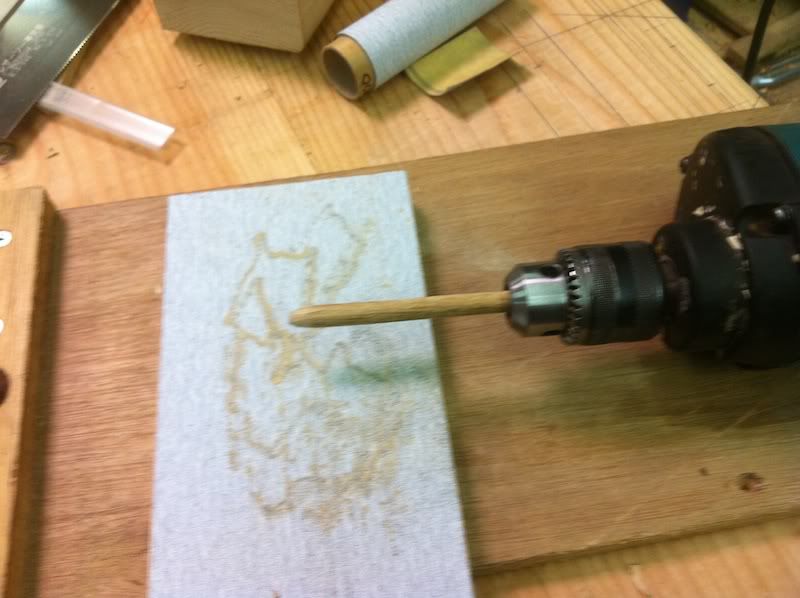
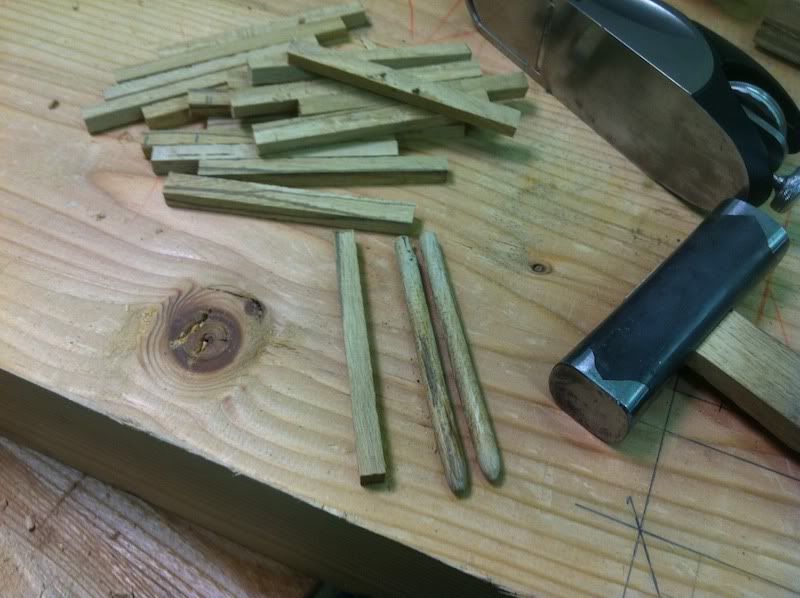
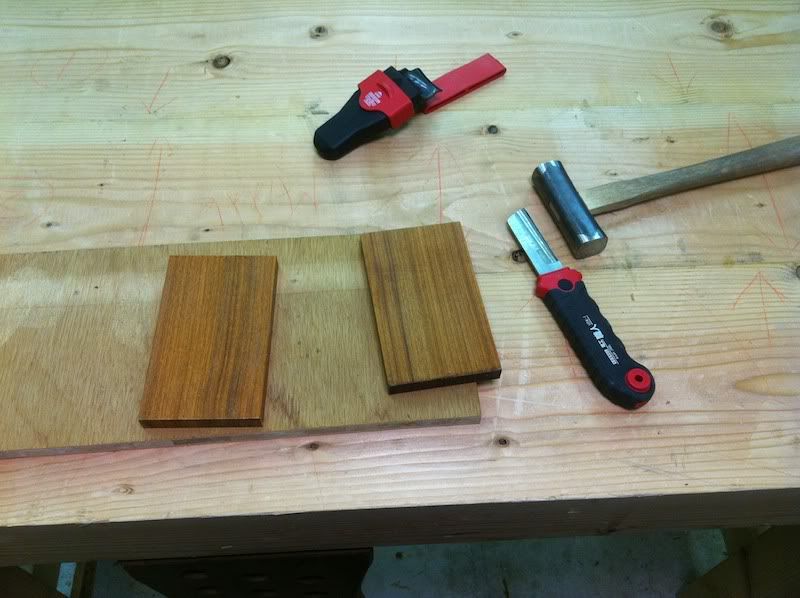
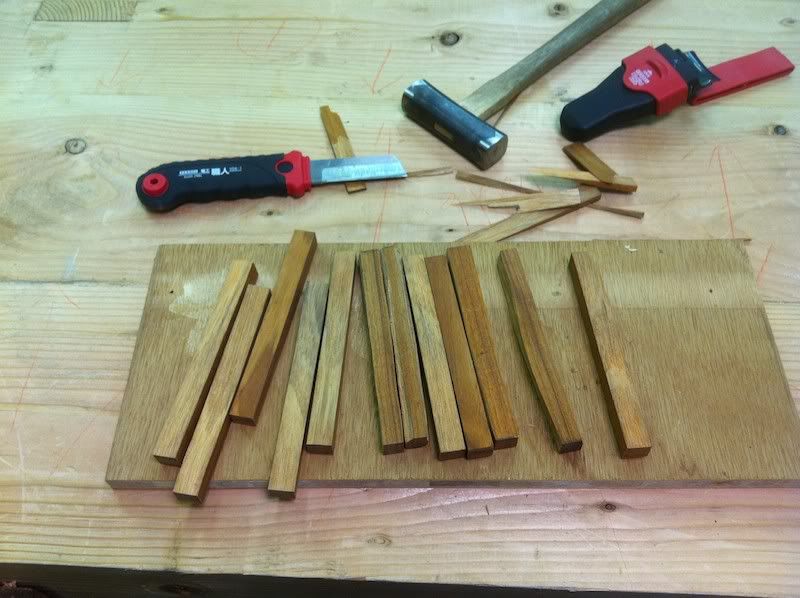
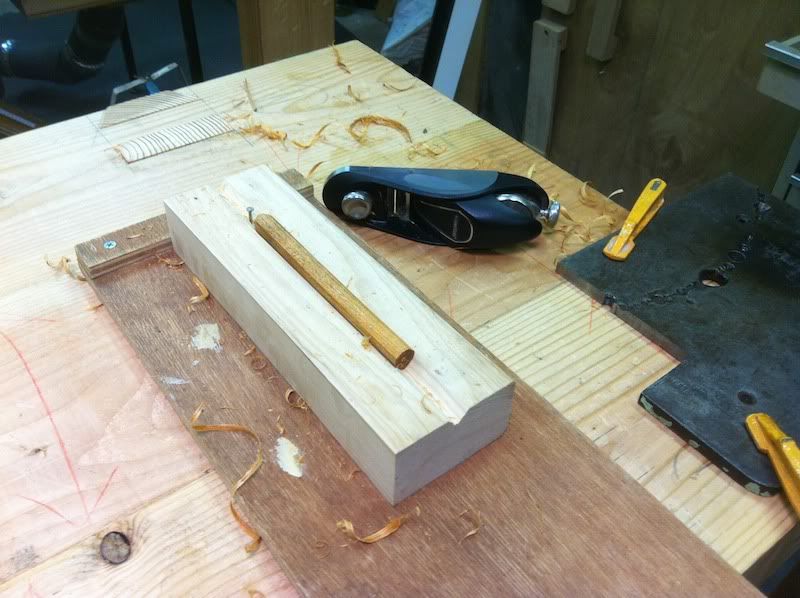
I had some good strong Oak kicking around that I cut up to near the size I needed, then I drilled a 7mm hole through a piece of very hard steel I have, the pins would brake off as I tried to drive them through the plate. First I tried using slightly bigger holes, but this also did not work so well, then I came up with a very simple little jig.....
Stu, just a couple of suggestion for making a dowel plate work. First, I rive my dowels, which makes sure I have straight grain, and then I progressively pound them through the plate starting with the largest hole that it barely will not fit though. The dowels for bench mortises can be very long compared to those used for normal furniture, that you might need to use a thick piece of wood with slighty oversized holes for the dowel to fit in. You would place this on top of the dowel plate and place the dowel though that hole and though the hole in the dowel plate. This piece of wood serves to keeps the dowel from breaking by supporting the sides as you drive it though the dowel plate. It is easy to whack the dowel with a offcenter blow which may bend the dowel enough to make it break. It also helps in the alignment of the dowels as you pound them though the plate, making them nice and straight. I got this last tip off another forum.
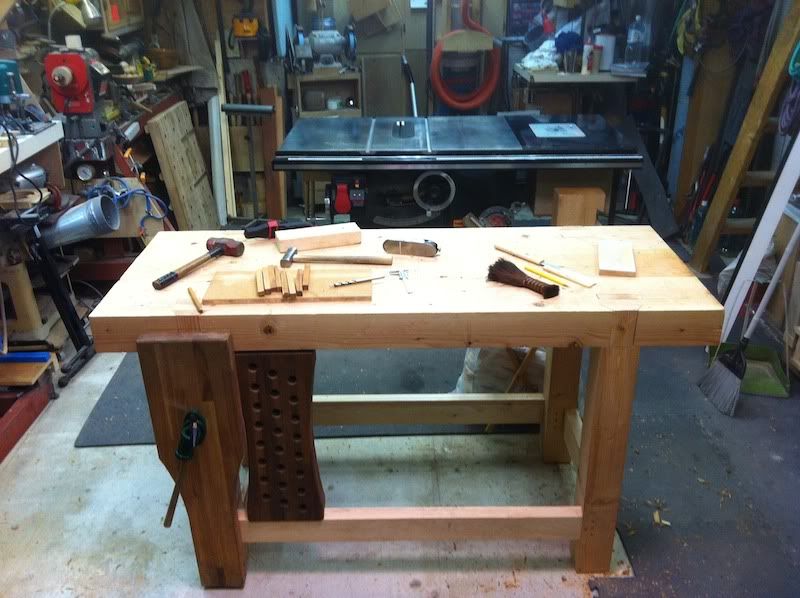
...I now need to find some of that thinned epoxy so I can fill up some of the voids and a few small cracks...
Stu your new bench is looking real good. I tbink you are going to find it really enjoyable to work on something solid.
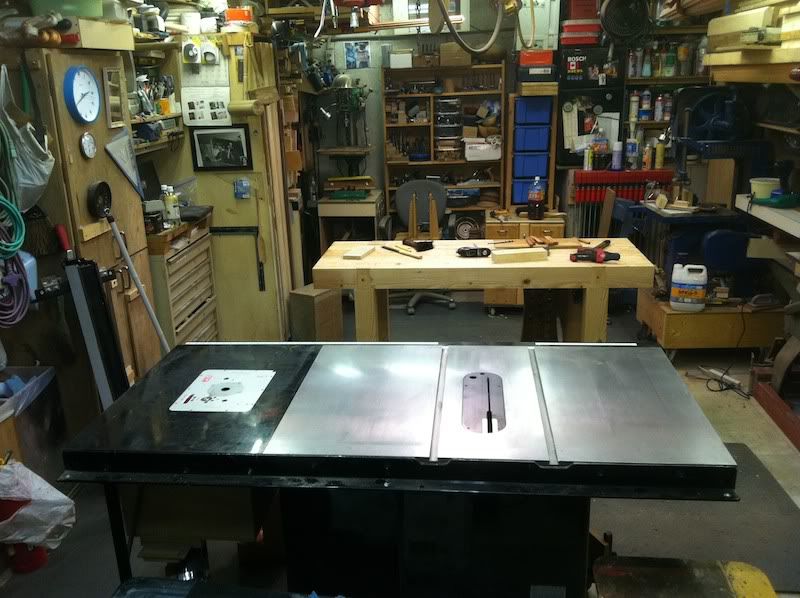
I will say i originally thought the saw stop add on was a great idea especially for space saving. But i can totally see merits more so when one has somthing on the go on your bench and then need to go over to the table saw and cut a bit off piece that requires use of the fence.
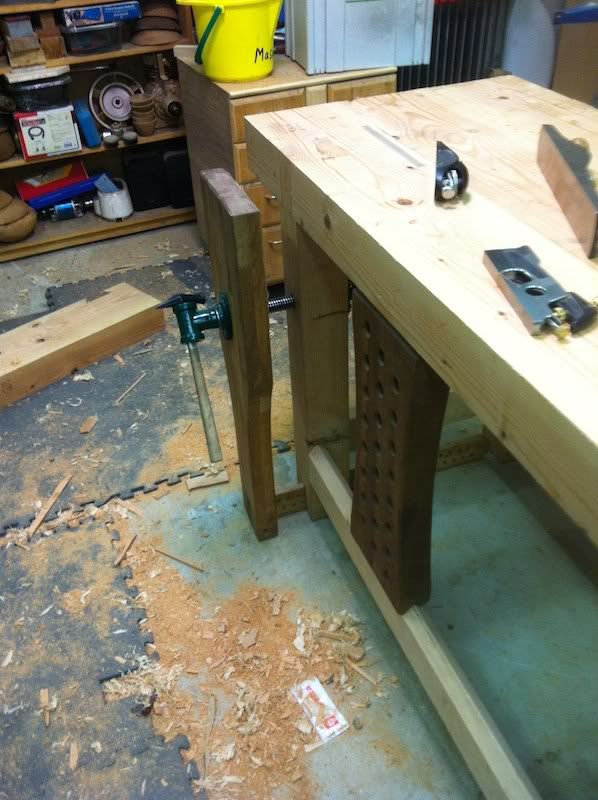
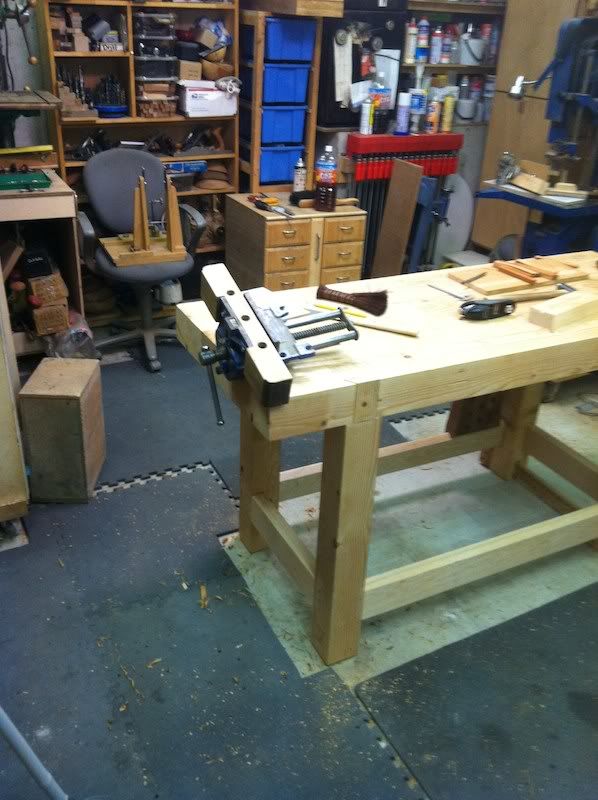
I tend to have some of Chris Schwartz's written words ringing in my ears when i work on my bench. The most obvious and profound thing he made me realize which frankly only truly hit home this past weekend was that a workbench is not merely a work surface but in reality a third hand. Yes our vices act as a third hand but only when i finally drilled my bench dog holes and got to try out and use those gramercy hold downs you recommended did it really hit home and bring to the fore the value of the workbench to me. Then i realized why it was neccessary to have access all around the bench too.
There is one feature my jury is still out on and that is
do we or dont we have a tool tray????
NO TOOL TRAY FOR ME, I'VE WORKED IN SHOPS WITH THEM, THEY ARE JUNK COLLECTORS, YOU COULD NOT GIVE ME A BENCH WITH A TOOL TRAY IN IT
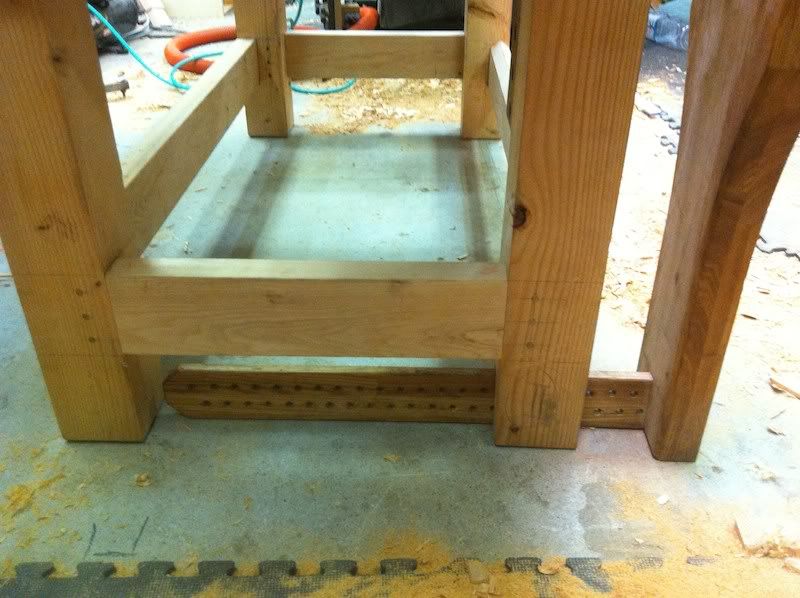
If not do we or dont we have draws/ storage under the bench top low enough for the hold downs to still function. ?
MY SHOP IS SMALL ENOUGH THAT HALF A STEP IN JUST ABOUT ANY DIRECTION AND I'M AT ANY OTHER PART OF MY SHOP. THE BENCH DOGS AND THE HOLD FASTS WILL LIVE IN THE SLIDING DEADMAN MOST OF THE TIME. OTHER THINGS HAVE STORAGE ALREADY, MY WORKBENCH IS A TOOL, NOT A STORAGE CONTAINER. YMMV
Why? Well where do we store bench dogs, hold downs, bits of small stock to use as wedges in securing a work piece between two bench dogs. These need to be close at hand if they are going to be used as frequent as one really would like to.
Question? Did you make this bench the same height as the saw stop in the settled state?
MY FLOORS SUCK, THEY ARE NOT REALLY VERY LEVEL, SO I MADE THE BENCH JUST A TOUCH LOWER, LIKE 1/4" THAN THE SAWSTOP. I'LL MOST
LIKELY BUILD SOME SORT OF FOLD DOWN OUTFEED TABLE, SORT OF LIKE THIS.....
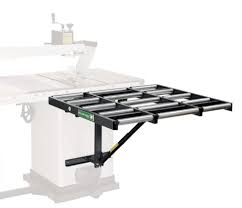
..... BUT A TABLE, NOT ROLLERS.
I certainly like the heft i see in the bench. You might have to counter bore your bench dog holes for you gramercy hold downs to work.
Enoy the pleasure of a good bench.
sent from my Atrix
Stu "MY WORKBENCH IS A TOOL, NOT A STORAGE CONTAINER. YMMV"
Bart "Any tool in a small shop with a open base & no cabinet with storage is wasted space."
Your right Stu"YMMV"
Oh & I like your bench too. What were the final dimensions? I do agree about the tool tray.