- Messages
- 11,635
- Location
- Constantine, MI
Next project(s) are for a customer in CA. He loves Greene & Greene and I'll be building three projects for him. We started with one but there is a significant savings on shipping to ship all three at once rather than separately.
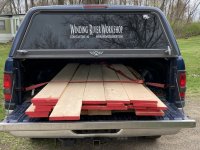
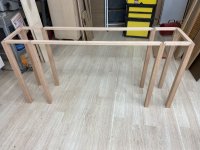
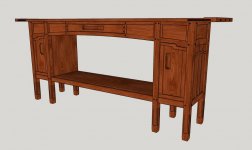
The first two are in cherry. A sofa table based on a design by Darrell Peart. I built this once before for my church back in Idaho but this one has the ends enclosed with doors on the front. There is also the addition of some 'Gamble house' trim on the end panels. The pulls will be provided by @Leo Voisine . The wood will be cherry. The table is 70" long.
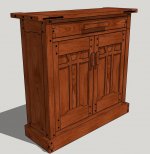
Also in cherry, and with matching details, is this cabinet. It is 32" wide and stands 30" tall.
Finally, the third piece is a wine rack. Many of the same details (my client really likes ebony plugs) but this will be in walnut. It stands 30" tall and 26" wide. Interesting detail will be a streak of sapwood across the backsplash - requested by the client.

All this starts in about a week and I expect will keep me busy for a couple of months.
The first two are in cherry. A sofa table based on a design by Darrell Peart. I built this once before for my church back in Idaho but this one has the ends enclosed with doors on the front. There is also the addition of some 'Gamble house' trim on the end panels. The pulls will be provided by @Leo Voisine . The wood will be cherry. The table is 70" long.

Also in cherry, and with matching details, is this cabinet. It is 32" wide and stands 30" tall.

Finally, the third piece is a wine rack. Many of the same details (my client really likes ebony plugs) but this will be in walnut. It stands 30" tall and 26" wide. Interesting detail will be a streak of sapwood across the backsplash - requested by the client.

All this starts in about a week and I expect will keep me busy for a couple of months.
Last edited:

