Chess Table Build

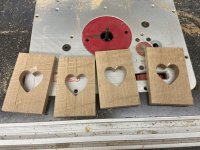
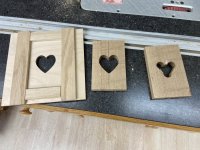
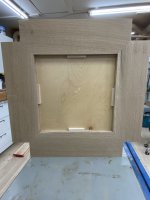
I’ll finish up the leg assembly tomorrow, pictures then. In the mean time I took care of the heart cut outs. Thanks Leo for the template. I traced out the heart on one piece, taped all four together and hogged out the interior with a forstner bit and coping saw. Then I fit each one into the template-made-jig and used a 1/4” spiral flush trim to clean it up.
EB49A401-0DB8-4D4E-B2CA-51AA90AD4971.jpeg69E92C00-31B2-4F3D-A24D-381337FC3973.jpeg
 
Getting to the round stuff.

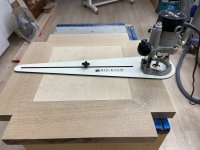
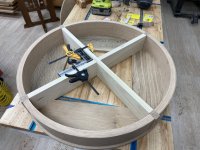
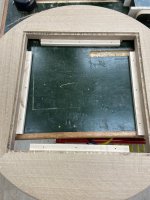
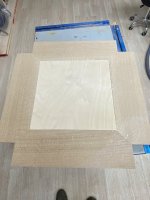
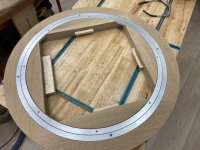
There are four levels of round - the top and bottom of the drawer case, the apron/drawer fronts, and the top. After gluing up the blanks for the top and upper and lower case (top only shown here because they are all the same process) I cut a piece of scrap ply to fill the void and give me a place to anchor the trammel. The small blocks are temp supports.
IMG_1942.JPEGIMG_1943.JPEGIMG_1944.JPEG

I used a 1/2" flush trim bit and made about 7 passes taking about 1/4" at a time. (Yes the top is nearly 1 3/4" thick) Then I adjusted the trammel in about 1/64" and made a single clean up pass all the way round.

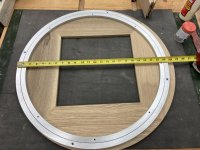
The next step was to flip the top over and using a 3/4 straight bit I made four passes around to make the groove for the 1/2" thick by 1 1/2" wide lazy susan to sit in. This will allow the top to 'float' above the drawer case by about 1/16". The lazy susan is very sturdy aluminum and getting one this large guarantees the table to will not rock when leaned on.
IMG_1950.JPEGIMG_1951.JPEG

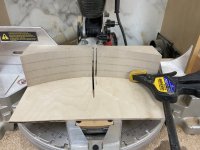
Next came the aprons - thanks to Glenn for some pointers on how to cut them. I traced the apron onto a glued up stack of MDF and cut it out on the band saw. A little sanding to make it right and then I attached it to a piece of 1/4" ply.
IMG_1955.JPEG

I marked the apron ends by scribing them against the spokes. I shifted the jig till I got the blade to line up with my cut line and then clamped it in place. All cuts are made at the same setting by flipping the apron end for end. I started the cut about 1/8" off the cut line, test fit, trim, repeat till I had it perfect. Then I used the first apron to mark the other three and made all those cuts.
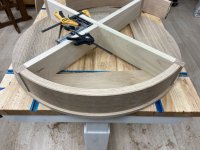
IMG_1952.JPEGIMG_1953.JPEG

The end result, it's all coming together nicely.
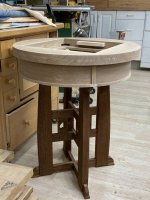
IMG_1954.JPEG
 
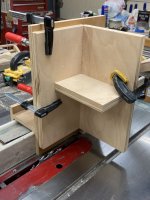
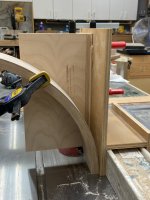
A jerry-rigged jig

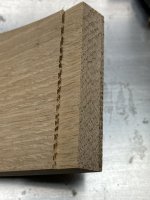
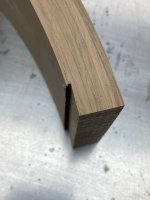
Did not want to have to build something for 4 little cuts so I Rube Goldberged this together. All I needed to do was establish a flat spot 1/2" wide and at 90 degrees to the end of the drawer face. It worked!

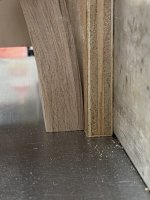
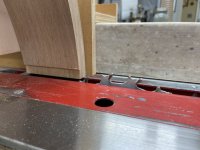
The combo of the two jigs holds the workpiece flat to the table and parallel to the blade. I used 1/2 of my box joint blade as it gives me a clean flat top cut.

IMG_1957.JPEGIMG_1956.JPEGIMG_1959.JPEGIMG_1958.JPEGIMG_1960.JPEGIMG_1961.JPEG
 
Last edited:
OK, so I have not been a frequent an updater as I intended to be. Sorry.

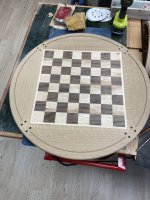
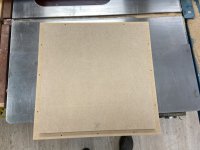
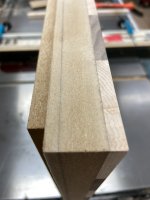
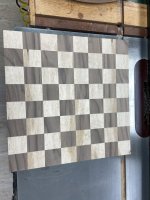
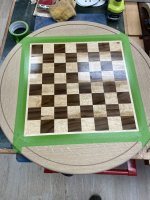
I made progress on the chessboard. Using bird's eye maple and walnut I made the board using the standard rip, glue, rip, flip, glue method. The board, about 5/16" thick is glued down to two layers of 3/4" thick MDF prior to running through the drum sander where it is reduced to about 1/4" thick. The lower MDF sheet is rabbited all around for two reasons. I need 1/2" clearance at the corners for the lazy susan, and it allows me to install four cleats to which I can screw the board in place.

The playing surface gets a coat of Danish oil to bring up the bird's eye figure and darken the walnut. Once that cures it will get a couple of coats of poly to seal it and protect it from the dye/stain process on the oak.

I also figured out the swing out compartments - more on that to come.


68289327488__25558250-F17D-43A5-B7FD-90E7727CE8FE.JPEGIMG_1969.JPEGIMG_1968.JPEGIMG_1967.JPEGIMG_1966.JPEGEC58183D-6B12-42E1-8345-9E5DF2947792.jpeg
 
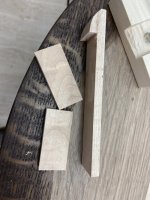
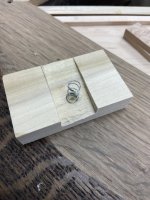
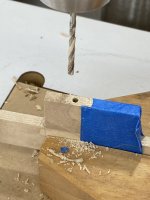
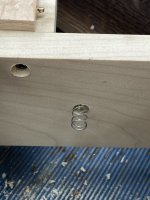
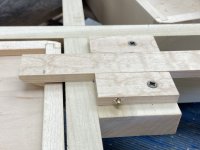
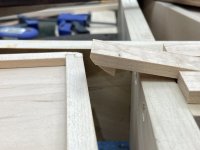
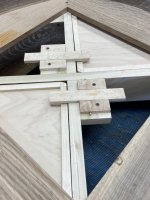
It took me a while, many visits to YouTube and some woodworking sites, but I figured out how to latch my swing out compartments. Some scrap poplar and maple, some 1/8” brass rod and a couple of compression springs from the Harbor Freight collection and I have a nice hidden release that pops the drawer out! Can’t stop playing with it, kinda fun to pop the drawer! :rofl:

03B539C8-3BC7-4010-94E5-EA9E72CA4CC9.jpeg0E06F652-D918-421E-8F64-57A77CD98316.jpeg40A561E8-27F4-4F4D-A3FD-D160883E3B46.jpeg882E2003-9206-4DE4-8D33-6789037E9DD6.jpeg7155E719-2B43-4003-8073-2C1590A1C5CF.jpeg4CD2099C-86AF-4ABC-BC87-B1C371A40E0E.jpeg5A6BC0FD-9725-4087-8591-94F68DA326ED.jpeg
 
Top