Entryway Bench

Rennie Heuer

Moderator
Staff member
Messages
11,640
Location
Constantine, MI
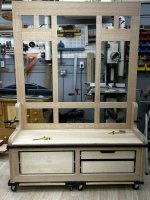
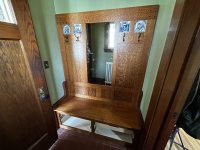
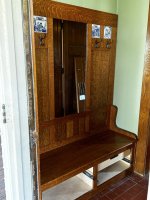
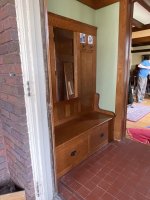
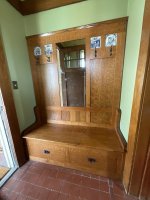
Next project on the calendar is an entryway bench. This will be installed by me. It is a little less than 5' wide and over 6' tall. The wood will be QSRO with a lighter wood (YTBD) making up the grid and the inlay strip across the top. Center mirror, three hooks on each side and some antique delft tiles (supplied by the client). Drawers below for shoe storage.
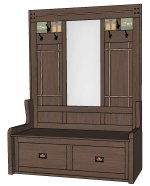
Entryway Bench Job 23-001.jpg
 
Uhmmmm, thought. you weren't supposed to post early pictures of your clothes hanger for the contest early! :oops:
Man that is gorgeous! :love:
Love seeing your work Rennie! How's the new pup doing? Carrying in a bunch of sawdust to the house from the shop?
 
looks Good Rennie, BTW is that your entry for Toni's contest, if so you are disqualified for showing it early.... :ROFLMAO:
Nope, not my entry Could have been, I guess.
Uhmmmm, thought. you weren't supposed to post early pictures of your clothes hanger for the contest early! :oops:
Man that is gorgeous! :love:
Love seeing your work Rennie! How's the new pup doing? Carrying in a bunch of sawdust to the house from the shop?
He's still too ready to put things in his mouth to be in the shop without my keeping an eye on him. We have had him in the shop while machines are running and he seems not to be phased by the noise.
 
Too long since I posted here.

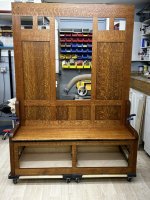
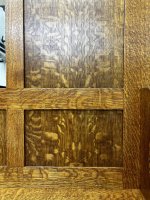
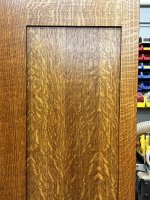
I had this great idea of using some very wild grained QSWO veneer for the panels in my QSRO frames. Once dyed and stained they turned out to be wild indeed! Also, in spite of my efforts, the color was a bit off. I sent these photos to my client letting him know I was perfectly happy to go get a sheet of QSRO veneer and remake the panels but he said he was very happy with the current look. Great news.

Almost done, will install soon.

IMG_2303.JPEGIMG_2304.JPEGIMG_2305.JPEG
 
I think you'd have been hard pressed to find a more or even close to as figured of piece of oak! I'd have taken it as the client as well.. wow.. I reckon the color will likely normalize a bit with a bit of time.
 
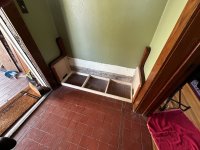
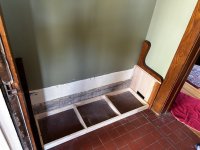
Finally got the opportunity to do the install on the entryway bench. It was a bit of a puzzle, with a definite sequence of events in order to get everything in because the tight space it was going into. The first thing to go in was the base. It was shimmed and leveled and attached to the wall.
IMG_2353.jpegIMG_2352.jpeg

Then the drawer box goes in. It is just fit loosely in place. It is not attached.
IMG_2354.jpeg

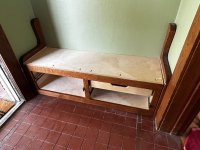
The seat went in next. And then one of the arms had to be taken out in order to slide the backboard in. Once the backboard was in everything was pulled together with screws, and the backboard was shimmed and attached to the wall with a trim piece across the top to hide the screws.

IMG_2355.jpegIMG_2356.jpegIMG_0398.jpegIMG_0399.jpeg
 
Top