- Messages
- 7,991
- Location
- falcon heights, minnesota
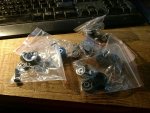
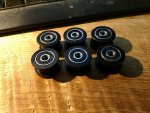
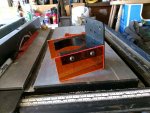
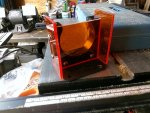
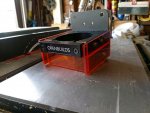
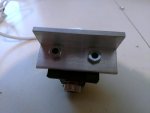
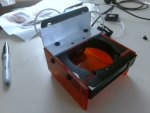
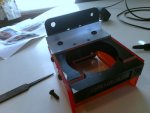
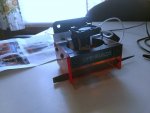
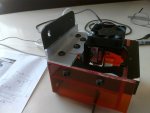
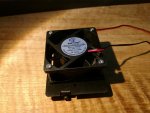
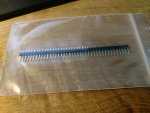
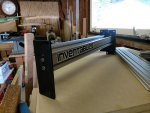
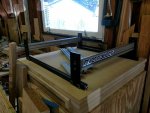
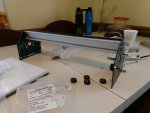
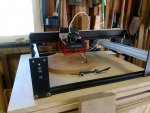
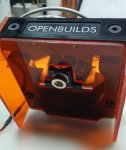
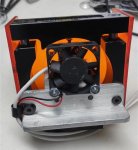
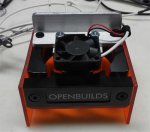
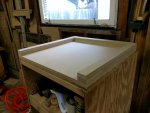
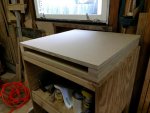
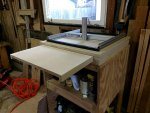
the fun is almost ready to begin! already have the laser kit, and most of the parts for the build. thanks to bill for sending the bits of makerslide, and robert johnson for cutting the new end, and carriage plates. today i finally got the new wheels from china. surprised the daylights out of me, as they are already assembled! hopefully, the idlers should be here in about a week or so. i the mounting bracket arrived the other day, and i'm planning to set up the laser in it like the one in open builds. seems straight forward, and very protective.


")
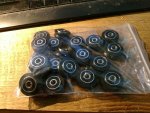
 after checking, the idlers should be here early this coming week.