Toni Ciuraneta
Member
- Messages
- 5,629
- Location
- Catalunya
Hi mods, I wasn't sure where to post this thread please move it if you consider it so.
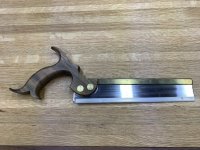
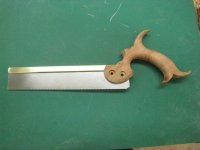
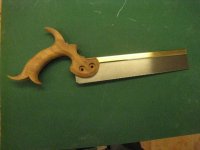
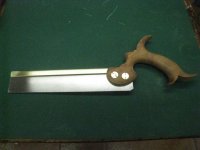
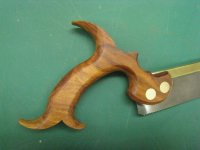
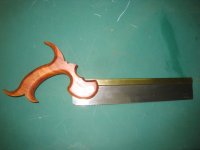
Some years (yes years) ago I bought the Gramercy dovetail kit. I kept it as I had other projects ongoing and forgot about it. Last week I made a major tidyng up on my shop and found it so I decided to make it.
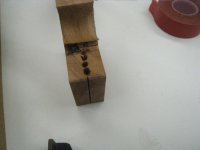
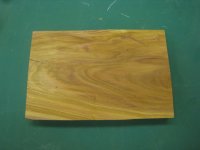
I have some small pieces I cut from a pear tree that my FIL fell and cut into pieces as firewood, which made me mad when knew. So I took some of the pieces and they were already split and checked ( you can see it)so I tried to save as much as I could (I'll post the process later on).
In order not to mess it up I'm following the instructions step by step.
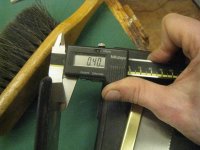
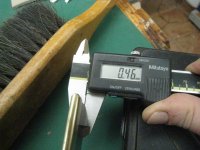
Planed the piece to thickness.
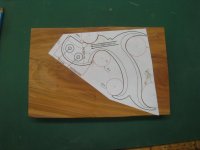
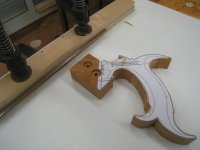
Stuck the paper template
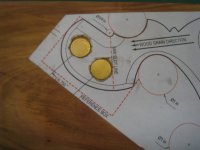
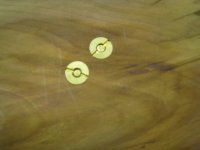
Made the holes for the bolts and screw nuts that hold the blade.
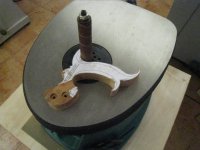
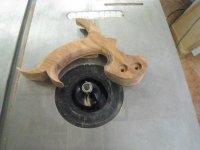
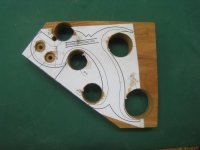
Rough cut the shape of the handle.
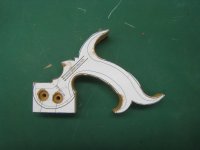
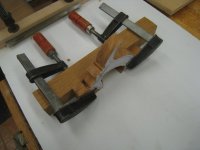
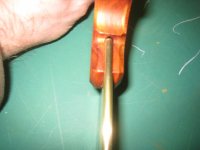
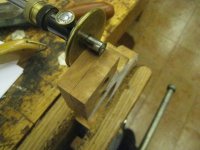
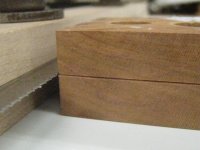
Mark and cut the blade slot holding the blade between two pieces of maple of the exact half thickness of the handle. ( Here I should have made first the holes for the rib)
to be continued...
Some years (yes years) ago I bought the Gramercy dovetail kit. I kept it as I had other projects ongoing and forgot about it. Last week I made a major tidyng up on my shop and found it so I decided to make it.
I have some small pieces I cut from a pear tree that my FIL fell and cut into pieces as firewood, which made me mad when knew. So I took some of the pieces and they were already split and checked ( you can see it)so I tried to save as much as I could (I'll post the process later on).
In order not to mess it up I'm following the instructions step by step.
Planed the piece to thickness.

Stuck the paper template

Made the holes for the bolts and screw nuts that hold the blade.


Rough cut the shape of the handle.


Mark and cut the blade slot holding the blade between two pieces of maple of the exact half thickness of the handle. ( Here I should have made first the holes for the rib)


to be continued...

