glenn bradley
Member
- Messages
- 11,542
- Location
- SoCal
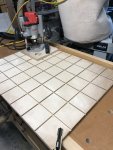
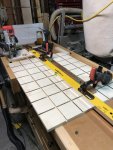
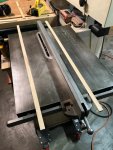
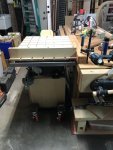
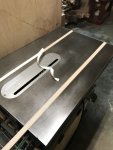
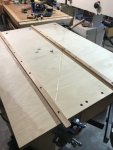
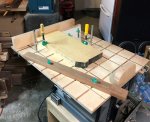
With my current between-shop limitations I needed a longer, narrower sled for Grandpa's saw. I have some Matchfit fixtures and decided to go with that. My router table is normally attached to my tablesaw giving both tools the benefit of the larger work surface and fence positions. This meant I could only get so far on the RT under my current conditions.
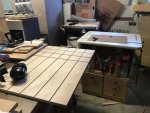
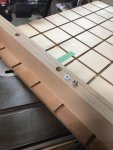
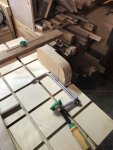
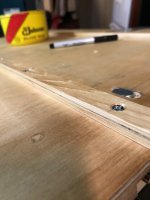
I grabbed a piece of scrap that I had been using as a backer board at the drill press (therefor the random holes and such) to make a guided jig for the handheld router. I let a piece of 1/4" MDF into a dado to act as a runner.
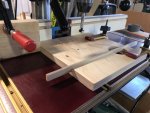
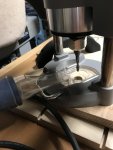
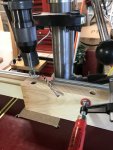
I measured off the offset for the bit position and drilled a hole. I confirmed center with a positioning pin and sized the hole for this template guide.
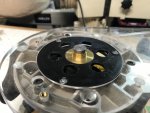
I took off the plate and put the guide in the hole. This let me mark the router base hole positions with a transfer punch.
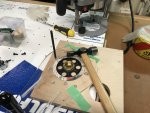
I drilled the mounting holes, counter bored them to accept the normal base plate screws and attached the router base. I popped the motor in and gave it a test fit. This is when I realized that I had purposely used a resharpened spiral bit that was now undersized from 1/4". Doh! . . . I scraped the runner a few times and it now fits fine.
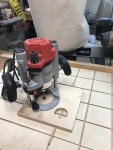
Although the shellac'd and waxed bottom and runner slide well I din't feel I had confident control of the fixture. I added one of those handles I bought a bunch of at the "Re-Store".
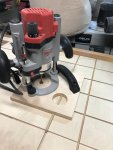
Feels good. Time to give it a whirl.
P.s. This is yet another project out of that free plywood my Son in Law came up with. It's amazing how creative you get when the cost is near-zero.

I grabbed a piece of scrap that I had been using as a backer board at the drill press (therefor the random holes and such) to make a guided jig for the handheld router. I let a piece of 1/4" MDF into a dado to act as a runner.

I measured off the offset for the bit position and drilled a hole. I confirmed center with a positioning pin and sized the hole for this template guide.

I took off the plate and put the guide in the hole. This let me mark the router base hole positions with a transfer punch.

I drilled the mounting holes, counter bored them to accept the normal base plate screws and attached the router base. I popped the motor in and gave it a test fit. This is when I realized that I had purposely used a resharpened spiral bit that was now undersized from 1/4". Doh! . . . I scraped the runner a few times and it now fits fine.

Although the shellac'd and waxed bottom and runner slide well I din't feel I had confident control of the fixture. I added one of those handles I bought a bunch of at the "Re-Store".

Feels good. Time to give it a whirl.
P.s. This is yet another project out of that free plywood my Son in Law came up with. It's amazing how creative you get when the cost is near-zero.

