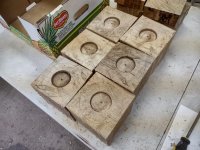
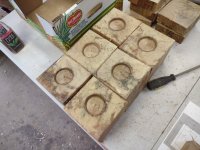
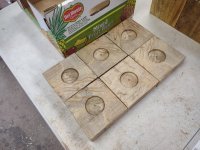
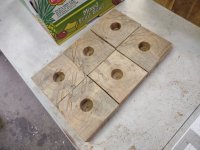
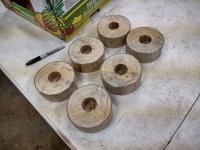
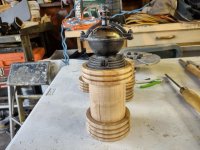
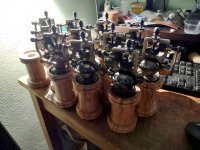
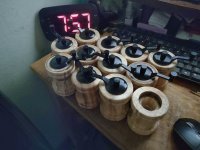
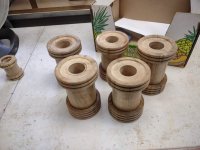
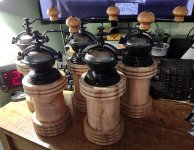
new salt mills, pepper mills, and coffee grinders!

i made sure to keep my hand well under the beaded area, and at a moderately slow speed, and light pressure. i like my hand just the way it is...
My hand started well away from the bit, and I was drilling at slow speed with light pressure. Plus, my bit was sharp. All it takes is one catch...you'd be amazed how quickly things can go south. ;)
 
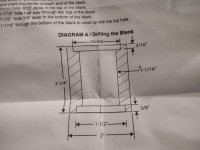
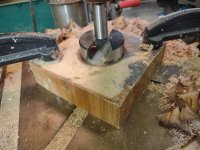
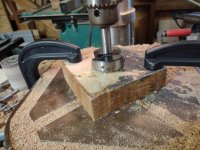
i switched from drilling them on the lathe, to the drill press, when i found the through holes (not that big a diameter as that, would have a tendency to go off track with the ambrosia maple. that, and the smoke. also, the salt mill bodies have to have 2 insets made for the mechanism, plus the through hole for salt storage. the inset for the pepper mill is 2 inches in diameter, and only 1/4 inch deep, for the salt mills, the top inset is 1 1/2 inches, and 3/8 inch deep, and the bottom one is 36 mm wide, and 3/16 inch deep. the through holes on each, are 7/8 inch in diameter, and for the pepper mill 4 inches, and salt mill 3 inches. each of the through holes are drilled half way from each direction, and meet in the middle. that way, each is centered by the marks from the drive, and live ends. up until this latest batch of ambrosia maple, they have cut rather nicely, starting and finishing in seconds, without catches. this batch was like trying to drill through wood harder than white oak. clamping the finished bodies would have been difficult at best, and certain to leave marks. as i have said before, i needed a little extra help in holding the bodies, and my fingers came nowhere near the top of the bodies, and definitely nowhere near the bit, and very little pressure was used while drilling.
 
My hand started well away from the bit, and I was drilling at slow speed with light pressure. Plus, my bit was sharp. All it takes is one catch...you'd be amazed how quickly things can go south. ;)
i know what you mean, between my thumb and fore finger, i have 16 stitches to remind me, 11 on one, and 5 on the other. both with the table saw. what were you drilling?
 
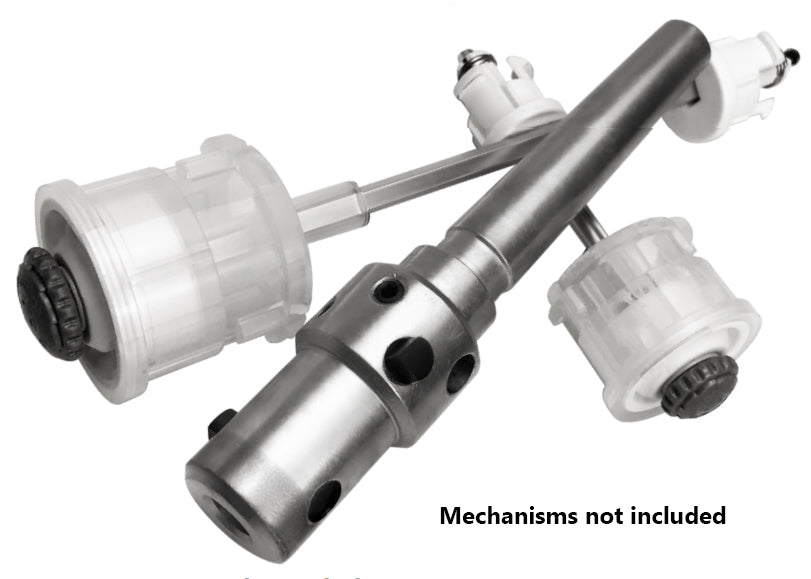
If I was doing a lot of pepper mills it might be worth rigging something not entirely unlike this up. Doesn't look overly hard to reproduce even..

 
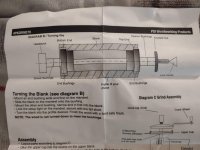
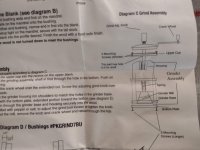
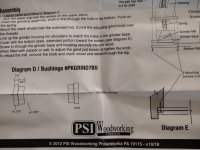
ok, here are the instructions for the salt mills. i had to modify to make them easier to make, rather than predrill, and mount between bushings on a mandrel. for me, it is easier to turn and finish the bodies on the lathe, that way i know the centers are on line. i use a much narrower bit for the through hole, as i will have more to drill into for the screws, instead of a 3/32" ledge. this way works out a lot faster to turn, and easier to assemble. same with the pepper mills. they show the mill being added to the top of the body, and like having the inset, as it guarantees a flat surface to screw the mechanism down to.
IMG_20221002_205640904.jpgIMG_20221002_205646411.jpgIMG_20221002_205650560.jpgIMG_20221002_205657952.jpg
 
i know what you mean, between my thumb and fore finger, i have 16 stitches to remind me, 11 on one, and 5 on the other. both with the table saw. what were you drilling?
I was re-drilling the opening on a votive candle holder. Won't be doing that again. :doh: I have a V-shaped scar on the web between my thumb and forefinger as a reminder. At least it matches my first name initial. :D
 
got them both from packard woodworking.
Okay, I know which kits you're working with... tried them once and didn't like drilling for the top cap....I use the other 3-4 inch pepper mill kits and their 6" kits, although I think the mfgr of the 6" kits has stopped making them.... I pretty much stick to the crush grinds now... need to start making some for next summer at the farmer's market in downtown K'ville.... I dropped out this summer, but miss the extra monies we were getting.
Packard Woodworking is my go-to supplier for most of my mill kits other than the crush grind... I still buy them out of Canada from the US distributor for Ideal out of Denmark. PSI offer a version (from China) of the crush grind, but I didn't think they were as stable as Ideal.
 
If I was doing a lot of pepper mills it might be worth rigging something not entirely unlike this up. Doesn't look overly hard to reproduce even..

I do a lot of the crush grind mills and looked at this tool, but since I don't use the third drill bit called for in the instructions (1 1/16), I find it easier to just use the second bit (1 9/16) on an extension and just drill through. That gives the storage capacity of the mill to be larger.
 
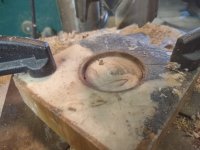
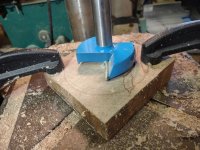
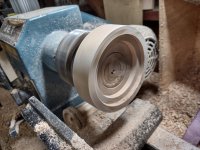
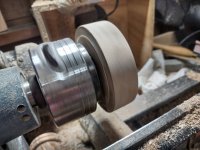
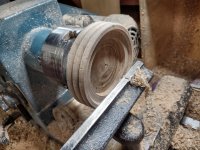
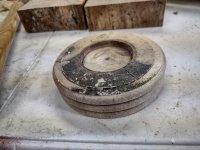
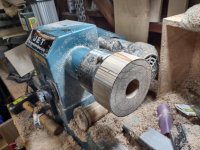
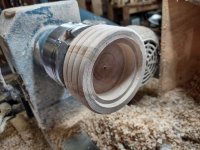
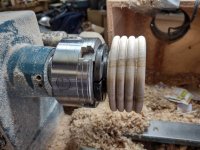
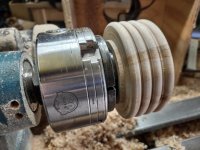
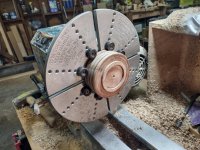
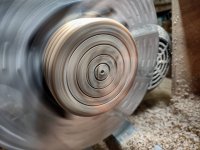
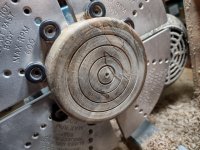
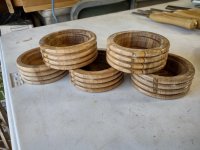
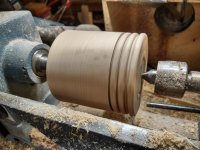
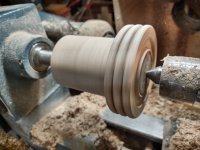
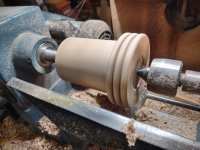
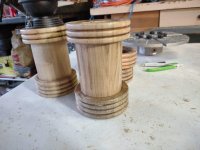
finally figured out how to do the bases for the coffee grinders. the same 36 mm bit that worked so well with the salt mills will be used to make a 1/8 inch (or so) inset for the jaws of the scroll chuck. then, i tried the one bit (blue one), and that was a no go. the 36 mm worked again, and drilled to a depth of my chosing, and mounted it on the chuck. turned off the corners, and trued up the top and bottom, and went to it with one of my scrapers, taking a little at a time, and it worked out pretty good. then, for the fun of it, i threw on some beads, and took a look at the bottom. i will chuck up the blank in some cole jaws (unlike richard raffan, i don't have every chuck/jaws set in the world), and clean up the bottom. the black you see is left over wax from the blank. on the real ones, after the insets are cut, i will be taking them for a ride on the band saw.
IMG_20221003_162906015.jpgIMG_20221003_163131792.jpgIMG_20221003_163200776.jpgIMG_20221003_163924993.jpgIMG_20221003_171056210_HDR.jpgIMG_20221003_171101803_HDR.jpgIMG_20221003_171808307_HDR.jpgIMG_20221003_171906780_HDR.jpg
 
busy day today. fixed a small problem with the salt mill bodies, and now they are ready for adding the mechanisms. finally figured out a way of doing the coffee grinder bodies. drilled a set of insets in the top and bottom. then, they will be turned to round, to the proper diameters, the beads will be added at the top. then, the bottom will have the chuck jaws in the bottom inset, and the rest of the inset for the mechanism with be done with a rather sharp scraper. after that, the through drilling will be done on the drill press, with each end meeting in the middle. the blanks for the base have had a shallow inset drilled for the jaws, then from the top, a hole bottoming out at the bottom of the coffee area. the blanks were then cut to near round on the band saw, and the first one is mounted on the lathe, waiting until i have more time off. the inset for the upper part will be done with the scraper first, then removing the rest of the coffee area. the blank will be trued up, and beads added while the blank is in the jaws. when that is done, and that much is finished, i will reverse it, and use the cole jaws to true up the bottom, and apply the finish.
IMG_20221004_150711789_HDR.jpgIMG_20221004_151048093.jpgIMG_20221004_155432719.jpgIMG_20221004_155457362.jpgIMG_20221004_173751906_HDR.jpgIMG_20221004_194349897_HDR.jpg
 
got started on the bases yesterday after work. got 5 turned, as a bit of punky wood took out one of the top beads on the first one. i used that first one for practice. instead of drilling (which turned out to be a pain, no pun intended), used a square scraper, and it worked out quite well. i will have to make the bottom parts of the tops to fit the individual bases. the idea of an inset in the bottom worked out quite well, as well as drilling a hole to depth from the top. i got the 5 blanks turned, first truing up, then the beads. after that, going after the depth of the shelf (for lack of a better term) for the top part, then to the bottom of the depth hole, for the ground coffee. once those were done, mounted up the cole jaws, fitted the base, and cleaned up the bottom, adding a little bit of decoration as long as i was in the neighborhood. almost forgot, before taking off after the first turning, the blank was sanded to 400 grit, and finished, the bottom was sanded and finished after adding the decoration. once the last of the bottoms are finished, then it is on to the top part, as today is a day off for me....

IMG_20221008_140428240_HDR.jpgIMG_20221008_140432198_HDR.jpgIMG_20221008_140436596_HDR.jpgIMG_20221008_173624383_HDR.jpgIMG_20221008_180703870_HDR.jpgIMG_20221008_180714934_HDR.jpg
 
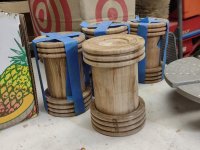
got the last of the bottoms of the bases done, and started in on the top parts. turned the blank between centers, and made the beads. then cut to fit the base, and finished. i found that using the cole jaws on the top part, made it easy to cut the indent for the mechanism. started a second one before calling it a day. once the other three are done, then all that is left is to drill the through holes.

IMG_20221009_150036202_HDR.jpgIMG_20221009_151408029_HDR.jpgIMG_20221009_155454727_HDR.jpgIMG_20221009_162708652_HDR.jpgIMG_20221009_173453218.jpgIMG_20221009_174525935.jpg
 
well, 4 coffee grinders just about done. one still needs the inset for the mechanism, and all need to be drilled through. the fifth one is mounted on the lathe, and ready to be turned. finished assembling the pepper mills last night, and found for some reason, i am shy by one mechanism, so i ordered a replacement. depending on my energy levels, i may finish off the salt mills tonight.
IMG_20221012_155026502.jpgIMG_20221012_155238555.jpg
 
got the last of the coffee grinders turned today, and drilled all the through holes in the upper parts. oddly enough, no problem drilling these. now i have to get some screws to replace the machine screws, and add the mechanisms.
IMG_20221013_143203822.jpg
 
Top