Sideboard for the Dining Room

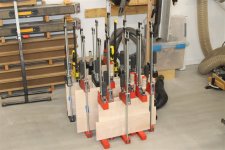
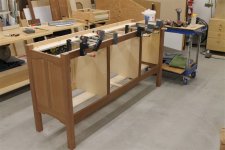
I've reached a phase where you work all day and it looks like nothing happened :). I glued up the front frame.
Sideboard (113).jpg
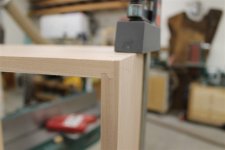
I over-looked or over-glued one joint and was disappointed to find this.
Sideboard (114).jpg
I tried to channel Toni and carve my way out of it. I think I can work with this.
Sideboard (115).jpg
I was mentally struggling on how to process the glue up of the front and back frame subassemblies to each other. I realized I could use pocket hole screws as clamps instead of actual clamps for the divider panels.
Sideboard (116).jpg
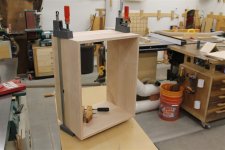
This let me do the glue up on the bench. The side panels are dry fit with tenons in place. My primary focus here is true and square for the internal structure, front, and rear frames.
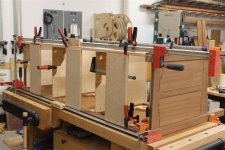
Sideboard (117).jpg
Like I said. All that work and you can't see a thing.
 
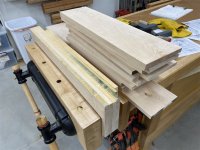
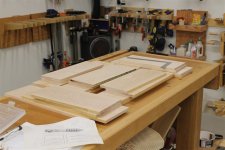
My buddy who helped me build the shop is down for a visit. I put him to work processing drawer box blanks.
Sideboard (118).jpg

Sideboard (119).jpg

Sideboard (120).jpg

Sideboard (121).jpg
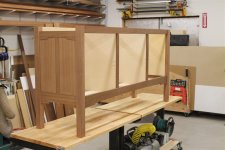
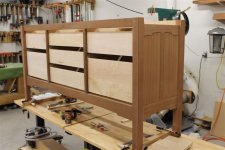
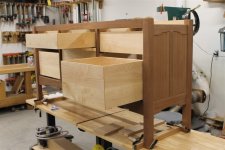
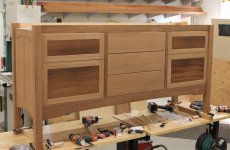
The vertical dividers are in and the end panels are on.
Sideboard (122).jpg
The carcass is effectively complete except for some internal structural elements.
Sideboard (123).jpg
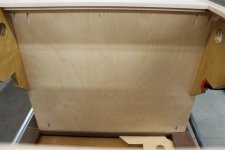
The upper and lower vertical items are anchored via some strips of plywood. The lower one is for divider panel lateral strength. The upper ones tie the long stretchers to the dividers and end panels.
Sideboard (124).jpg
The result is a nice solid structure so I am really pleased with that.
 
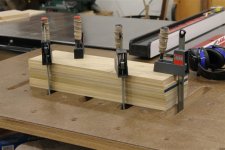
Just got back from Texas . . . attended a wedding. Time for some drawer boxes. This is how I usually do the fronts and backs for drawer-lock joinery boxes.
Sideboard (125).jpg
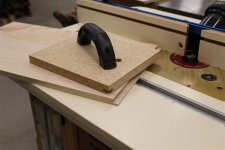
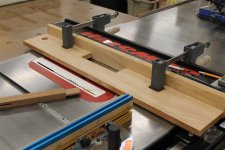
The push block acts as a backer board to avoid blowout. The clamp is due to my gimpy wrist.
Sideboard (126).jpg
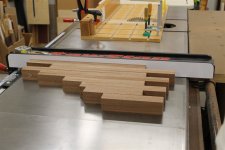
I usually run the sides using a tall fence but these sides are sub-15" so the regular fence is fine. The featherboard lets me concentrate on feed rate and vertical position.
Sideboard (127).jpg
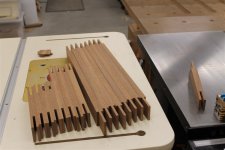
And you end up here.
Sideboard (128).jpg
Sideboard (129).jpg
Now I just have to do that 6 more times.
 
It was great having my buddy visit and helping me out. Now that I am on my own again I need to work around the gimpy-wrist situation . . . it's getting better every day.

I cut the frame stock for the left and right bay drawer fronts. If you refer back to the SU drawing you will see that these drawer fronts are floating panel . . . although false fronts none the less.

Sideboard (140).jpg
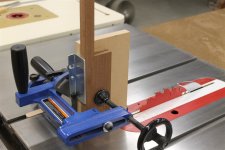
My tenoning jig has obviously been setting patiently. Time to clean it up and put it into service.

Sideboard (141).jpg
I added a sac-panel to the cast iron face and drilled screw holes to allow me to quickly attach backer blocks.

Sideboard (142).jpg
I start milling the bridle joints I will use for the frames. I don't really need the strength. I just like to add visual interest.

Sideboard (143).jpg
Sideboard (144).jpg
I use the L fence to cut the cheeks off.

Sideboard (145).jpg
Sideboard (146).jpg
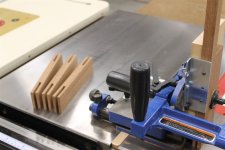
I will save the off-cuts for the glue up process later on. This will make sense shortly. They fit together like so.

Sideboard (147).jpg
You can see that the "fingers" are a bit proud.

Sideboard (148).jpg
This oversize dimension lets me "fit" the drawer fronts to the openings for a good look.
 
So here's why you hang onto those cut-offs.
Sideboard (149).jpg
The bridle joint is an open-ended M&T. Since we like the tenon to fit snugly we can sometimes force the outer edges open due to the glue film thickness. The cut-offs distribute the pressure from the clamps and make everything fit nice and tight.
Is it just me or does this look like an M.C. Escher drawing?
Sideboard (150).jpg
:D:D:D
 
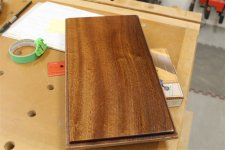
I've settled on a finish. An oil varnish blend with a light bit of coloration.
Sideboard (156).jpg
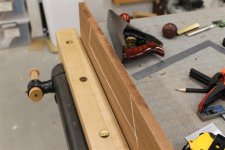
This is a lesson to take the whole 60 seconds it takes to swap blades. My laziness resulted in some burning.
Sideboard (158).jpg
A swipe with a hand plane cures the problem but the process took longer than swapping the blade would have .😡
Sideboard (159).jpg
Here's a poplar mock up of the pull design showing proportions and location.
Sideboard (160).jpg
The pulls will be sepele just like the rest of the piece. The mortise is just colored by a felt pen.
Sideboard (161).jpg
In reality this will be a piece of ebony pillowed and proud of the surface.
Sideboard (162).jpg
Ever onward.
 
This is a lesson to take the whole 60 seconds it takes to swap blades. My laziness resulted in some burning.

I have some cherry and maple that be the blade ever so sharp.. it will tend to burn a bit unless I'm taking a skim cut. I think they wood just has a lot of reaction in it.. so.. yeah. We could claim it was that :cool:
 
Top