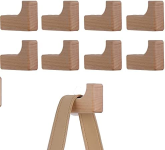
Wedding Picture Frame

glenn bradley

Member
Messages
11,558
Location
SoCal
A family friend's youngster is getting hitched. This gal and her sister hold a special place in my heart as they played a heavy part (back when they were two giggly teenage girls) in causing LOML and myself to bump into each other. Needless to say I want to make them something special. The betrothed love to cook together in the kitchen so a cutting board is already waiting in the wings.
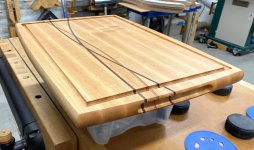
Shayna and Blake CB.jpg
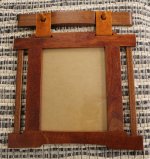
The plan is to attend the wedding, get some good pics, and then provide a picture frame a few weeks later to hold a "good one". Working with my secret delegation of spies I have landed on a design that will include a hanging strip with leather straps between the hanging strip and the frame. Something like so . . .
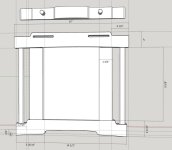
Shayna and Blake Frame Proto (0).jpg
I am a planner and so have to make at least one prototype before I make the eventual vertical or horizontal frame (depending on what pic is the "good one") for the happy couple. I have some decently figured mahogany that will fit their decor just in case this one becomes the keeper.
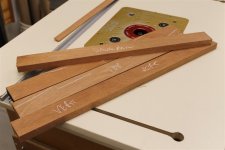
Shayna and Blake Frame Proto (1).jpg
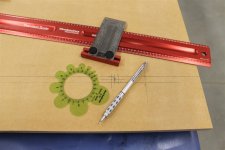
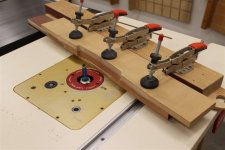
This is my version of a CNC.
Shayna and Blake Frame Proto (2).jpg

Shayna and Blake Frame Proto (3).jpg

Shayna and Blake Frame Proto (4).jpg

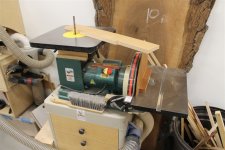
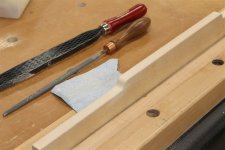
A little hand work . . .
Shayna and Blake Frame Proto (5).jpg
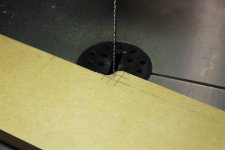
Some curve fairing.
Shayna and Blake Frame Proto (6).jpg
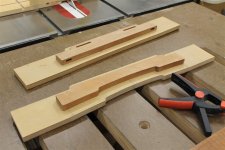
I am trying to make the templates cover the top and bottom profiles of each piece.
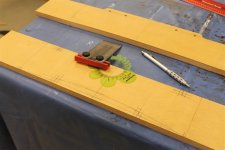
Shayna and Blake Frame Proto (7).jpg
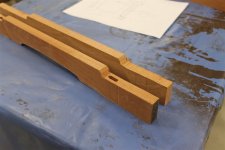
I'll cut the parts in the morning and report back.
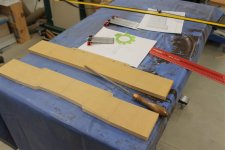
Shayna and Blake Frame Proto (8).jpg
 
Last edited:
Thanks guys . . . except for Rennie . . . **GROAN** :D:D:D

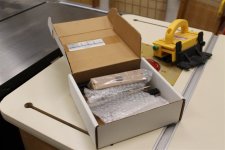
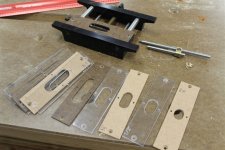
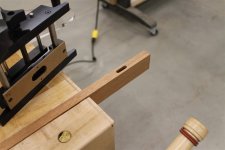
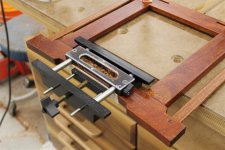
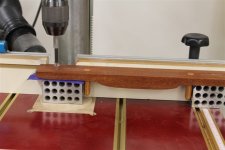
Too much family stuff going on today but I did want to try out the Mortise Pal. It has been a few years.
Shayna and Blake Frame Proto (9).jpg
One of the things l like about this rig is that it is easy to make your own templates for dual tenons, dowel rows or whatever.
Shayna and Blake Frame Proto (10).jpg
I use a piece of like-dimensioned scrap and take a whack at it.
Shayna and Blake Frame Proto (11).jpg
Yep. Pretty much works like it used to.
Shayna and Blake Frame Proto (12).jpg
I'm glad I stopped to post these pics. That mortise is the wrong size :oops:
 
Last edited:
Looking good, so far.

I bought a Leigh FMT Pro jig a couple of years before the Mortise Pal came out, so I never bought the Mortise Pal, and when they were no longer available, I wished that I had. Although the FMT does allow both the mortise and the matching tenon to be made with one jig setup, most of what I do now is use the FMT much like a Mortise Pal to make the mortises in both pieces. It does this easier than making the matching tenons too.

I cut mortises in both pieces, make tenon stock on the table saw, then plane them accurately to needed mortise thickness, leaving a few thousandths of an inch for the glue, so a snug fit, but one that can be pushed together easily by hand, but with no rattle before glue is added. I don't worry about the 1/2 round ends of the mortises, I make the tenon stock rectangular to fit the flat sides of the mortise well, and just let the half round cavities of the mortises provide a place for the excess glue to go. The fit of the large flat sides of the tenon stock to the mortise sides is what produces the strength in the joint anyway. I've never had one of these joints fail, even in chair making, so I must be doing something right. A Mortise Pal is smaller and easier to use than the FMT when used like this, but the FMT is so accurate that even wooden match sticks can be mortised and tenoned together with it., and multiple mortises in groups of up to four, with matching tenons can be cut using one setup, and they push together easily with no rattle before glue is applied. A dial on the FMT allows for this fine fit adjustment, so a tighter or looser fit is a one knob adjustment on the FMT. I still wish I had a Mortise Pal for those quick and easy joints though.

Making floating tenon stock is easy, if you don't spend time to make the ends round, so my method of making the tenon stock for use with the Mortise Pal should be explored. It helps simplify the job considerably.

Charley
 
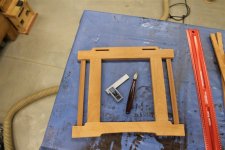
I used Dominoes for the vertical to horizontal frame parts. The vertical rods fit onto the mortises cut with the Mortise Pal. Everything seems to fit and clamp up square . . .
Shayna and Blake Frame Proto (16).jpg
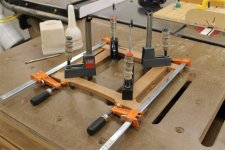
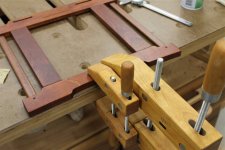
So into the clamps with some glue.
Shayna and Blake Frame Proto (17).jpg
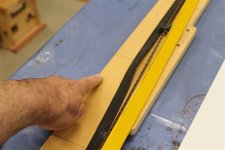
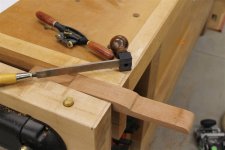
The hanging strip gave me pause. I had originally thought I wanted round pegs to hang the leather straps from but it just didn't look right to me. I've decided to let in some mahogany "hooks" that I will free form. This gave me a pretty wide berth with the hanging rail. I rough cut it on the bandsaw and took some implements of destruction to it to finalize the form.
Shayna and Blake Frame Proto (18).jpg
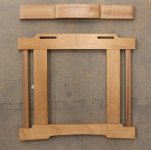
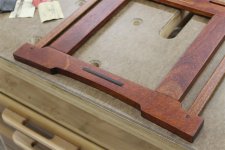
This is right out of the clamps.
Shayna and Blake Frame Proto (20).jpg
I plan to throw some ebony accents at it but I think I want to do the hooks and the straps first. I don't want to end up with something that looks like I fired the "design element" cannon at it :D
 
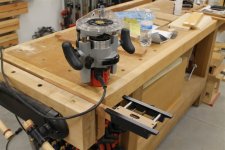
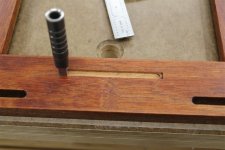
I'm still playing around with ideas on this design. Four ebony plugs and a couple of ebony bars. The Mortise Pal helped me add the slots after assembly.
Shayna and Blake Frame Proto (23).jpg
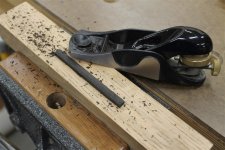
I doubt Darrell Peart had this use in mind when he designed these square punches. Still, they square off the ends of my routed slot well.
Shayna and Blake Frame Proto (24).jpg
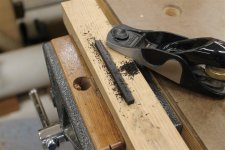
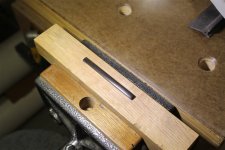
I also route a slot in a piece of scrap to act as a holder while I dimension and smooth the bar.
Shayna and Blake Frame Proto (25).jpg
Shayna and Blake Frame Proto (26).jpg
Shayna and Blake Frame Proto (27).jpg
A bit of glue and a couple of leather faced hand screws.
Shayna and Blake Frame Proto (28).jpg
One down, one to go.
Shayna and Blake Frame Proto (29).jpg
 
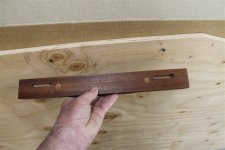
OK, I am finally happy with the design here. I seem to be determined to do things out of order on this piece. I added the pegs before I cut the keyhole slots. A couple of 1-2-3 blocks took care of that for the starter holes. The keyholes are finished at the router table.

Shayna and Blake Frame Proto (30).jpg . Shayna and Blake Frame Proto (31).jpg

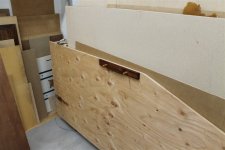
My poor sheet goods corral gets used as a test backdrop. The "hanging strip goes like so.

Shayna and Blake Frame Proto (32).jpg

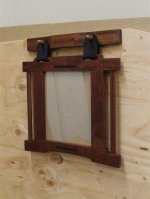
This prototype has mahogany and sapele components which do not work as well together as I had hoped.

Shayna and Blake Frame Proto (33).jpg

The process did teach me how to make these for when I do more. I could see them in cherry or walnut for a better contrast with the ebony. Once we get the "good" picture from the wedding I will make a frame in portrait or landscape dimensions as dictated by the pic for the happy couple.
 
a couple of leather faced hand screws

And why have I never done that to any of mine I ask myself. Another great tip buried in the build thread.

I do like the darker leather.


I kind of feel like the pegs are lacking something.. Maybe a little bump on the end? I'm thinking something akin to this (but different.. maybe a step underneath the end...)
1675720448147.png
 
@Ryan Mooney and @Robert Horky - Good stuff guys. I think most of you folks that know me (from being on here) know that I appreciate the input. To be honest I could have skippd the hanger and the leather all together but, the kids run a cattle outfit and their house is decorated in kind. We hope to get out to their place while we are back for the wedding to be able to make some judgements from first hand exposure. Their place is quite a ways from the wedding location (chosen for airport access) so we'll see ;-)
 
Top