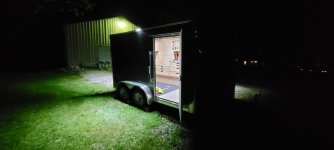
Work Trailer

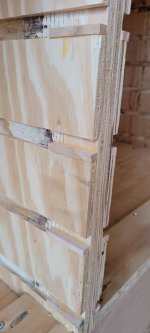
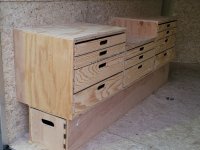
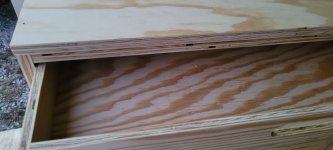
Tonight I picked up several sheets of AC sanded ply. I got tops added to each of the cabinets, which really stiffened them up. I got the rest of the drawer stops glued in.
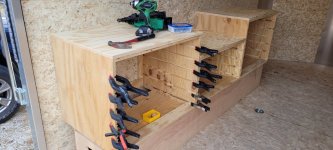
2021-03-08 17.12.11.jpg 2021-03-08 17.12.23.jpg
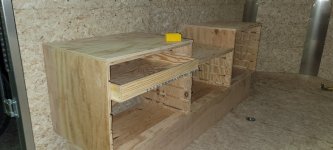
I also got all of the drawer parts cut out. I went through assembly of one to test it out. I probably should have waited to put the stops in as the plywood I bought was a bit on the thick side and didn't go in easily, so did a very shallow rabbet on each side of the drawer bottom to remove enough room to make them go in easily.
2021-03-08 19.44.27.jpg

They are nothing fancy, just butt joints, glue and screwed. I probably will wax the drawer slides, but just going with the Paulk plans. Hoping to get this finished up in a week or two to be ready to go to the farm at the first of April. Probably wont need to mow, but need to start demo on the "little" house on the property to see if it can be salvaged at all.

I'm still waiting on the solar panel kit I ordered, UPS seems to have lost it. Can get a refund from Amazon after tomorrow, but hopefully it shows up.
 
Excellent progress! Not sure, have we seen pictures of the little house? I know I've seen the main house and the barn and garage.
 
Excellent progress! Not sure, have we seen pictures of the little house? I know I've seen the main house and the barn and garage.
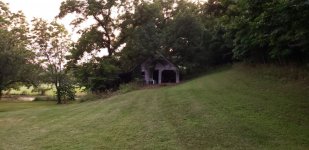
It's much older than the farm house. Her Grandpa cut a big hole in the front to use it as a garage for his old Mercedes 180D to park in. There is a lean-to on the left side, that is hard to see in the pic, that he parked the tractor in. I've cut most of the foliage back from around the house since the pic was taken. Half the roof was tinned over, the other half, on the right is falling down, due to not being re-roofed. Part of the wall on the right side has about a foot of rock/dirt piled against it that needs uncovered. Probably not worth saving, and needs to come down, so will start with that half and see how the rest looks to see if the foundation is worth putting new walls on for a small guest house.
2020-07-04 20.36.53-1.jpg
 
I've been finishing up drawer assembly the last couple of nights. Again, not fine woodworking, but should be pretty functional.
20210310_183136.jpg

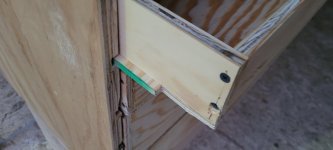
Here are the cut-outs for the drawer lock. This allows the drawer to drop down behind the little hardwood blocks I glued in.
20210310_183149.jpg

Example...

I started to make the top overhang by 1", mostly for clamping to, but then realized all I really needed to do was open the drawer for some clamping surface.
20210310_183310.jpg

I did some lay out for the upper cubbies and the taller end cabinet for packout and hf storage boxes. Those will be next.
 
Going to be a nice work trailer. You're going to need to put a hitch on your travel trailer to tow the shop trailer.

You'd be surprised how often I see that kind of thing out here with a truck, rv, boat combo going down the highway.
 
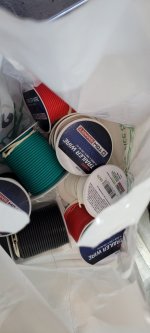
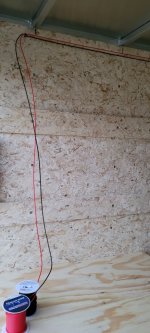
I stopped by Menards the other day and while browsing came across a shelf full of "trailer" wiring on close-out for $7.99 each. They were 100' spools of 16 and 14 gauge wire, so grabbed 7 spools. Tonight I started layout and running circuits. I'll probably head back and buy the rest if there is any left for that price.
2021-03-11 18.21.02.jpg

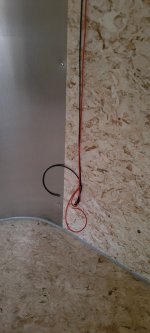
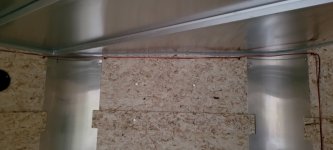
I put in several drywall screws to tie wire off to at the locations I wanted the wiring to terminate, starting at the front where I thought the battery(s) would be, then to the back switches.
2021-03-11 18.28.12.jpg 2021-03-11 18.28.17.jpg 2021-03-11 18.28.28.jpg

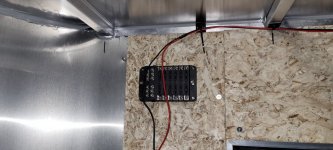
After some more thought about locations that would work when the trailer was loaded up. I ended up moving the battery location, but was able to simply re-route the wire I ran previously for the main feed. I relocated the fuse box up high next to the side door where I probably wouldn't have much stuff stored anyway. The solar charger will go just below it. The battery will be either on the floor or workbench area below.
2021-03-11 20.36.13.jpg

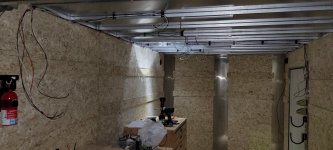
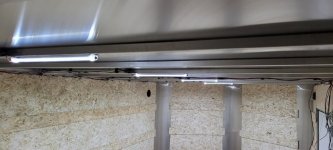
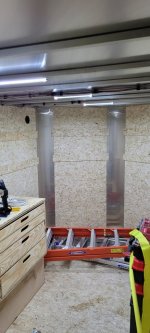
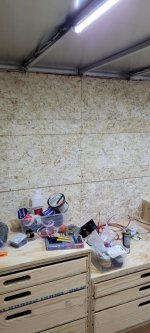
I installed 4 led lights down the middle of the trailer. They are just stuck on with 3M automotive trim tape for now as I may still put up some Luan and insulation on the ceiling. There will be a switch at each door to power the lights. I'll go back and put wire loom on once I've got all the circuits ran.
2021-03-11 20.32.47.jpg

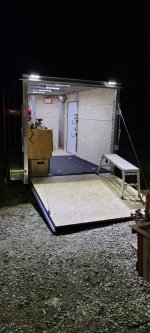
I've got some outdoor LED floodlights on order for the back ramp and side of the trailer, each will be switched at the door they are by. The rear ones may get tied into the reverse lights to help light up when backing at night.

I'll also be running some 110v circuits for the chargers, CMS, and by each door for easy access.
 
I took the trailer to my daughter's and inlaws houses today. I hauled some old laminate flooring we had for my daughter to put in her basement. I also ran a new circuit for her bath remodel for a gfci plug, installed a pot/pan/lid organizer in her kitchen, then headed to the inlaws and installed a new exhaust fan over their island cooktop in the attic. Had most of the tools/ladders I needed, but most were in the packout boxes yet. Was still a good test of the cabinets. Having them for a work surface was really nice getting the fan assembled. Having to find tools in the packout boxes and bags reassured that this was going to be a good direction going forward.
 
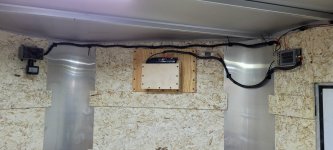
Had a little time tonight to button up the light wiring. I still need to make enclosures for the switches. I temporarily wired them up to use them.
20210314_201421.jpg
20210314_201425.jpg
20210314_201439.jpg

This was with the doors closed, pretty bright overall.

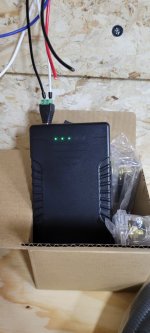
I have a rechargeable 12v pack I'm using for now to power them.
20210314_201448.jpg

I'm going to wire that to the fuse block for now and make a holder for it, then focus on some upper tool cubbies.

I got the 100w solar charging kit, but need to go get some steel for welding up the ladder and solar racks, maybe later this week.
 
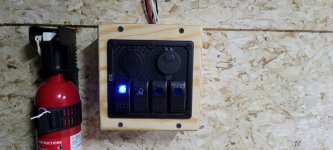
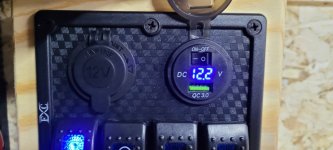
Tonight I worked on getting an enclosure for the main set of switches at the rear of the trailer.
2021-03-15 20.48.06.jpg

The rear panel also has a 12v outlet, usb charger, and voltage reader.
2021-03-15 20.48.22.jpg

I also made a holder for the battery to mount it up on the front wall. I still need to add some additional anchors into the studs on it, but just wanted it up to get the lights running from it. I'll most likely move it once I have some more cabinets/benches in and have a better idea of where I want to run the solar in at. To the left of the battery I've put up a 12v motion sensor. initially I was just going to have it turn on the night lights on the switches, so I could easily find them in the dark. I think I'll use one of my spare switches at the rear to be able to also power the overhead lights with the motion sensor, selectively.
2021-03-15 20.46.03.jpg

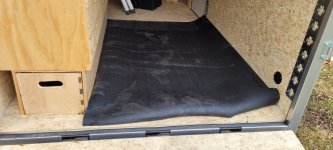
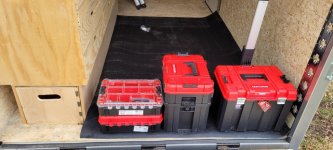
Lastly, I made a run to the farm store and picked up some 1/4" rubber mat for the mower side of the trailer to help protect and keep the floor clean. I need to trim it and secure it down using some washers/screws. I need a good warm day to help get the curl out of the edges.
2021-03-15 13.11.51.jpg 2021-03-15 13.13.15.jpg
 
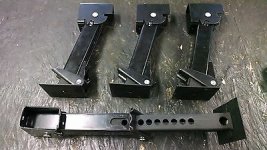
I've also got some folding stabilizer jacks on order, two for the rear of the trailer, to help stabilize it when disconnected and working in it, and two to support the rear ramp level with the trailer floor to be used as a work platform. They adjust from 12" to 19" and support 1000 lbs each. Should allow me to pull out some tools and keep the sawdust outside.s-l400.jpg
 
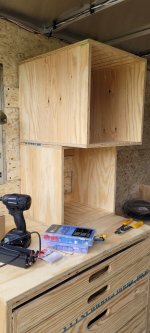
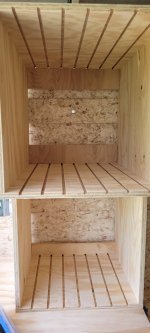
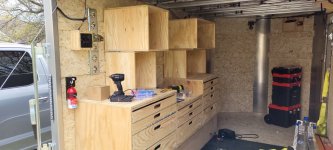
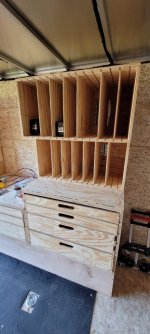
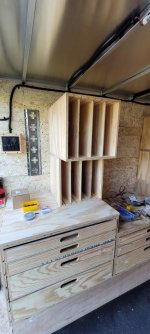
I think I spent more time picking up the shop than working in it today, but did get most of the upper cubbies built for the trailer. I'm re-thinking the upper ones and may cut them down by 5" or 6", but may just do some horizontal partitions in them instead to make them multi-level.
2021-04-17 14.59.37.jpg 2021-04-17 15.20.14.jpg

The ones towards the rear are only about 16" wide, the ones in front are 32" wide. The bottom cubbies are 14" deep and 16" tall inside. The upper cubbies are 20" deep and also 16" tall.
2021-04-17 15.20.05.jpg

I'll be building one more to hang between the upper cubbies that is only about 12" tall, then a taller unit at the far end for the vacuum to sit under and hold some of the packout and hardware boxes. Still considering a workbench on the nose area.

I picked up some of these E-track shelf brackets to build a hanging cubby on the right hand side above where the mower will park.
61y8JyDngHL._AC_SL1176_.jpg

 
After the grandkids headed home, I jumped back on getting the cubbies done. Added some 1/2 shims on the walls (to build out past the e-track), and got them hung. My 1/4" sheet of plywood was curled up to a half moon shape. I cut the portions to have the grain run vertically, so they straightened out nicely.
20210418_185150.jpg 20210418_185202.jpg

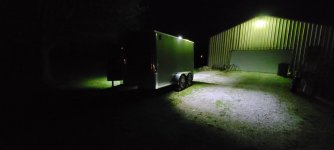
I also finished up putting on the wire loom and installing the side flood lights.
20210418_205651.jpg 20210418_205705.jpg
 
Top