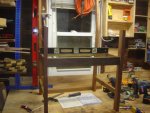
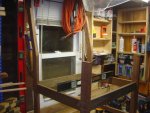
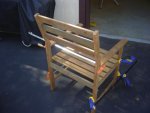
While I understand that posting pics of a simple chair here, is like a high schooler showing a Yankee how far he can hit a ball, this is something totally new and challenging to me.
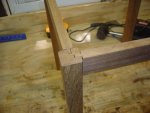
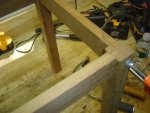
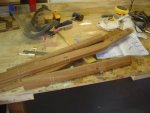
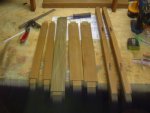
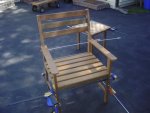
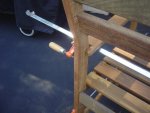
I had to widen and add length to every tenon, and increase each mortise as Ive mentioned. I cut up and did most of the pieces, and dry fitted it all, and I was a bit shocked. It fit close to perfect? I left a tiny tiny amount of space since I know the glue foams up.
It was actually better than I expected.
Ofcourse, I have to smooth out some bad cuts on the curve of the back,lower left support the mortise in back leg is a tiny bit off, have to add a shim or something for maybe a 16th, cant figure that one out at all, and round over every piece, and figure out exactly how I want to do the arms to the front legs, but its coming together, and I believe cutting 3 at time will save me tremendous time in the shop/garage.(seat slats will be attached to a cleat Ill put on the side supports. The back slats are cut, MT joints, just have to finish them.)
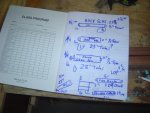
No plans, just winging it along, recording all the measurements I make for the next 3.
Really tough stuff to work with.
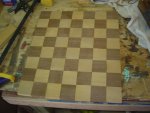
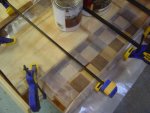
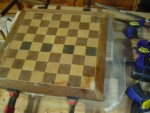
The chess table top wasnt so perfect.
I was going to inlay about a 1-2/16th of a piece of garapa into the ipe frame around the board, but just decided to glue a sliver of it right to the board, then glue the ipe over it.
TB for the garapa, gorilla glue for the ipe frame.
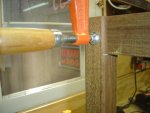
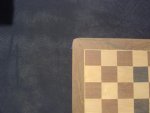
I had a few gaps,

, so I made some paste with the Ipe sawdust, and used some lighter sawdust in one bad spot on the garapa. Ill see how it dries and sand it all tomorrow, this is the board in total repair stage, didnt even blow off the sawdust paste, just leaving it set overnight.
Im kinda happy it held together. My next board is out of walnut and maple, no more of this oily stuff.Sanding just knocks it all off.(another 2 hours of sanding it tomorrow)

 Keep it up! let's see more.
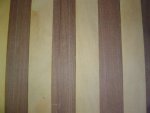
 I'd shy away from Ipe but you jumped right in. Go get 'em!
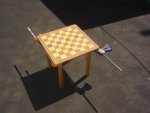
 but I learned from it and the second one came out really nice. Hang in there!