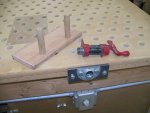
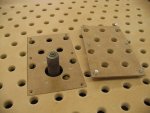
The flange is to mount a poor boy clamp for holding items to be sanded. It is just the movable part of a 3/4" pipe clamp mounted on a 6" pipe nipple. I just screw it into the mounted flange when I need to clamp a board.
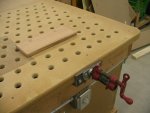
The other portion of the clamp is just an oak board with two dowels. The will fit into the holes in the table for a wide range of gripping width. The dowels are mounted off center in the width so the board can be rotated end to end to make an even finer adjustment because the jaw on the pipe clamp does not have a lot of range.
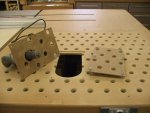
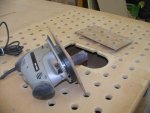
In case you noticed the slightly different colored rectangle in the table top, that is a removable plate. It comes out and a new plate with a Porter Cable oscillating spindle sander mounted on it goes in. This allows me to spindle sand with the downdraft table taking the sawdust away.
Almost forgot your question about the other side. It has four large drawers for storage of additional sanding sleeves, saw blades, feather boards and other items.

 Looks like you have the same saw and fence as I do. I don't need the down draft part but love the size of the table.
 Question, what is the pipe flange on the side for?
 What is around the other side? storage? Sorry Rennie for hijacking your thread my bad.