Walnut Writing Desk

part five-
DSCF0002-39.jpg

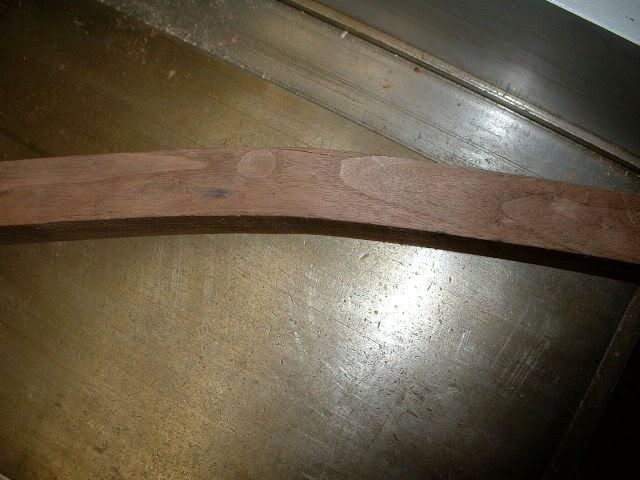
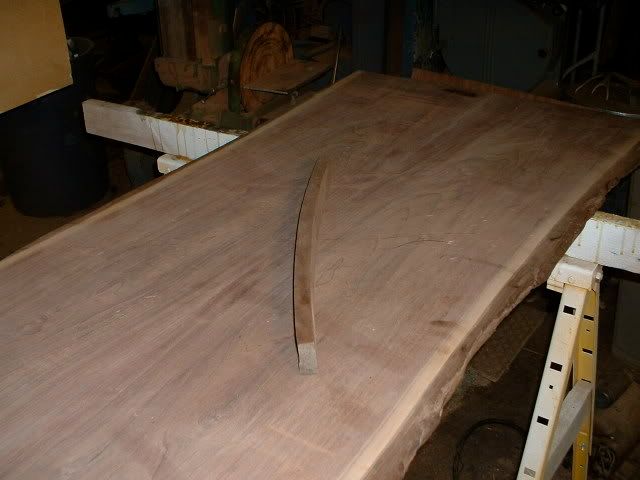
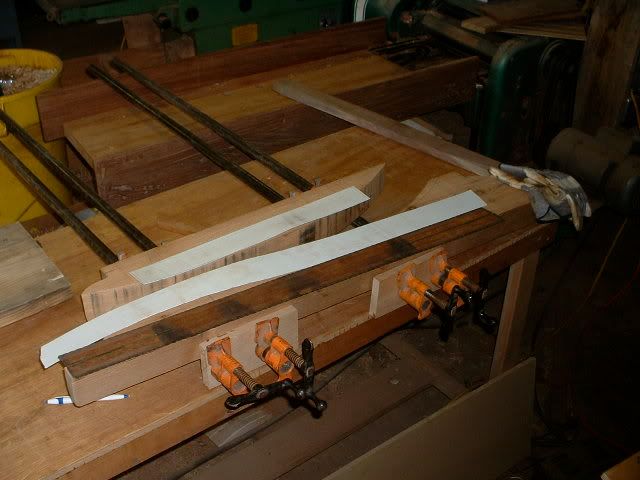
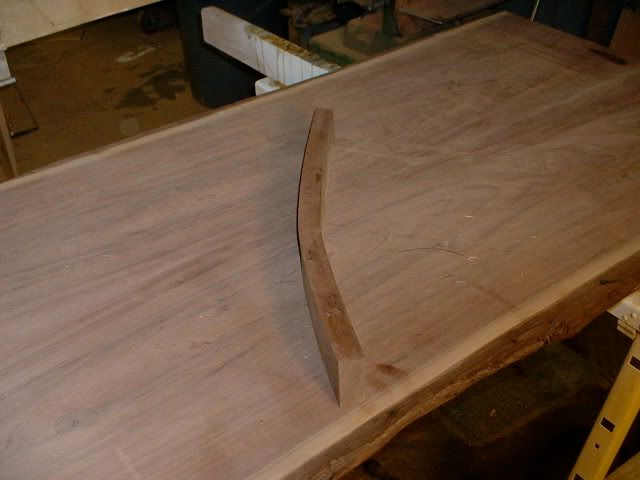
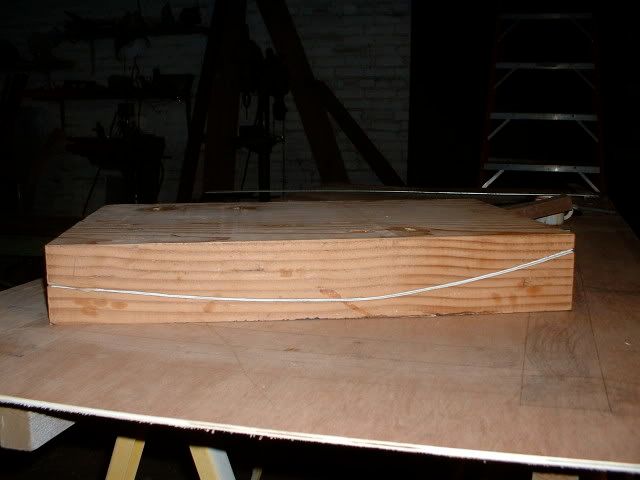
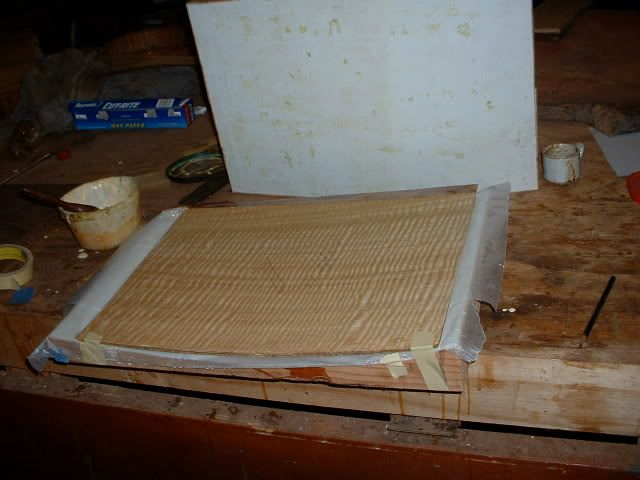
the last post showed a test piece out of the steam box and in a mold to find how much spring-back i will have-the mold is a piece of aspin that i drew a curve on and band- sawed -this is the curve i want to use-
DSCF0006-38.jpg

when the test piece comes out from the mold it springs back 1/2" -
test piece-
DSCF0001-34.jpg

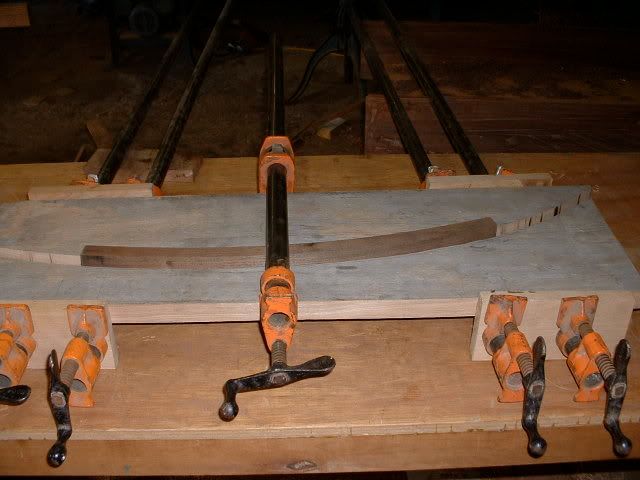
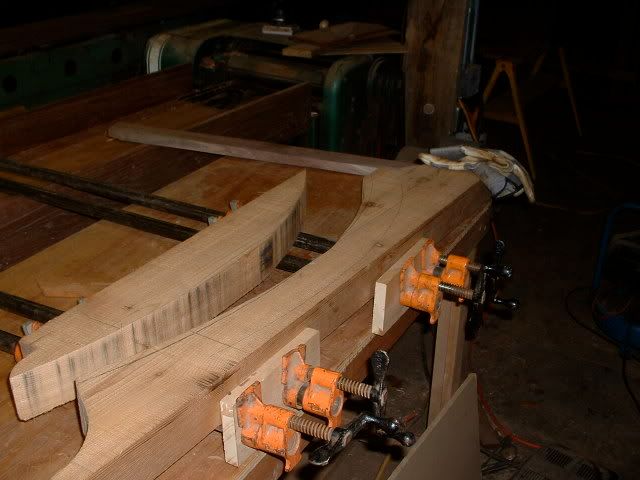
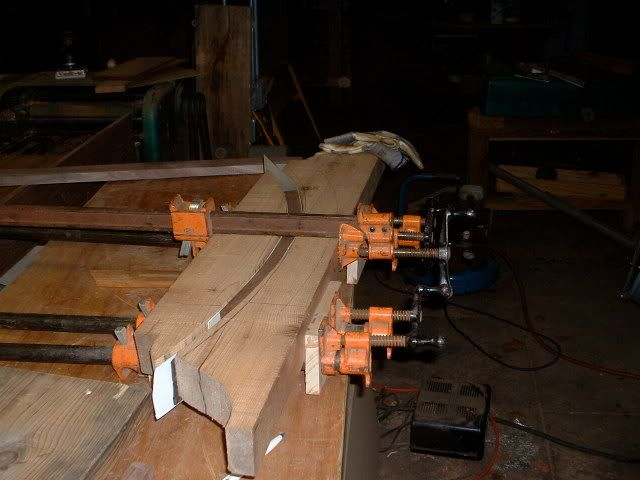
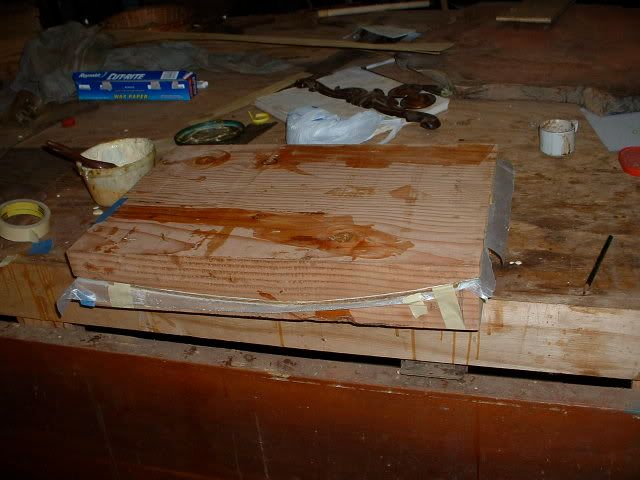
i make a mold from a piece of fir timber compensating for the spring-back-
DSCF0001-37.jpg

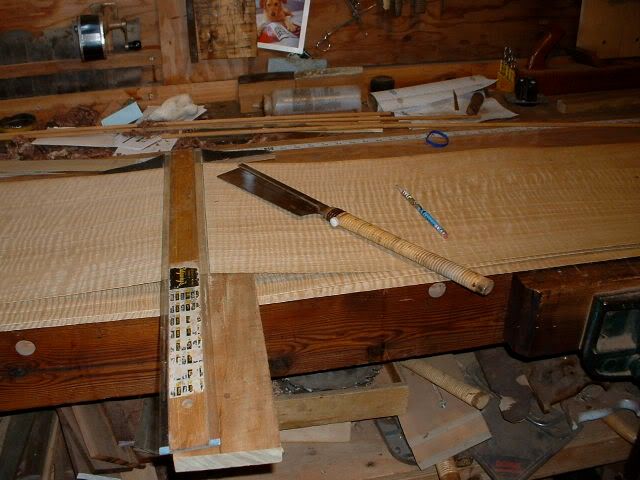
i make a backing strap from a 1 1/4" bandsaw blade-i cut two 36" lengths grind off the teeth and use duct (duck) tape to hold the two together-
DSCF0015-17.jpg

DSCF0017-6.jpg

also i cut two pieces of 1/16" plastic to put on each side of the piece of walnut i'll be bending-this is so i want get weird colors from the metal strap and from the fir-
DSCF0004-31.jpg

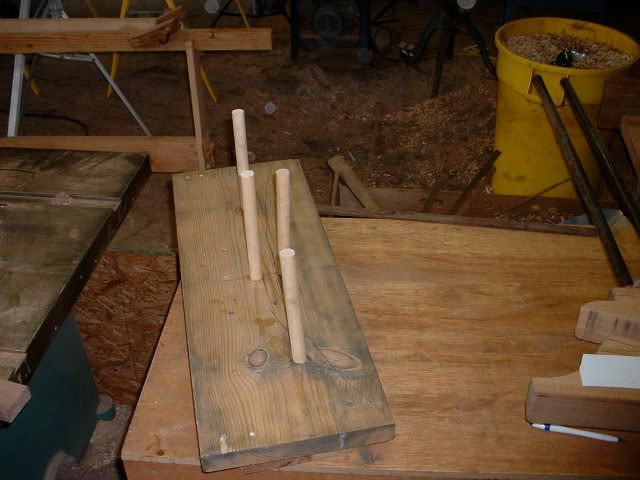
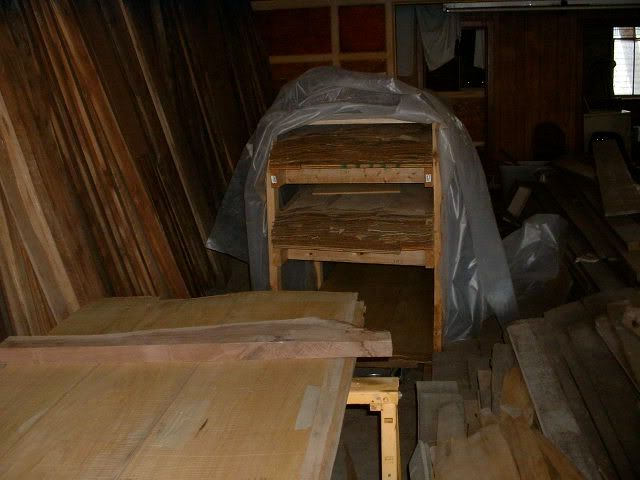
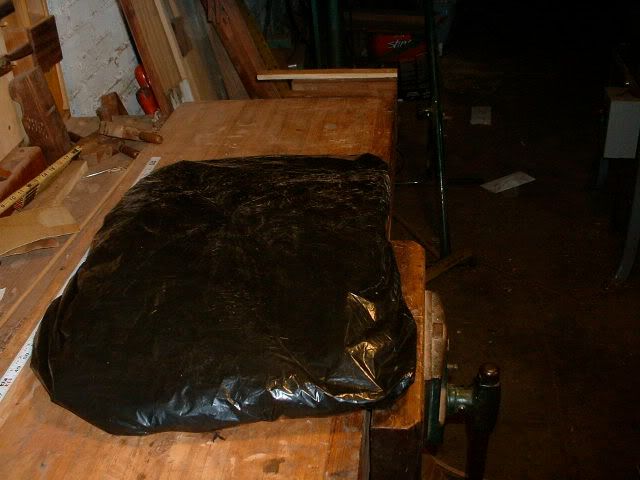
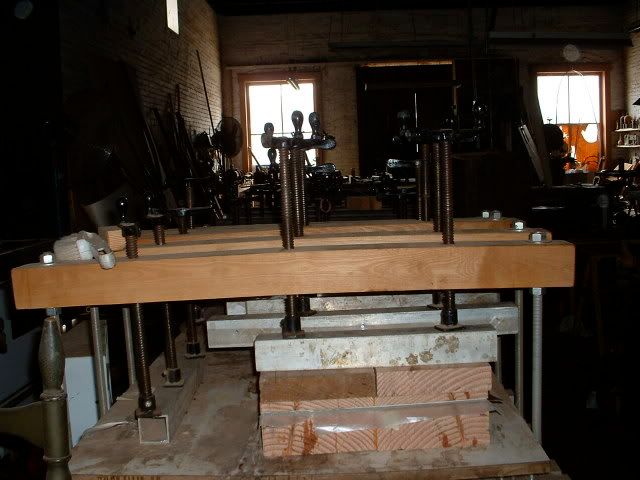
i make a simple drying jig-
DSCF0007-29.jpg

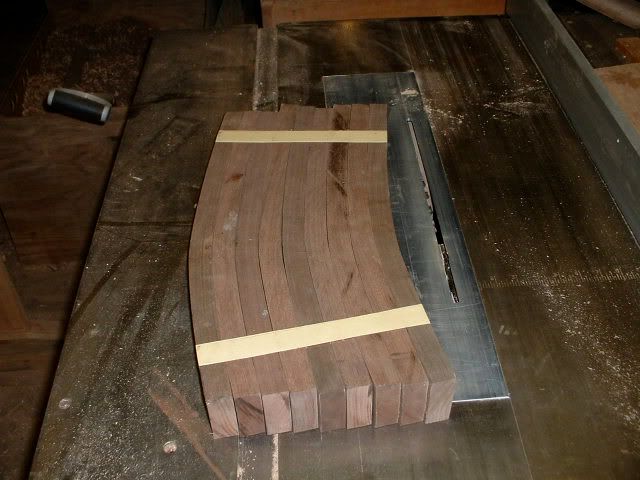
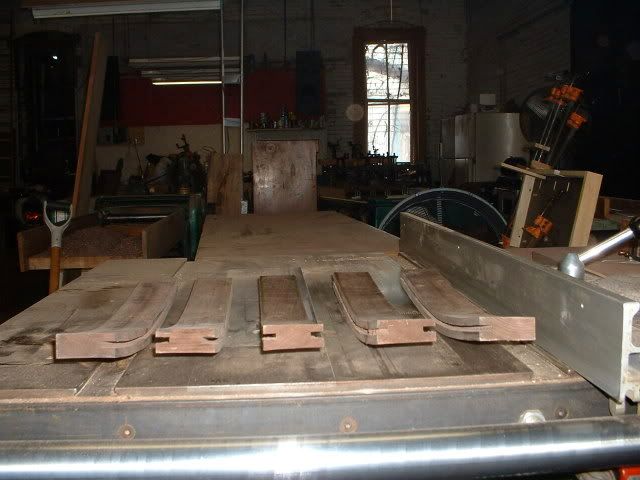
then it's for real-#1- i need nine-
DSCF0010-21.jpg

i steam three at a time one hour plus-then in the mold for 15 min. then in the drying jig for 24 hours-
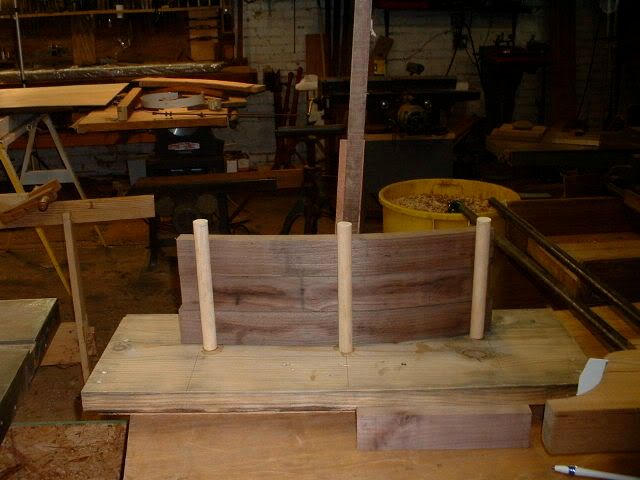
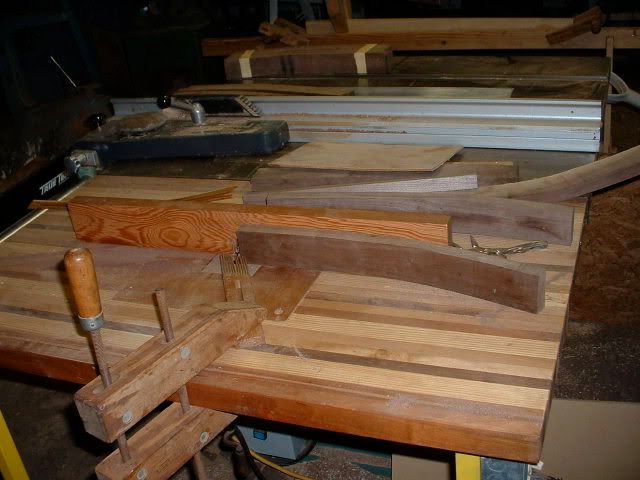
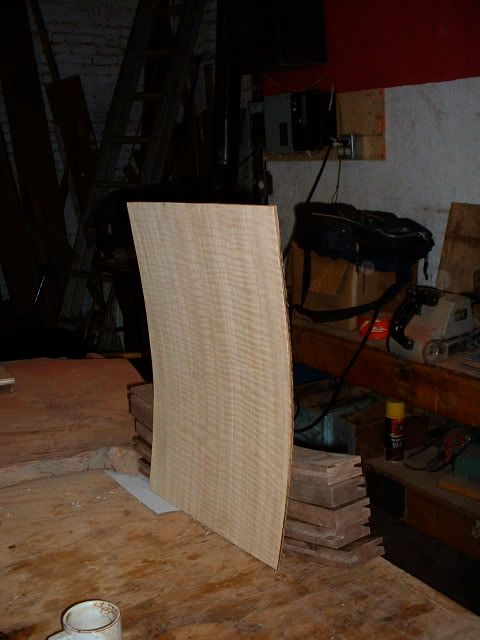
DSCF0006-39.jpg

the real thing-
DSCF0004-30.jpg

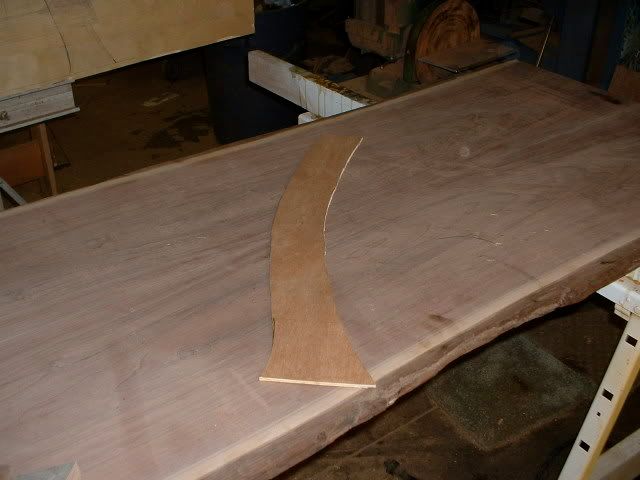
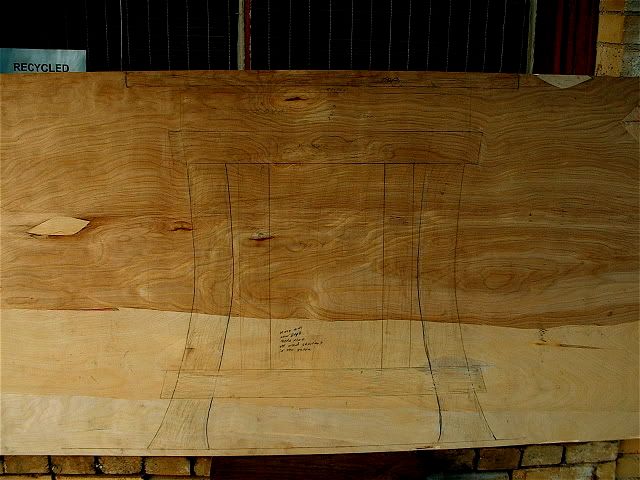
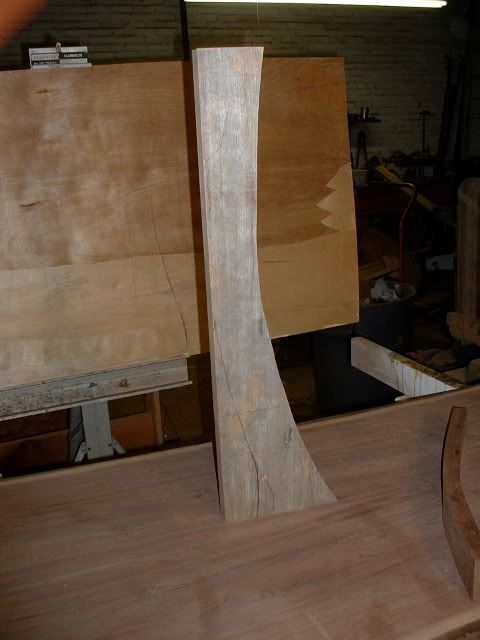
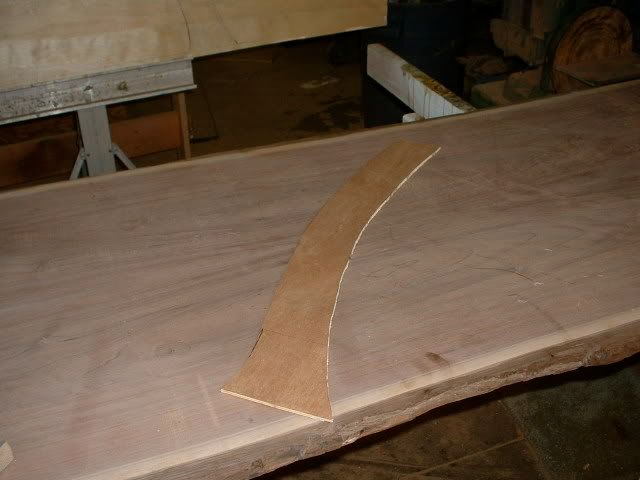
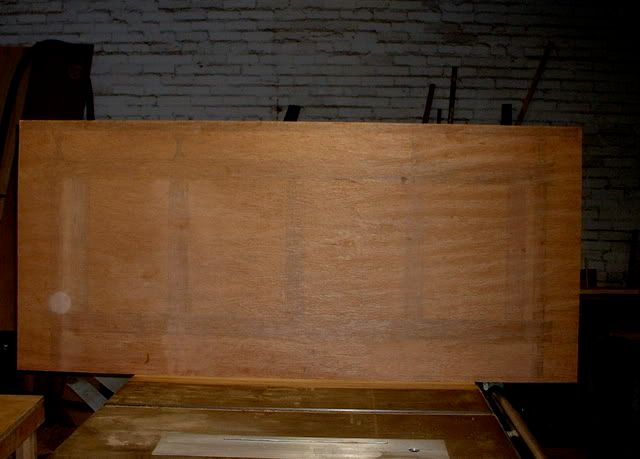
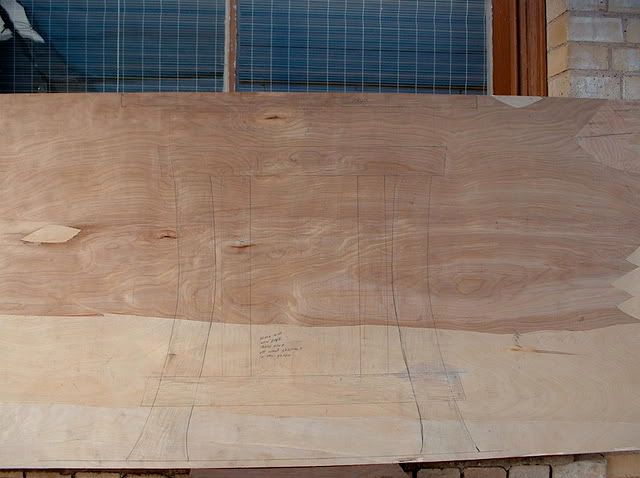
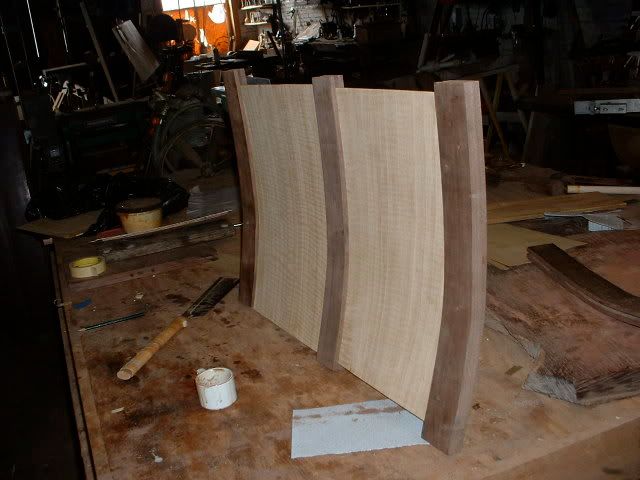
it all revolves around this curve-now that i have it for real i can make a true templet for the legs and a mold for the curved veneer panels-
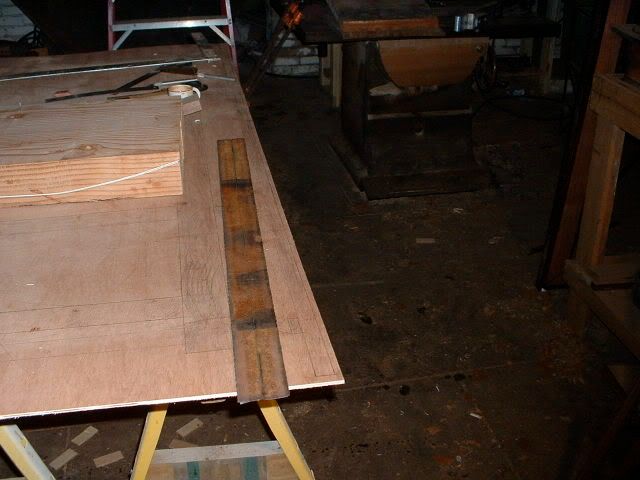
templet-
DSCF0009-22.jpg

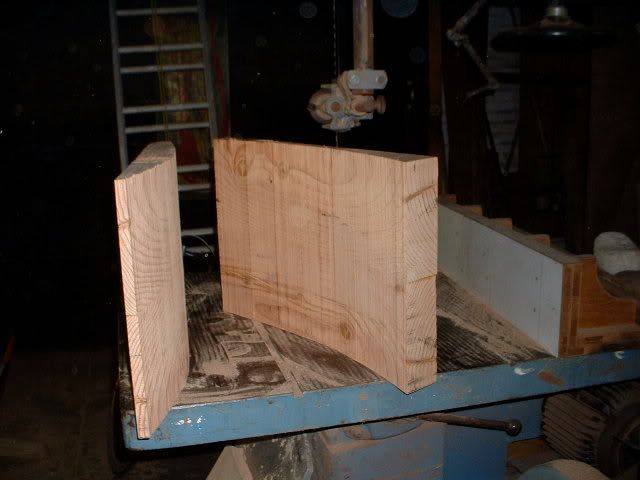
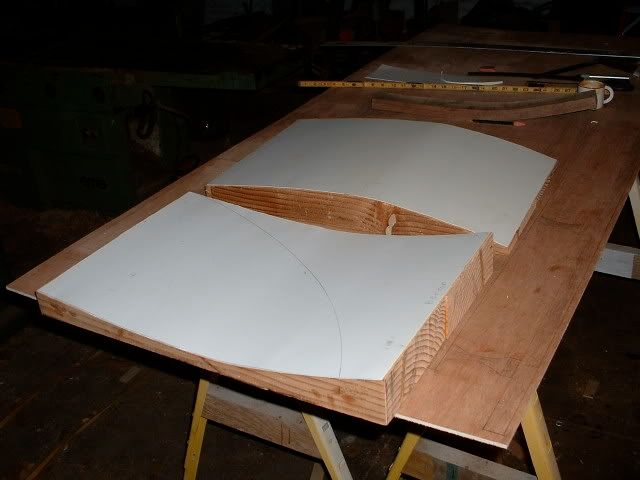
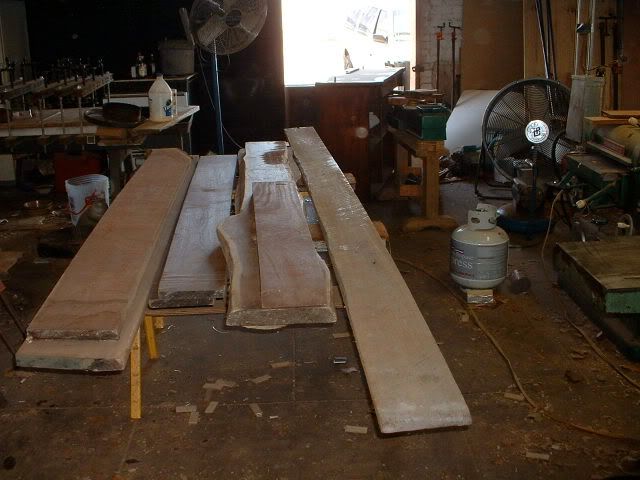
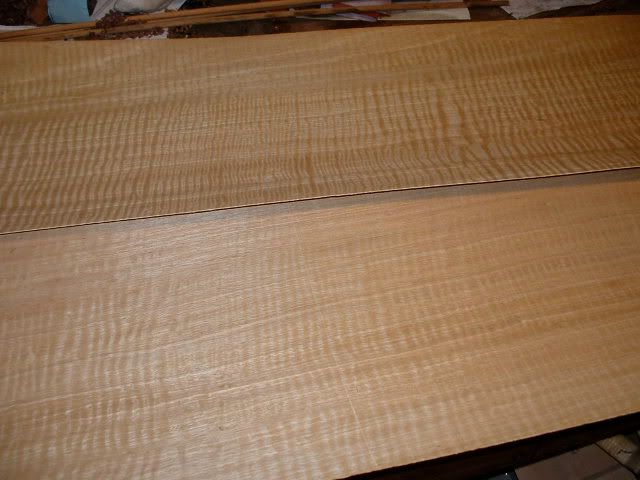
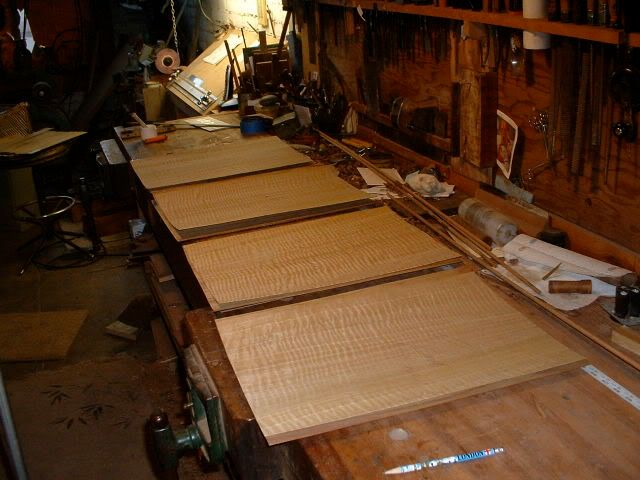
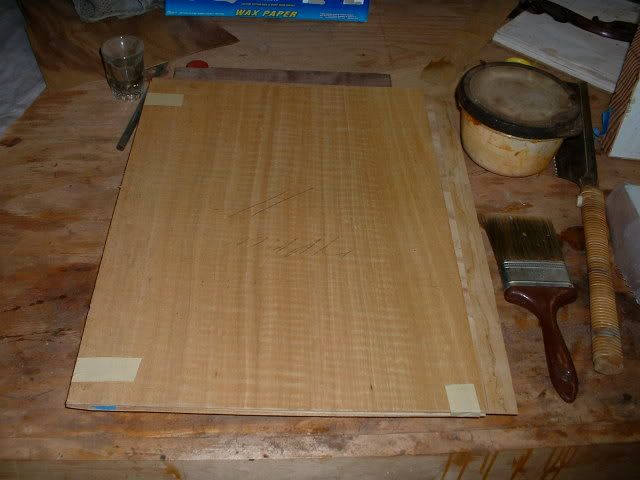
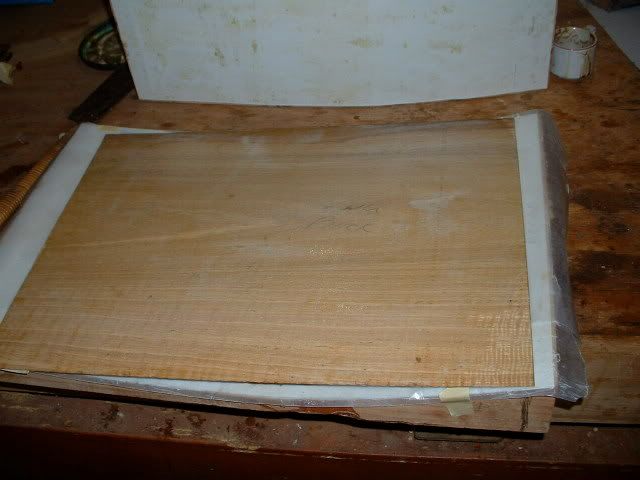
to make the mold for the panels i use a piece of fir-
DSCF0001-33.jpg

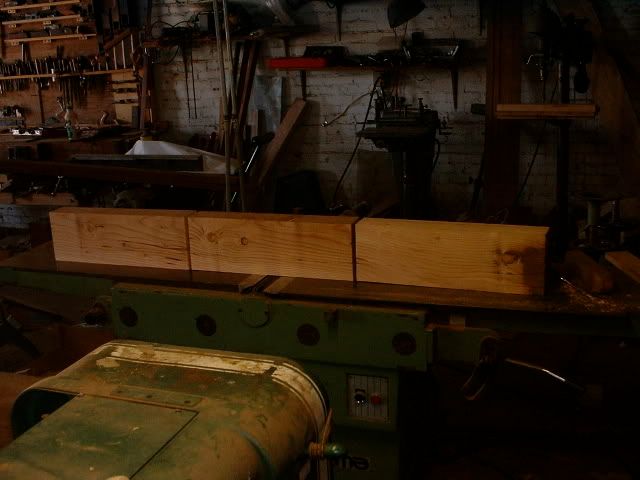
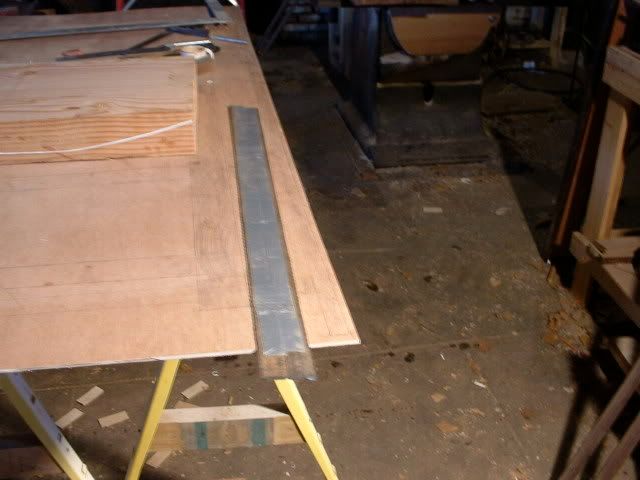
i join two of these pieces and band saw the curve- then i line it with 1/16" plastic-
DSCF0001-35.jpg

DSCF0010-20.jpg

DSCF0011-21.jpg

more to come-
alex
 
he doesnt sell them he saves them for the shows:) or his friends get them:)

the amount of going into this is table is something to be hold but you make it look so simple.:thumb:
 
Do you keep all your Jigs when you finish a piece?
iv'e made a drying jig,two molds and the steam box-i'll keep the steam box-the mold for bending the veneer the others might end up in the wood stove-
part six--
after i have the true curve for the legs and the curved panels i make real size drawings on 1/4"ply-
DSCF0004-32.jpg

DSCF0002-40.jpg

from the drawings i make a parts list and start looking through my wood stash for all the parts-
DSCF0001-39.jpg

this is the walnut i'll use - the long board on the right is curly nargusta i only have four boards-it's rare as hens teeth-here are the four boards-
DSCF0003-49.jpg

DSCF0008-24.jpg

the curly nargusta veneer-
DSCF0009-25.jpg

DSCF0011-23.jpg

DSCF0013-12.jpg

i pull out maybe a hundred pieces -now i will go back through these and pick the three are four i'll use-
DSCF0009-24.jpg

so in this is this desk-- i'll start cutting it out tomorrow--

alex
 
in the back ground alex, i see a rack that appears to be full of veneer? is that stock that you have cut to made other projects or just stock you have boughten to have on hand? either way thats alot of veneer to sort threw
 
in the back ground alex, i see a rack that appears to be full of veneer? is that stock that you have cut to made other projects or just stock you have boughten to have on hand? either way thats alot of veneer to sort threw
larry - yes that is a rack of veneer-nargusta veneer-and no i didn't cut it-i didn't boughten it ether--several years back i bought a truck load of lumber from a wood dealer in L.A.--he had this bundle of nargusta veneer that had been at his place for years--nobody knew who had brought it from down south
are who owned it so they threw it on the truck to texas--there were several thousand pieces anywhere from 10"wide to 30" all 8ft, lenghts 1/16"thick--this was at least 10 years ago and iv'e used maybe a third---yes it's a lot of veneer to sort through but the curly stuff i'm after is easy to get to--i'm just having a hard time choosing the three are four pieces i will use.


alex
 
part seven-
The last post I was looking through my veneer for the pieces I will use for the curly nargusta panels four curved and two flat-I choose these four pieces to get the out side (front and back) of each panel-
DSCF0004-34.jpg

DSCF0002-41.jpg

I cut the pieces by hand
DSCF0005-23.jpg

each panel will be made up with five pieces of veneer,the two outside pieces will have the grain up and down ,in the middle there will be one piece with the grain up and down sandwitched between two pieces with the grain going side to side-after all is cut (I cut the middle pieces from veneer that's not so nice) then I rub each side with a wet cloth and put it all in a plastic bag for a few days to soften up-
DSCF0007-32.jpg

DSCF0008-25.jpg

DSCF0009-26.jpg

while I wait for the veneer to soften up I cut the groves in the steam bent frames that will hold the panels-I bent nine four for the front and five for the back these five will be grooved-I do it on the router table-
DSCF0003-51.jpg

DSCF0010-23.jpg

DSCF0001-40.jpg

now those few day have passed and the veneer is ready-so here goes-
I use titebond cut with water about 10% goes on a lot easer -
DSCF0007-33.jpg

DSCF0012-14.jpg

when all sides that get glue are glued I get it at the right place on the mold and tape it then into the press it goes (I made this press years ago-it has 27 screws)
DSCF0013-13.jpg

DSCF0019-13.jpg

DSCF0021-6.jpg

each one will stay in the press two days - then
DSCF0029-5.jpg

they fit perfect-
DSCF0032-4.jpg

more to come
alex
 
Darn another advertisment:) that veneer looks sweet alex...muct be around 1/16th thick veneer huh? was it that wide or did you glue two piece together to get the width?
 
That is a beautiful walnut top Alex:thumb: and I really love the look of the veneer. When you bent the walnut did you split it to get the pieces to get the grain as straight as possible or did you just rip some pieces down and not woory about it? When I finish the mappa burl veneer i'm working with I think I want to try a project like this:wave:.
 
Darn another advertisment:) that veneer looks sweet alex...muct be around 1/16th thick veneer huh? was it that wide or did you glue two piece together to get the width?

Larry-each outside piece of veneer is one piece, on the inside in several places I used more than one piece,yes the thickness of this veneer is 1/16";like I said each panel is made up of five pieces but when they come out of the press they are 1/4" thick not 5/16"-don't ask me how the press presses 1/16" away-doesn't make sense to me but my ruler never lies.
 
Last edited:
When you bent the walnut did you split it to get the pieces to get the grain as straight as possible or did you just rip some pieces down and not woory about it? When I finish the mappa burl veneer i'm working with I think I want to try a project like this:wave:.

Alan - I cut all nine from a couple of pieces of walnut-just ripped em-although I did worry about getting straight grain -I had one piece that failed but I needed a test piece so it worked out-you can see the grain pattern in this picture and see why it failed-if you look close you can see the crack.
DSCF0004-35.jpg

alex
 
before I play catch-up let me go back a little-after I had glued the top and knew the real size I made a real size drawing - I nearly always do this and like to use 1/4" plywood-I keep this on a painters easel next to my work-bench
--I can check a part I've cut by holding it up to it's matching drawn part --this first drawing is of the desk from back-the front is the same except instead of end panels there will be drawers and of course you will sit in the middle-
DSCF0001-7.jpg

this drawing shows the frame that goes around the outside-to better understand you can go back to the picture on page two of the desk I made years back
DSCF0001-8.jpg

after I had steam bent the frames for the panels and had the true curve I made a templet of the leg and from this made a drawing of the end view-(sorry about the bad photo)
DSCF0008-3.jpg

DSCF0004-5.jpg

the little note I made in the corner of the above drawing is a sure sign that's it's time to leave the shop and go and try and get the grape skins out from between my teeth-
DSCF0010-5.jpg

I'm cutting the legs out and shaping them will try and post that this evening, thanks------alex
 
Last edited:
Top