
Stuart Ablett
Member
- Messages
- 15,917
- Location
- Tokyo Japan
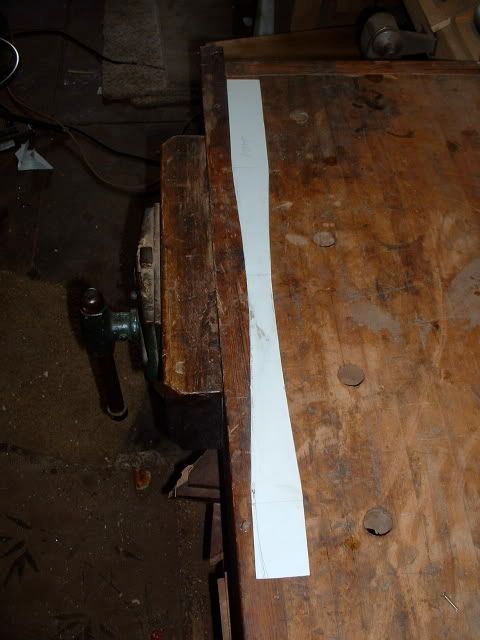
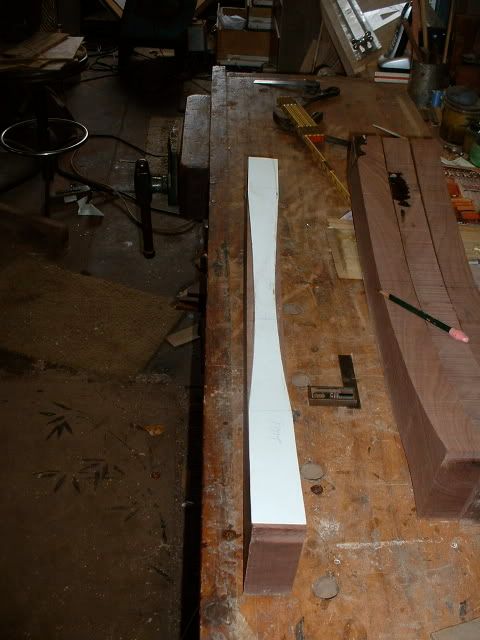
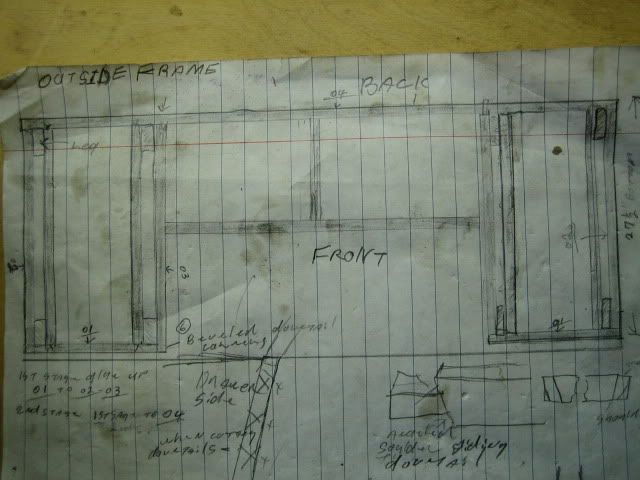
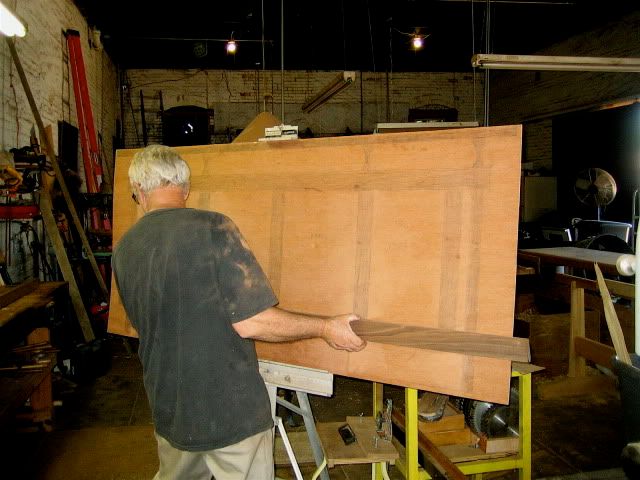
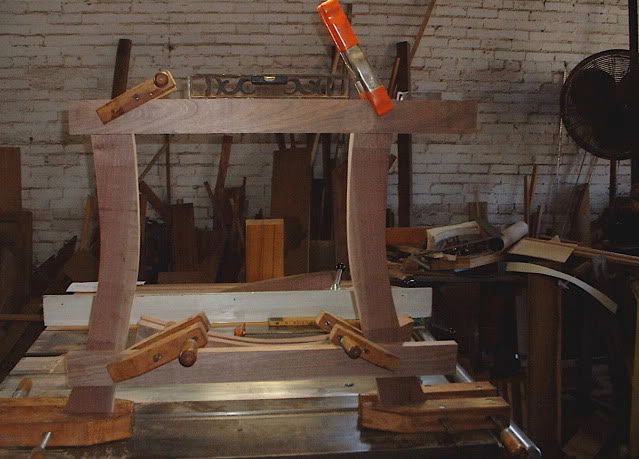
Being able to work from a full sized drawing certainly would be nice!
Enjoying the build Alex!
Enjoying the build Alex!
Being able to work from a full sized drawing certainly would be nice!
Enjoying the build Alex!
. Just seems to work better for me that way lately. Can't explain why because I always used to build off of a sheet of notebook paper .
.

I didn't see the sixty minutes-but I do know that desk-are I should say I know the top-a big crotch of walnut-never seen the base--a few years back fine woodworking did an article of his furniture--I wasn't impressed --though that's just me--one person of fame who does woodworking as a hobby and does impress me is Jimmy Carter--his designs are original and the work looks to be done well--as I understand even at his age he goes to his wood shop and works every day.--------------this going to be gorgeous.
Did you happen to watch Sixty Minutes Sunday? Andy Rooney showed us his walnut desk; that he made from a fall on his place.
Thanx for showing us... Ray Gerdes
 gonna be a dandy.. i too like jimmy carters work have seen it in mags and read some of the articles on him..and also does alot of habitat for humanity work..stand up fella..practices what he preaches.
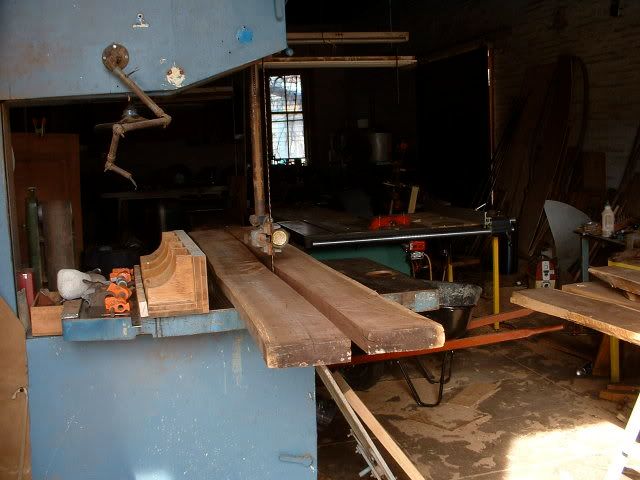
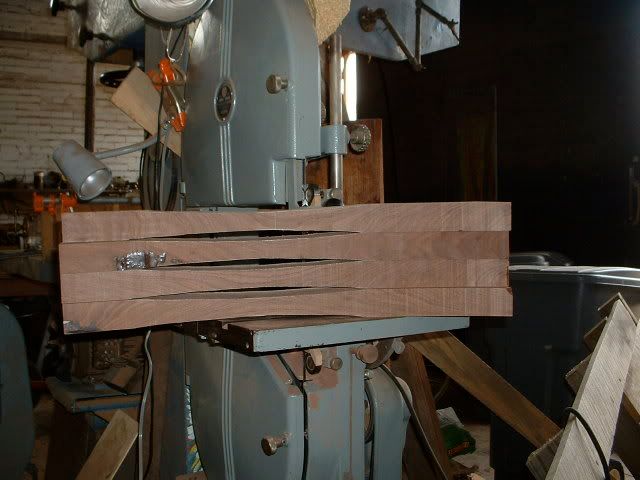
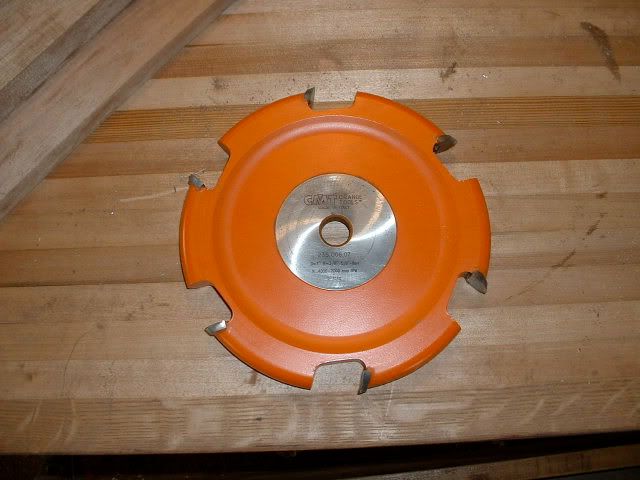
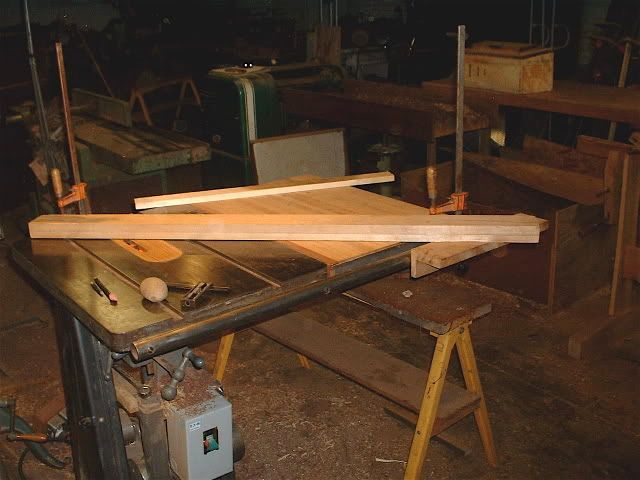
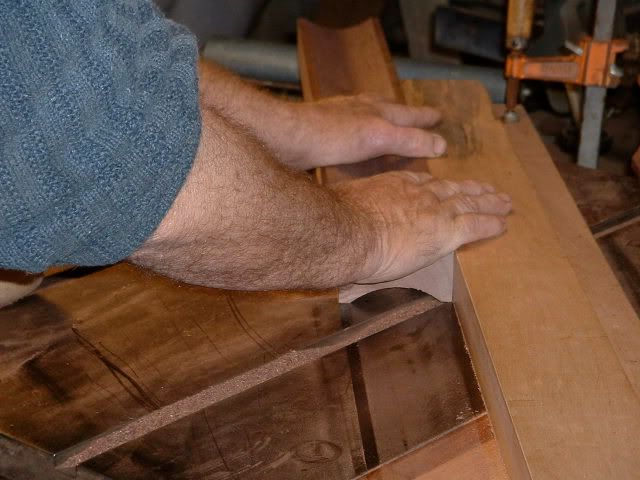
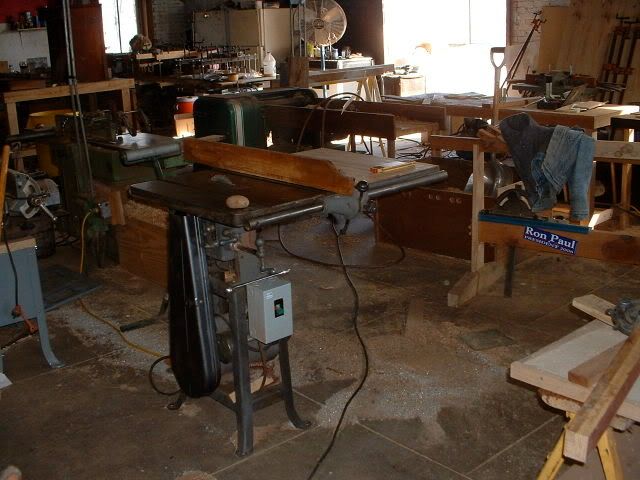
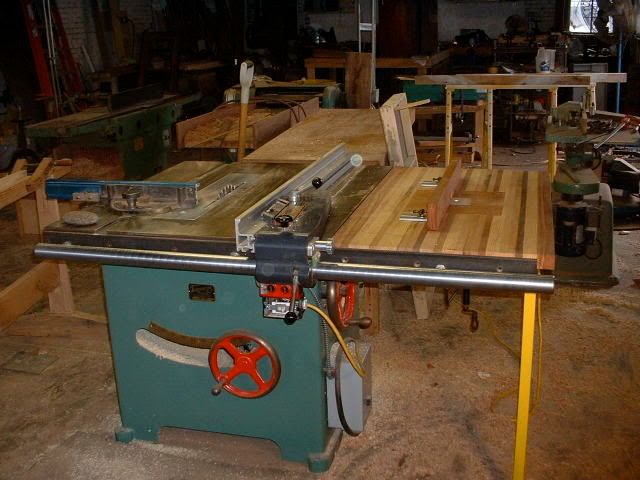
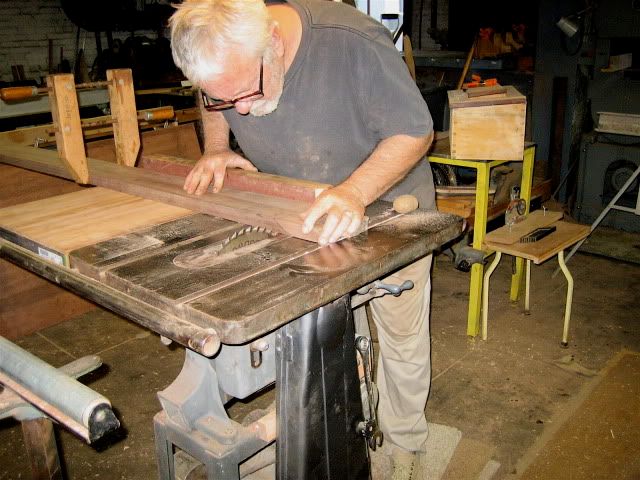
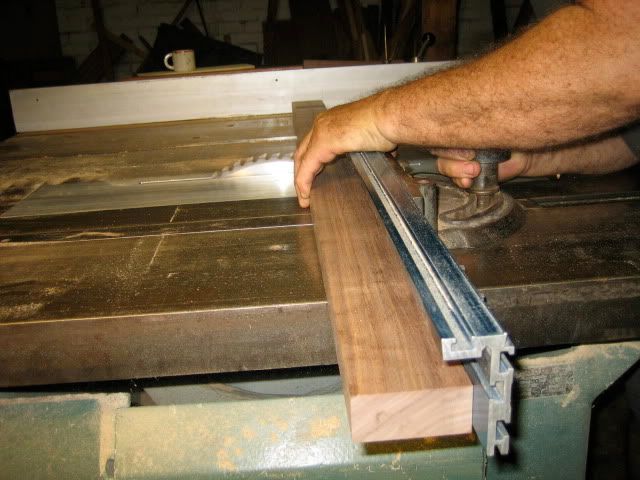
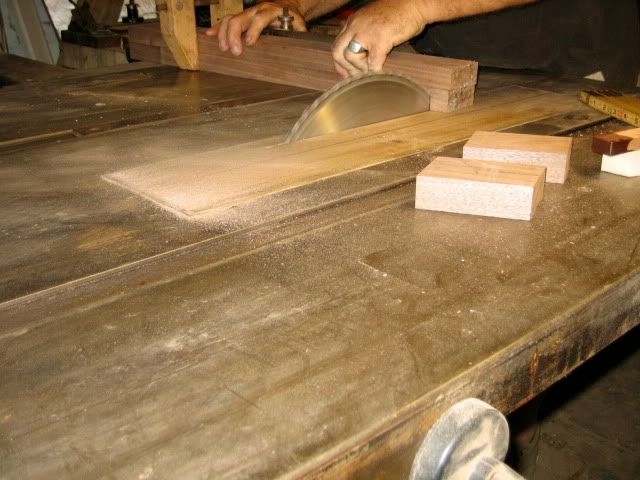
Alex, what is the machine you ran the cove cutter on? It looks like a one-legged cantilevered saw table with no cabinet below the table.
Enjoying watching the progress.

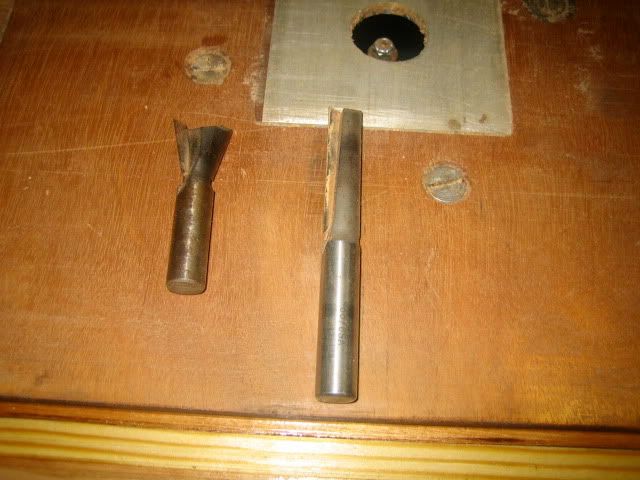
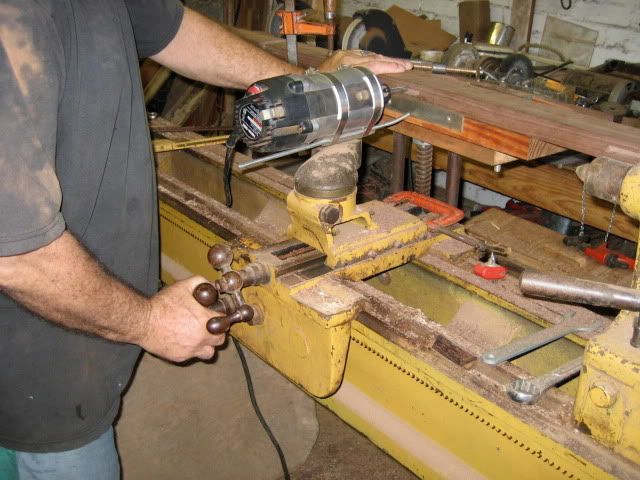
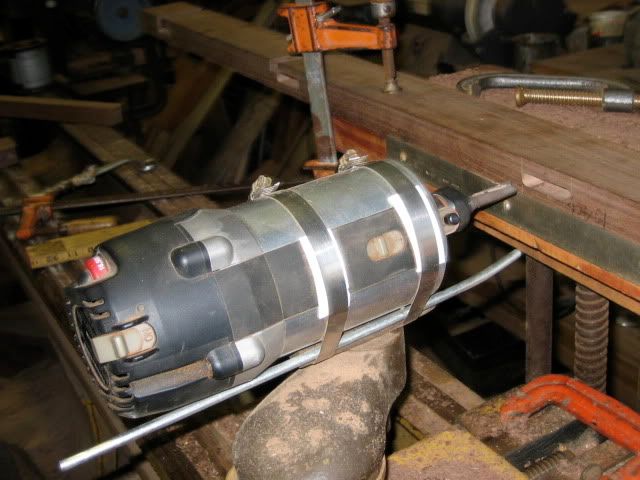
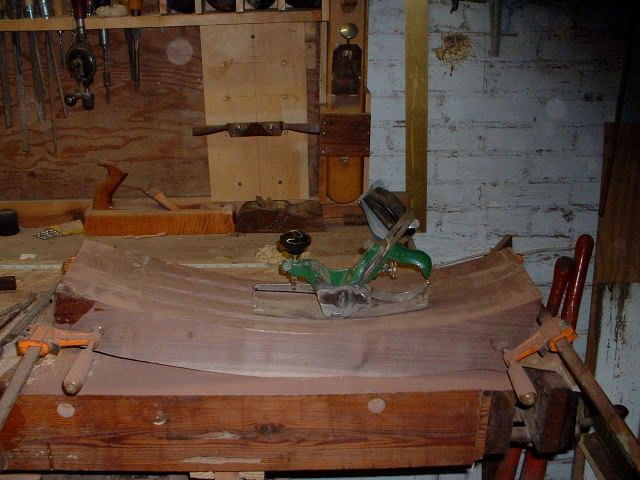
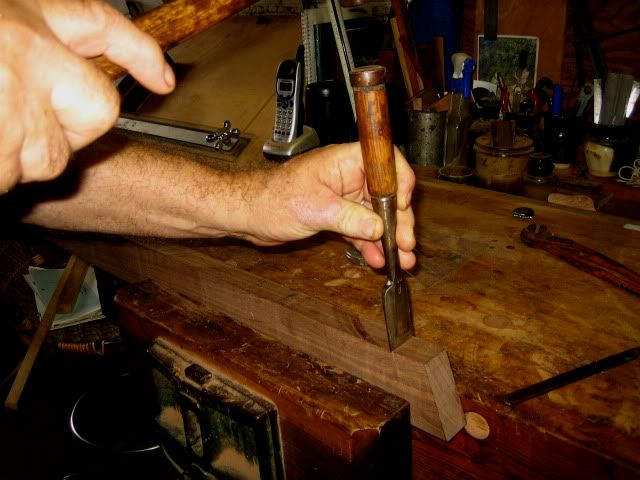
") great idea for a mortiser
great idea for a mortiser
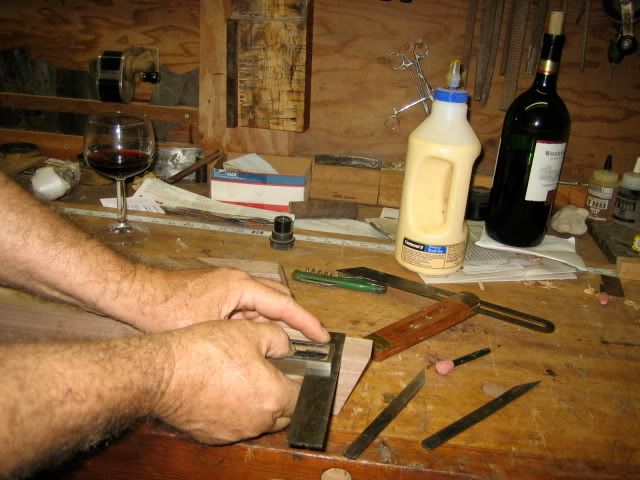
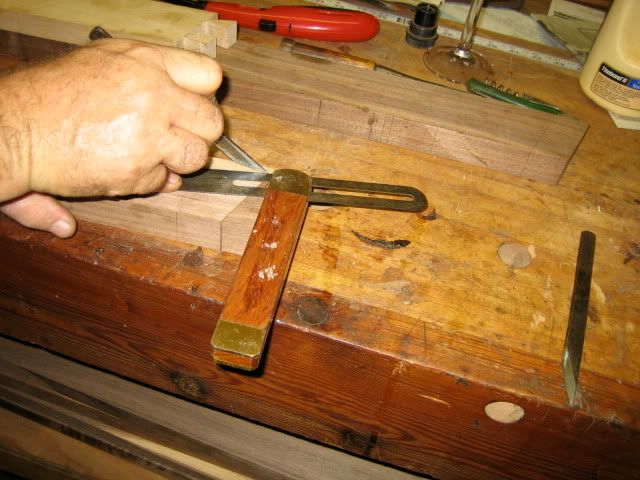
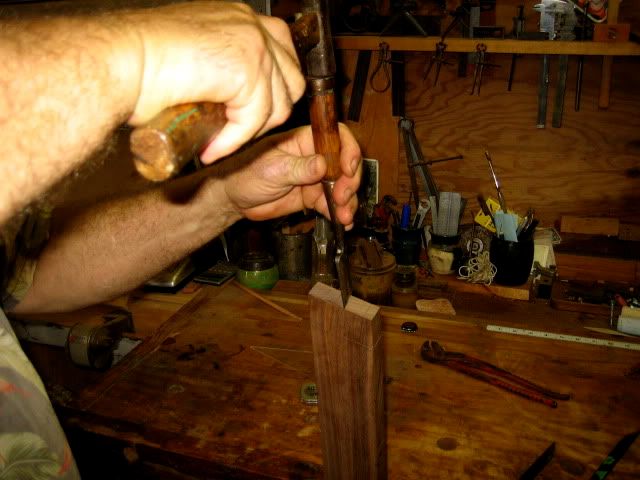
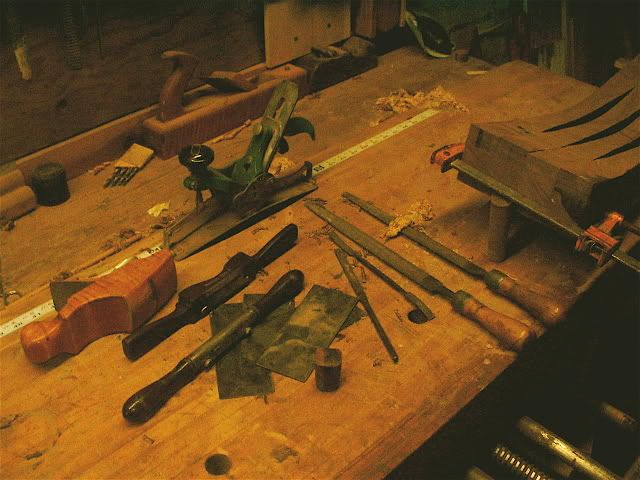
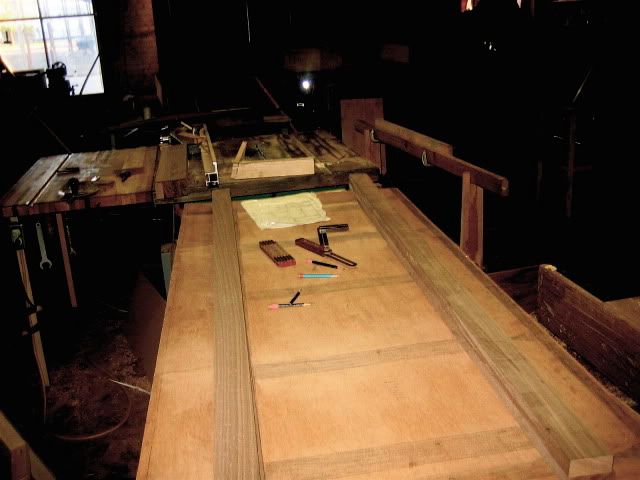
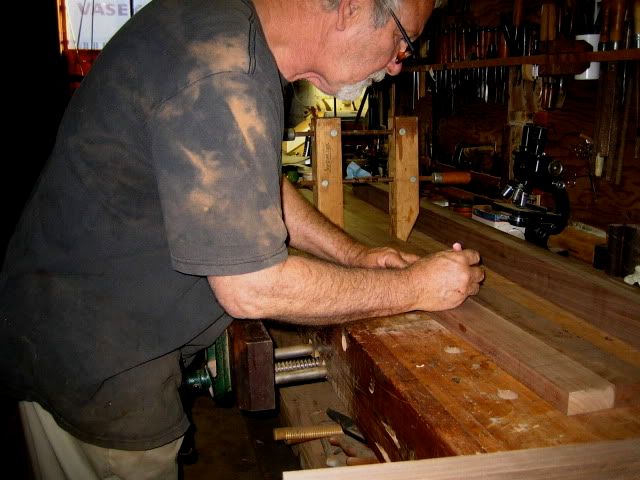
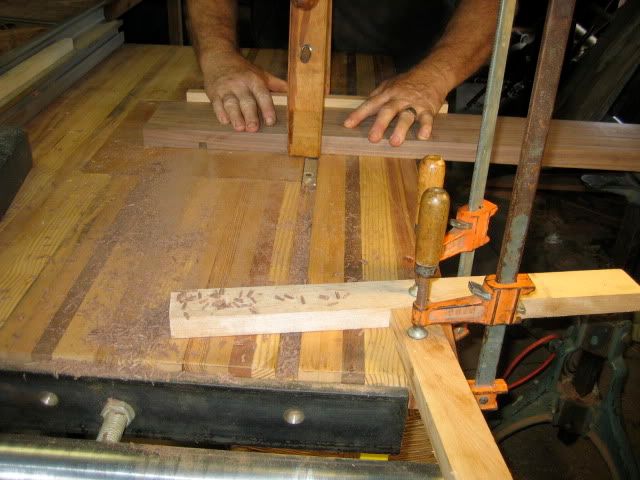
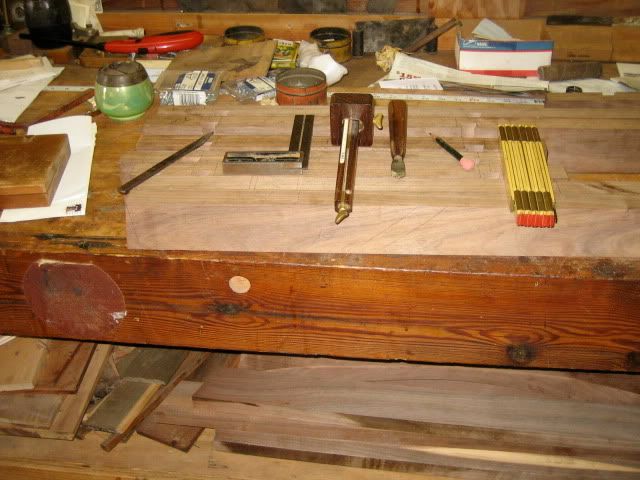
 . Now thats a relaxed atmosphere when you can work on hand cut dovetails and sip on a glass of wine.
hate to bother you, but are you useing a standard spiral upcutting bit in that router to make those mortise cuts?
Do you have to make several passes on each cut going deeper and deeper?(or do I have to junk my one horspepower router and get a real one)
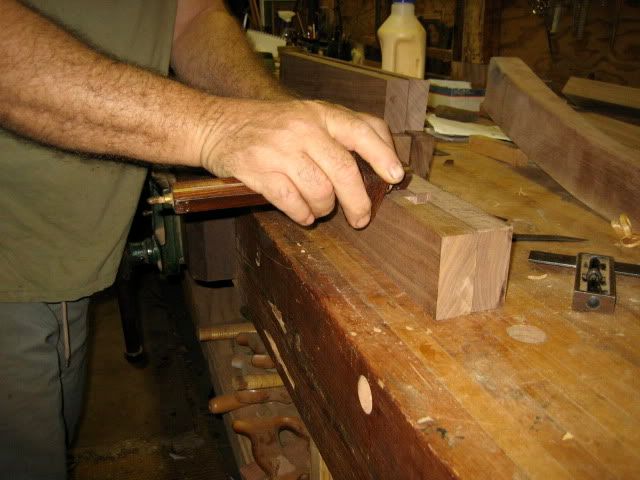
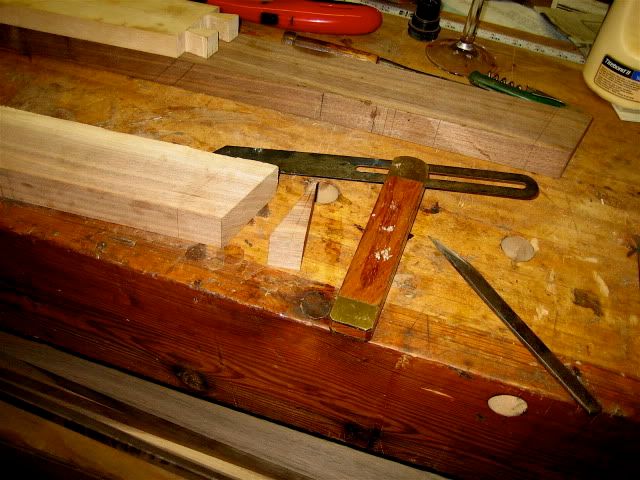
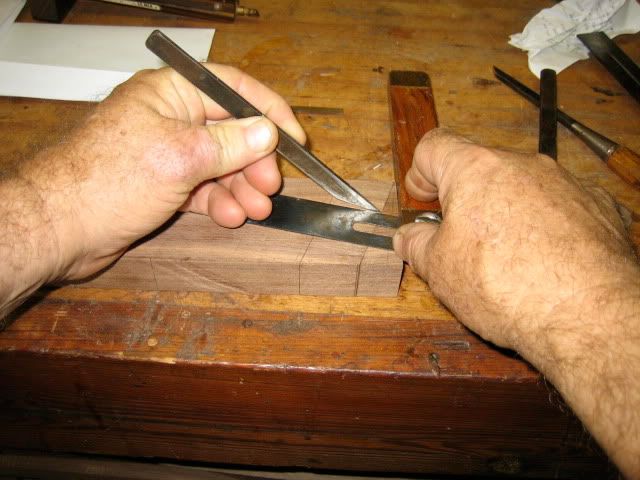
now you mentioned that you normally cut the pins before the tails and in this case you didnt why was that?