Alan Bienlein
Member
- Messages
- 2,045
Lookin good Allen .
.
..
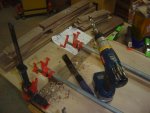
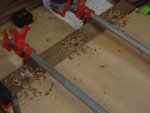
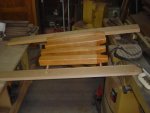
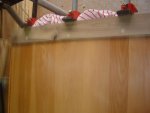
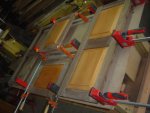
 )) higher with the blade, and you'll be ok. i usualy use the insert that came with my saw allan, but what i do when i cut panels, is to have clamps at each end, and that leaves me free to guide the panel.
Ill give it a whirl in the morning.
I was just going to use a block and sand, sand, sand.
you been listening to larry again allen?
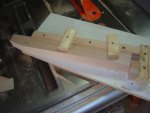
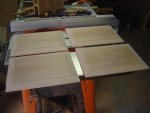
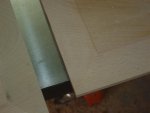
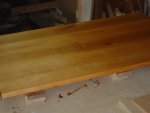
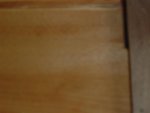
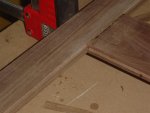
abd my back up guy alan keep him in shape and i would never tell him to sand .sand..thats for folk with nothing else better to do like them minsota folkit worked, I lowered the angle to 12.5 degrees, instead of 14, and I raised the bit half turn handle.
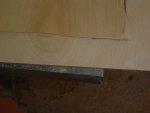
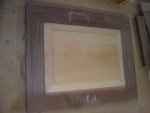
this is it, because of the slight warp and the original cut, one corner is thinner, and the line is ever so slightly off, but with stain and sanded out, I dont think it will be noticable. thanx again, shoulda pm'ed me so everyone doesnt know how stupid I am.