Shaker spider leg table

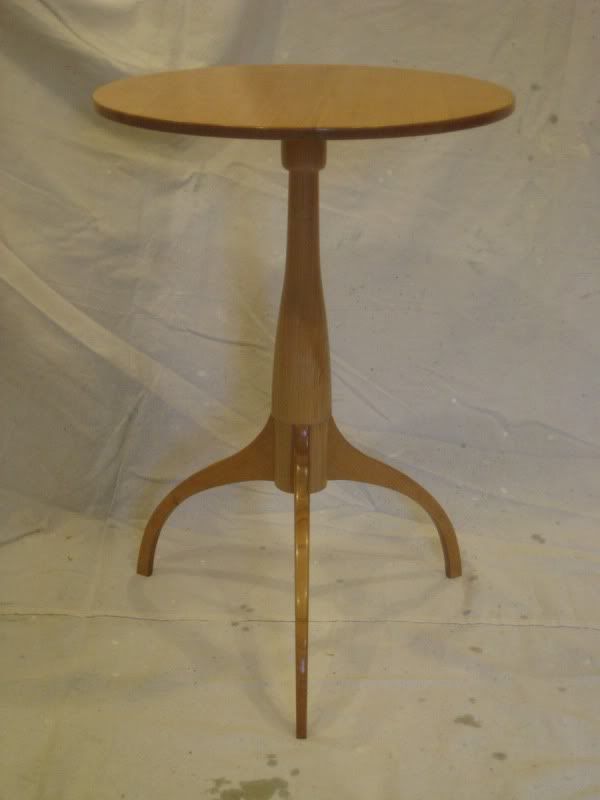
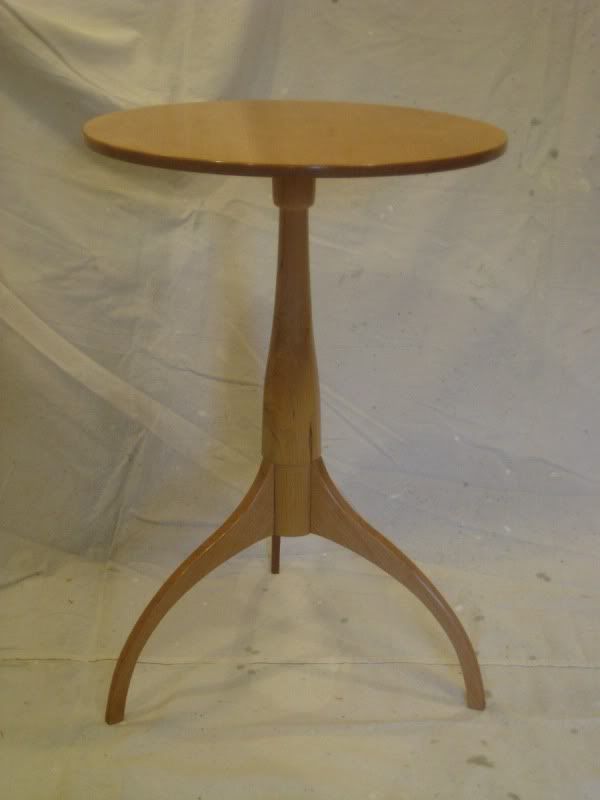
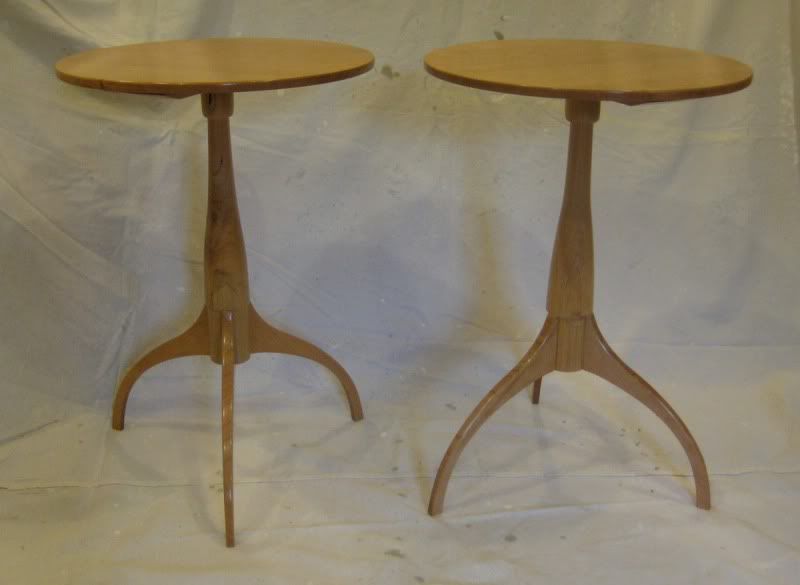
Thanks Allen, it's going to be a while yet, more work on the tops, then the long process of finishing....

Larry, I picked up my 113 on the bay. The reserve wasn't met, and I felt sad, then I got an email from the seller offering it at my price. It's the later model, with better arms and a locking front knob. It was fun to use.

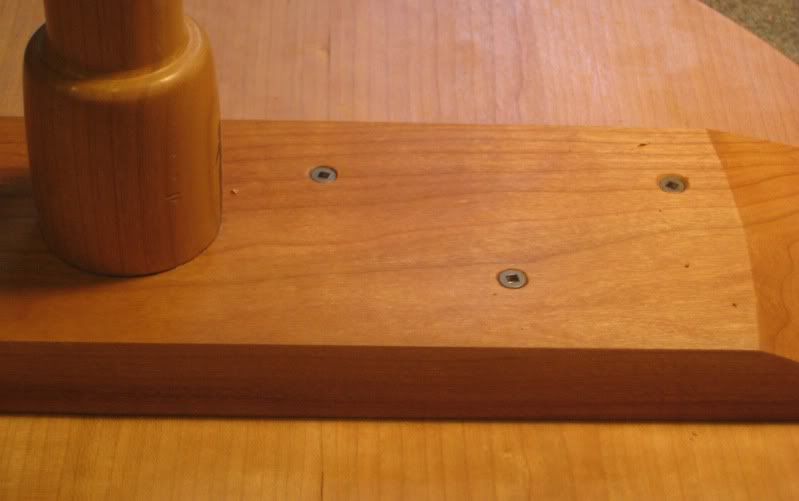
As for the cleats, I'll be screwing them up. Literally. Three holes on each side of the pedestal, the furthest one out with a bigger hole to allow some movement.
 
Last edited:
I'll echo the other compliments and thanks. Looking great, and it's been fun to watch.

Hey Ben! :wave: Is your brain full yet?
 
and...the grand finale

It was hard to find time this week, but I did manage to complete the tables today. I ended up simply rounding over the edges with spokeshave, block plane and scraper. I decided against the up-bevel on the bottom. A 1/2" thick top seemed right, and is more in keeping with the 1850s Hancock Shaker original.

I put several coats of shellac on this week, first 2# cut dewaxed, then 2# cut waxed, applying first with a brush and then with a rag.

Once the shellac had hardened I had to smooth it with steel wool. I use a wood block with 1/4" of cork, and good quality 0000 steel wool. This product is better to use than the little pads sold in the hardware store. Apparently, there are fewer impurities [like oil] in the more expensive wool. It lasts a long time too, and is a good value.

steelwool.jpg


steelwoolwithblock.jpg


Then a coat of wax, rubbed in with steel wool, allowed to set for about 20 minutes, reapplied, and finally buffed by hand with a flannel cloth.

top-2.jpg


After buffing, which is done fairly energetically and with the top still not attached, the cleat is screwed on. The outermost holes are larger, to allow some movement. I didn't slot them, just used a 3/16" pilot. We'll see if this works....The cleat is perpendicular to the grain, and should keep the top flat. I thought of putting a small photo of me making the tables between the cleat and top, so that if someone removes the top years from now, there'd be a nice surprise. I might still go back and do that.

cleat.jpg


Paper label is glued on:

label1.jpg


Drum roll please:

table2.jpg


table.jpg


sisters.jpg


This was a fun build, and I enjoyed walking through the process here. Thanks for all the support along the way.

Ken
 
well done threw out ken the progress shots and the finale... i do have a question though why the dewaxed shellac first then put on waxed shellac??? and what type of final wax did you use?
 
i didnt clarify my question i quess ken.. you said that you used DEWAXED shellac first then you put on some WAXED shellac.. why not more dewaxed instead of the WAXED shellac..???

I put several coats of shellac on this week, first 2# cut dewaxed, then 2# cut waxed, applying first with a brush and then with a rag.
 
Really neat Ken. If we could record an mp3 here and post it I would do a fox whistle to indicate my delight.

Thanks for the tip on the steel wool. I was reading somewhere recently that some guys prefer to use the 3m scouring pads in different grades due to the oil and residue steell wool can possibly leave behind especially when doing water based finishes. I cant say i have had that experience but hey i dont think i would even notice at this stage.:D

Those legs look so cool and the handwritten stuck on label is a fine finish and real original.:thumb: Thanks for allowing us to follow along Ken.
 
Top