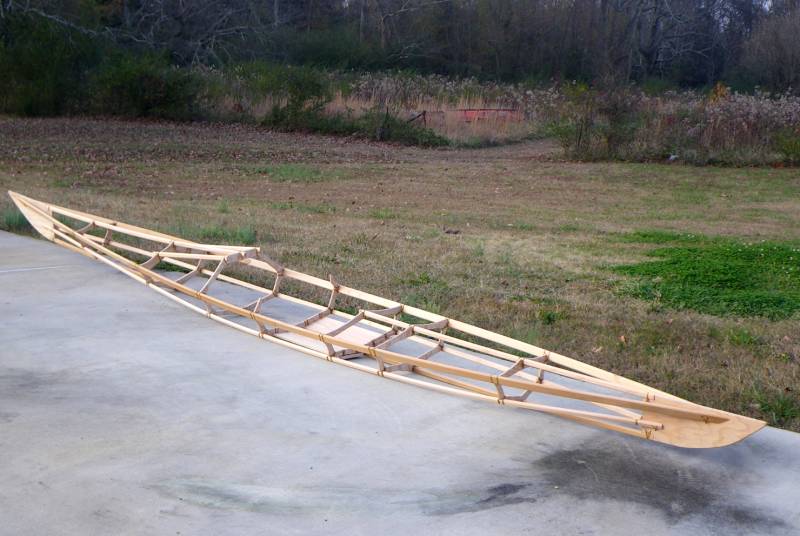
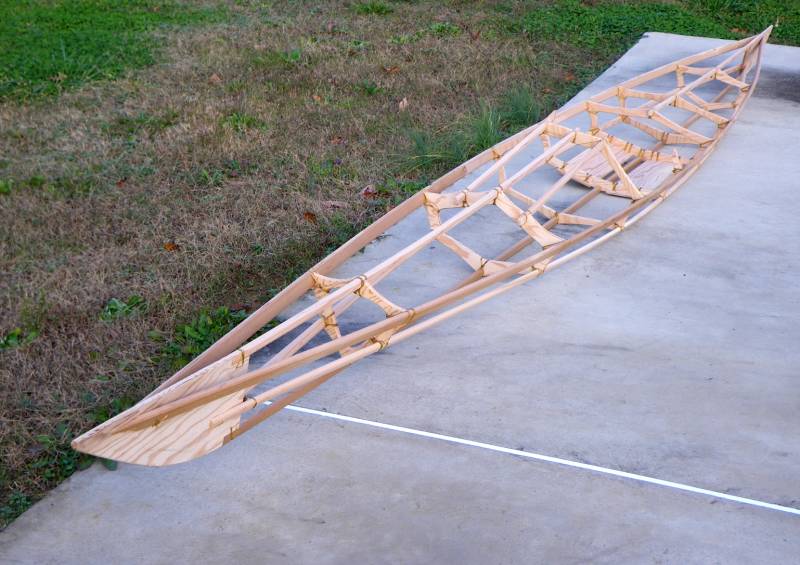
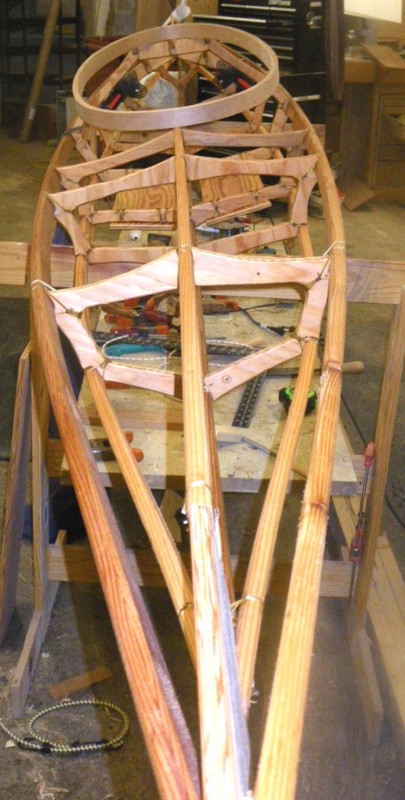
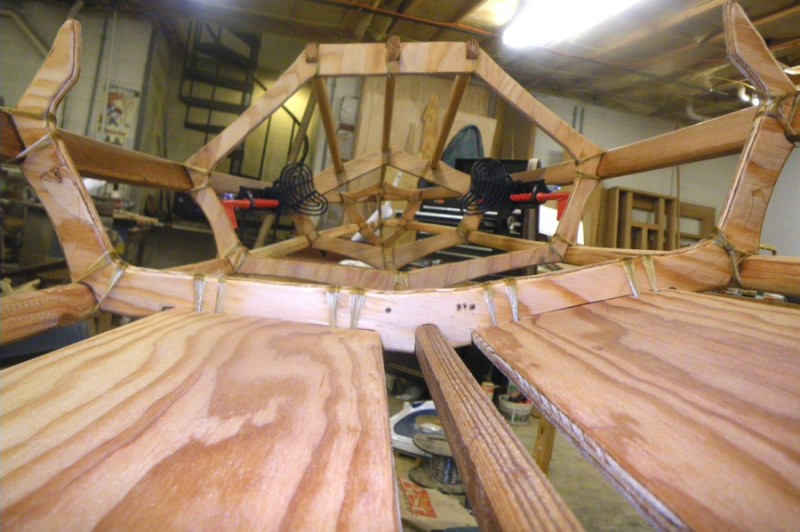
Developing VARDO kayak

Hey Jeff, I was thinking, how long will one of these last?

I know if it is abused, not that long, but say it is taken care of and covered in the winter, or even put in the basement kind of thing, and aside from wear and tear, the occasional patch for a rock on a beach, honestly, how long do you think the wood and lashing will last?

Not being negative in any way, just curious, I'm thinking if taken care of 10 to 20 years would not be unreasonable...?

Just curious.

Stu
 
Just wanted to tell you that I'm still following along and still enjoying the show :thumb:

I'd also say you are getting better/faster at all of this too :clap:

Thanks Stu, Just the economy has me working one or two days a week now. So I have more shop time and it seems like I am faster. ;)


Definitely need to see the lashing videos at some point.

Also, what kind of plywood do you use for the formers?

Frames are marine grade plywood. Fir I assume? Of course marine grade doesn't mean what it used too. Still have voids in it that is not marine grade quality! So I have to seal the holes with some 5 minute epoxy for now.

I will have the video online shortly.
 
NEW LASHING VIDEO. I just reshot and replaced the old one on the web site. New camera makes a huge difference.

Of course I still see things I want to redo. I really should write a script and not try to ad lib as I go! :(
 
Hey Jeff, I was thinking, how long will one of these last?

I missed this. Good question and I have not been able to get a good answer. There are frames around in museums and such that 100+ years old. Nylon skin we use should last for many many years. So it's really hard to say.

UV and rot are the two enemies so the answer depends on how well the boat is taken care of. If used in salt water rot is not an issue. Salt water will kill any rot. I am on fresh water so I just rinse mine with some clorox and water ever couple of month to kill anything that might be growing out of sight.

I think the skin is the weak point. I have some people saying that a skin won't last more than 3 years but I don't believe that. My personal boat has been paddled all summer. I have run into countless rocks, stick, stumps, submerged who knows what and drug it across sand, you name it and it doesn't show any wear. There are 2 or 3 marks on the skin but that is it. Now if you leave it outside in the sun then it's only going to last as long as the coating on it. Then the UV will get it.

And the odds of poking a hole is slim to none. It's going to take one heck of an impact to do that. I am more concerned about abrasion doing damage. Now if came off you car at highway speeds, then you might hole it. ;)
 
Last edited:
Great Video Jeff! :clap:

That sure is a solid joint :thumb:

I like your way of explaining things, simple and straight forward.

All you need is a little theme music in the beginning and end and you are golden :D
 
I like your way of explaining things, simple and straight forward.

Thanks for the critique. I am just a simple person and I talk simple. :eek:
Meaning it's hard to watch and listen to yourself and not want to redo it and try to 'sound' more professional"

I have finally gotten comfortable in front of the camera but I am still not comfortable watching it after wards. And I have tons of stuff that I could use for a Blooper Reel.

All you need is a little theme music in the beginning and end and you are golden :D

I was thinking the same thing so I will take that confirmation.
 
DAY 8

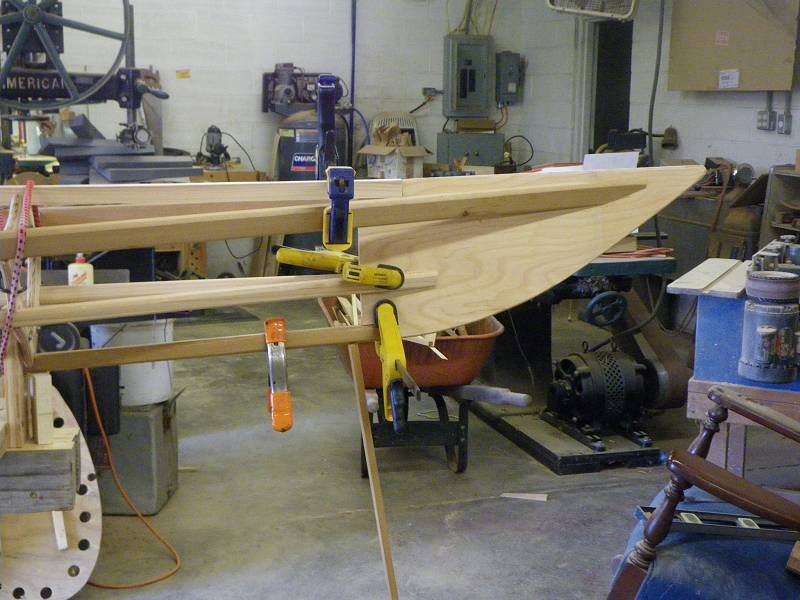
Well, lets start with another mistake. (Yes, I make lots of them!) I had the frame assembled and was working on the bow stem and something just didn't look like right. I keep looking down the stringer and they just were not looking like I expected they would. So I went back to the computer and checked the model. Nope, that is now what my boat looks like.

After a lot of looking and messing around I finally decided I had made a mistake lofting one of the frames. Of course it was the frame I had mounted to the strong back!! I lashed up to that point so I could take the frame out and it not fly apart on me.

Once I got it out and measured it and I was right, I was wrong. ;)

day8-1.jpg


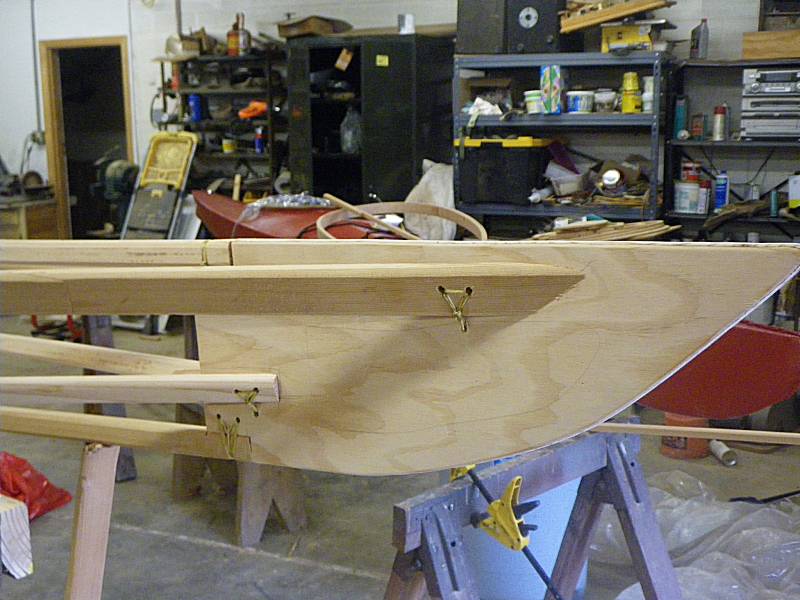
With that done I was able to replace the frame with no drama, exploding stringer and as if by magic, everything lined up looked like it was supposed too.

day8-2.jpg


day8-4.jpg


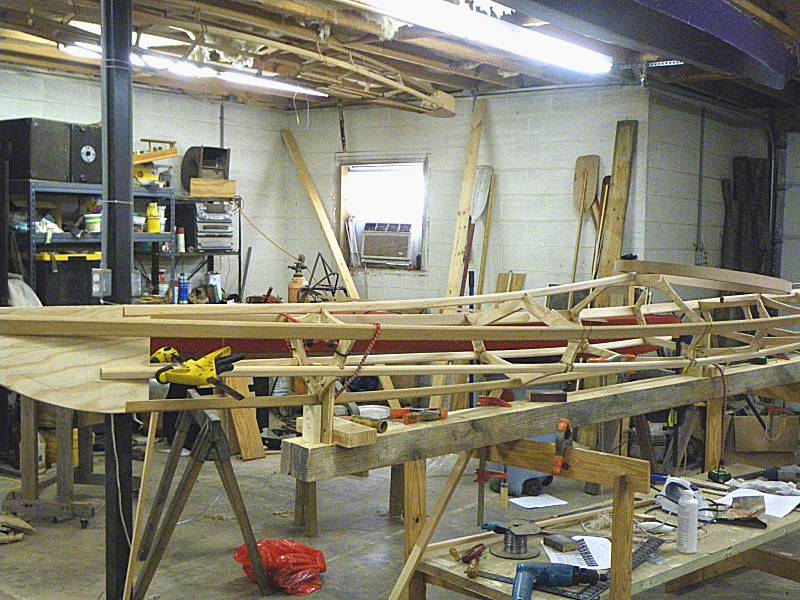
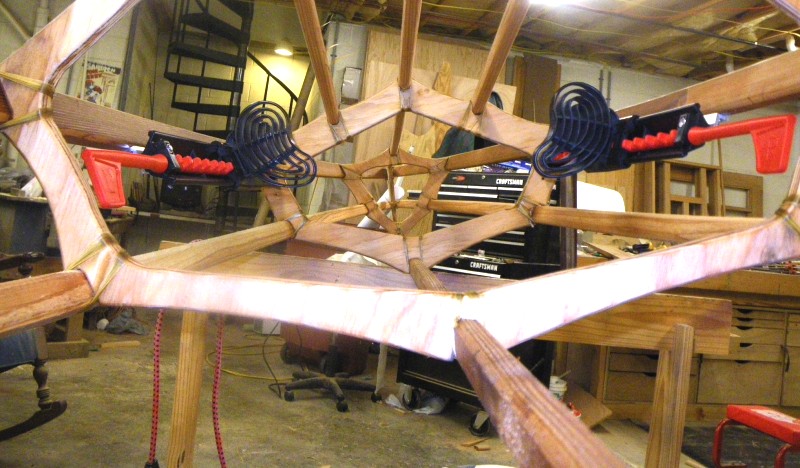
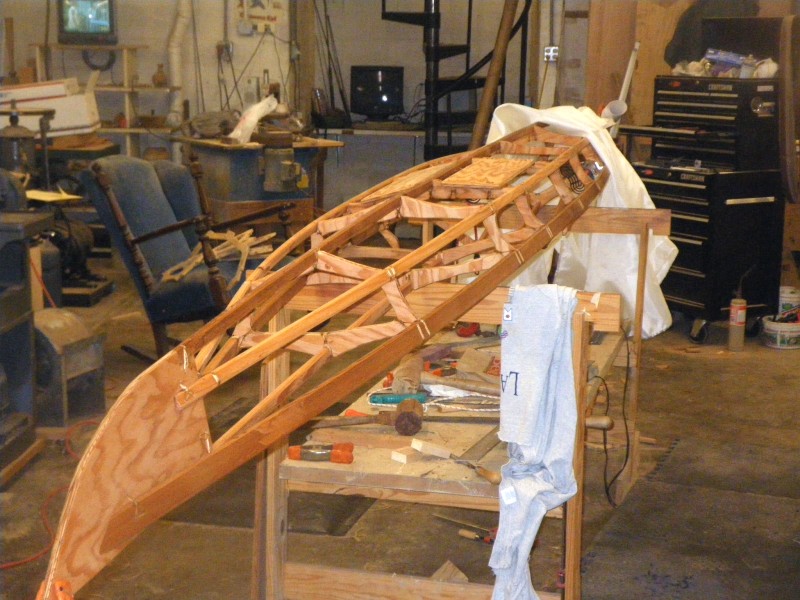
Most of the last two days have been spent lashing the frames together. One of my goals after the last frame was to skip the epoxy and lash everything. I was gluing the stingers in place instead, but this frame will 100% lashed. I should finish the assembly of the frame tomorrow.


day8-3.jpg
 
Looking good :thumb:

About boat building, don't they say "If it looks fair, it is fair" or something to that effect?

I guess you found out if it don't look fair....... whoops :doh:

100% lashed eh? I guess you got faith in that lashing :D
 
About boat building, don't they say "If it looks fair, it is fair" or something to that effect?

If you say so? :huh: Never heard that but it makes sense. I could tell something was not right but it just took me a while to figure it out. But it was obvious something was no right. So I guess there is some truth in that.
As for lashings.... I have never had a lashing fail and I can't say that about epoxy. ;)
 
Day 9

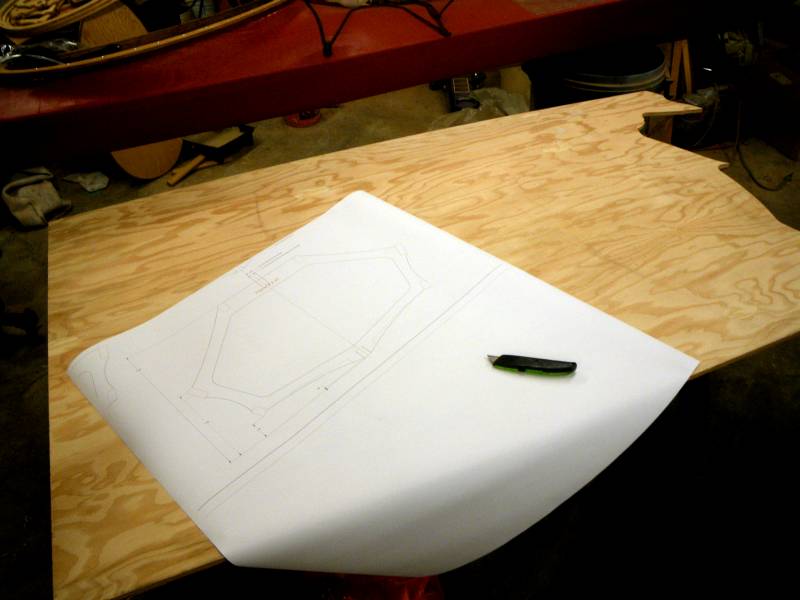
Have not worked on the boat much the past few days. I bought some new computer tools (toys) and been busy with those. I have my CAD software and just got my plotter. I have been drawing all the frames for VARDO as practice.

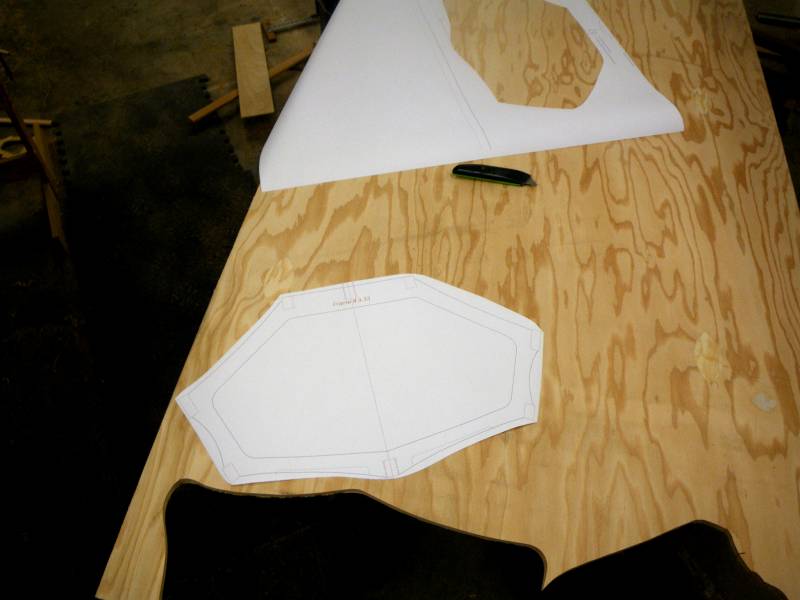
I have them drawn full size and wanted to try out the plotter. So I printed a big sheet with all the frames on it. I took it to the shop and laid my patterns over the sheet to compare them. That is sort of humbling. :eek: I was a draftsman for years and years and I thought I was pretty darn good at lofting. But lets say I see room for improvement.

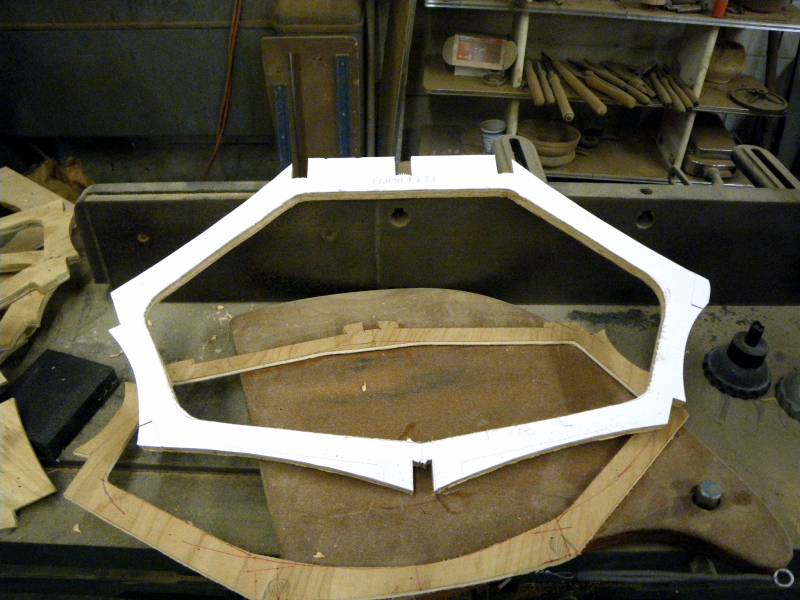
On one frame the keel slot was slightly off center so I decided to remake it and try one of my full size patterns.


day9-1.jpg


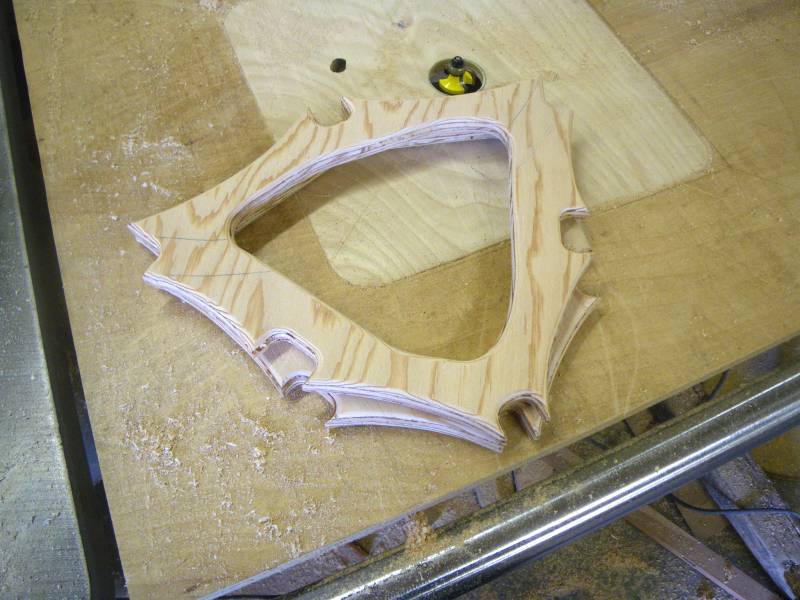
First step was to rough cut the frame out and glue it to the plywood.


day9-2.jpg


I then just cut to the line and was pleasantly surprised. Beat the heck out of pattern routing! Quicker and much less messy.


day9-3.jpg


I took it to the drum sander and sanded it to the line in a few places and it was done. Removed the old one and replaced it with the new. Then removed it from the strongback.

day9-4.jpg


day9-5.jpg
 
Last edited:
Having a plotter at home opens endless possibilities that you'll discover soon.

Besides it saves so much time that it pays by itself in short time.

The frame looks great Jeff, I can't wait to see it skinned:thumb::thumb::thumb:
 
Having a plotter at home opens endless possibilities that you'll discover soon.

Sounds like experience talking there. ;)

I am having some trouble getting it to print to scale. It wants to either scale it down or to spread it across two sheets. It will print out a small section perfectly. It has something to do with my drawing size vs. paper size. Guess that is just part of the learning curve.
 
Congrats on getting the new plotter and software talking, even if there is still some tweaking to do.

And thanks for the edumacation...I've not seen lofting used in that context. I like learning new words. ;)
 
I'm guilty, guilty, guilty. I have really been enjoying this thread and I always try to post a comment in threads that hook me or where I think I may contribute something. Somehow I kept getting distracted while in this thread and never did post anything so, shame on me.

Your work and this thread pretty much rock. Thanks for taking the time to share.
 
Last edited:
And thanks for the edumacation...I've not seen lofting used in that context. I like learning new words. ;)

Hey, I knew how to 'loft' for years before I knew that was what I was doing. :) I kept reading the tern im Wood Boat (pre internet days) and wondering what it meant. Then somewhere I read an article on Lofting a transom from plans and it was "so that's what they are talking about!" We just referred to it as something like laying it out or doing a layout. Never knew I could loft before that. ;) But there are lots of odd terms in the Marine field!

..... Somehow I kept getting distracted while in this thread and never did post anything so, shame on me.

No problem Glen. I have learned to look at the number of times it is read. I have been posting these on two other forums with ZERO replies on one and I think one reply on another. You sort of feel like no one is interested but when you look at the number of times read you realize there is a lot of interest. On one boat forum of all places, there is something like 1,500 views and not a single comment. :dunno:
 
DAY 10

Finally received the skin for VARDO so I have been back in the shop. I was thinking I had left it ready to skin. But I quickly realized I still had some thing I needed to do. I needed to install the foot rests and I had to lash a couple of places that I could not do while it was on the strongback. And I needed to oil the frame. I don't know why I had done all this while waiting on the skin?

I spent the day working on the frame prepping it for skinning. I got the foot rests installed but I am having second thoughts. Once I flipped the frame over and looked at it I think my mounts place it too high in this boat. I am going to have to take them out and come up with a new way to mount them lower.

day10-1.jpg


day10-2.jpg


day10-3.jpg
 
VARDO * Day 11

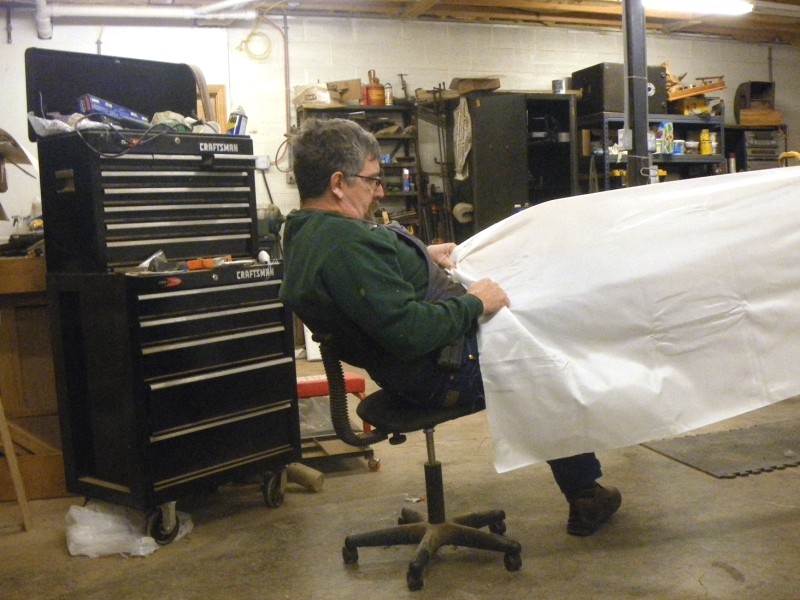
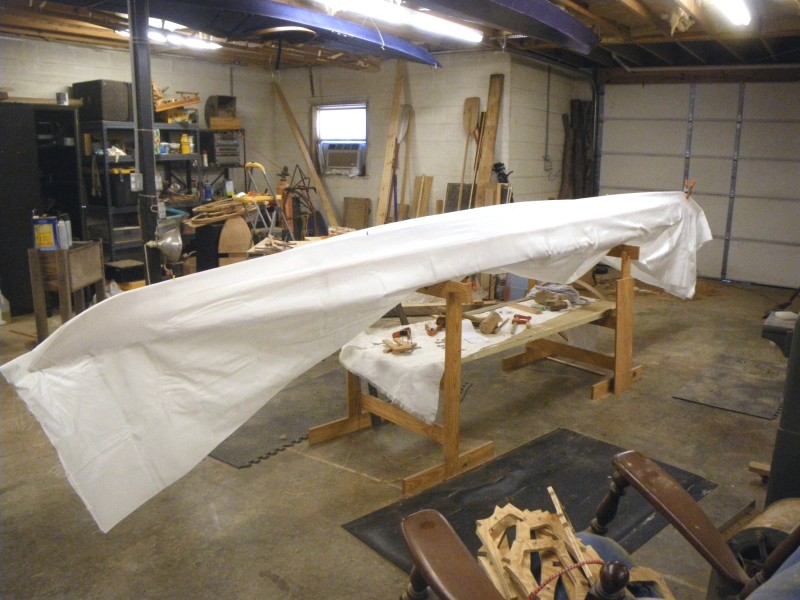
This morning I started the skinning process. I am using a 7 oz nylon fabric. The first step was to drape the fabric over the upside down frame and center it.

day11-1.jpg


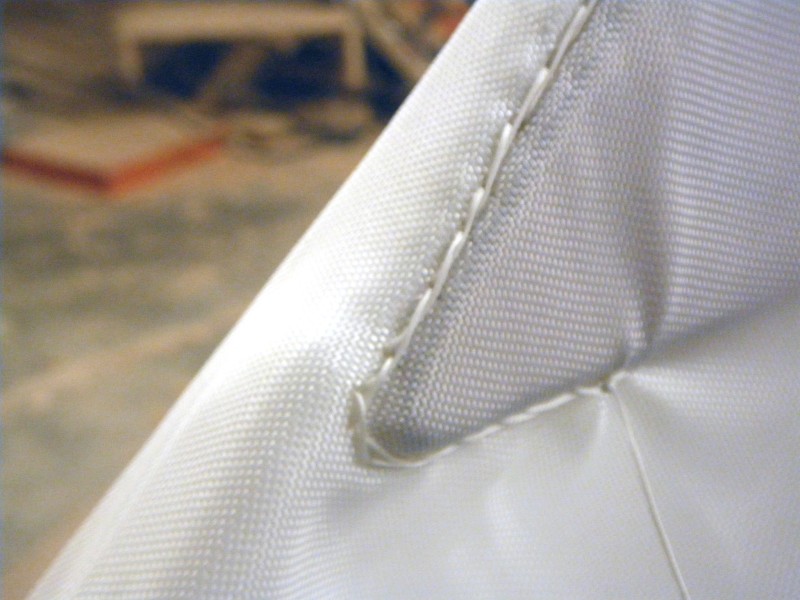
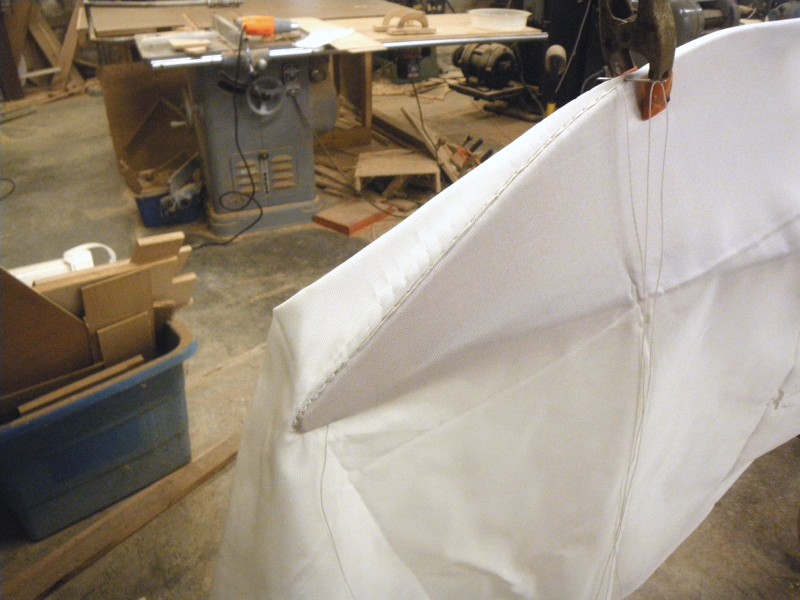
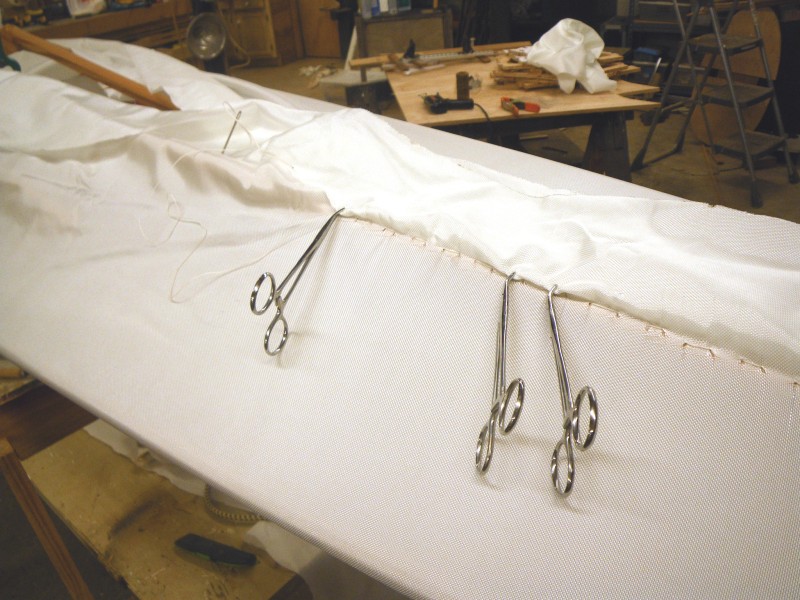
Once the skin is center over the frame I stitch a pocket around the bow of the boat. You have to be careful the way the fabric lays on the boat so you make sure you can stretch the fabric properly and end up with wrinkles.

day11-2.jpg


I then move to the other end, I mark the end of the boat on the skin. I go back to the bow and unhook the pocket I have just sewn from the boat. On the stern I move forward from my mark about 2 1/2” (3 fingers width) and sew a pocket on that end.

day11-6.jpg


Then the fun. You put your foot up on frame, grab the skin and pull and stretch and groan and holler and tug for all your worth and stretch the skin over the boat. Hooking the pocket you have sewn back over the frame. It doesn't take but once to figure out that you want to sew that pocket over the top any more than you have too!

day11-4.jpg


day11-5.jpg


Once that is done I take a break and catch my breath and get a cup of coffee. It's time to flip the frame and star sewing up the seam down the deck.

day11-7.jpg


I finished up the afternoon stitching the seam down the deck. By this point my feet are hurting and I ready to call it day.
 
Top