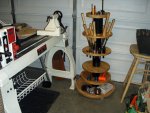
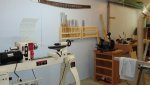
When I read this thread a few months ago, it reminded me to build a tool rack based on an article I read in WOODSMITH Magazine, Vol. 31, No. 185, October/November 2009, page 6, by Dave Gahimer of Rockville, Indiana. My “shop” is my half of the garage, 12’ X 20’ and I have very limited wall space, so I don’t have the luxury of being able to mount tools on the wall where they are accessible.
I altered Dave’s original plan by adding an extra storage shelf which increased the height to 47 1/2 “ from about 36”. Because of the extra height, I increased the base from his plan of 18” to 24” for added stability.
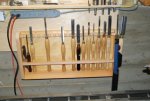
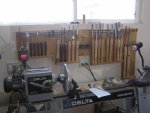
Photo 1 - Tool Cart
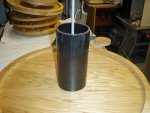
The center support is 4” plastic pipe fitted over 4” disks glued to the top and bottom of each shelf, ¾” ply (the top and base have on only one disk).
Photo 2 – Gluing up the pipe disks.
3/8” All Thread runs through the center of all the disks and pipe. Four – 2” locking swiven casters are mounted to the base.
Photo 3 - Base with pipe disk.
Photo 4 – Pipe mounted to base
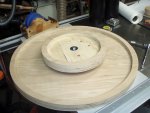
The shelves have a one inch ring around the outside to prevent items from rolling off.
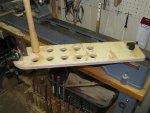
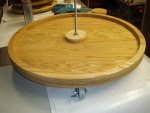
Photo 5 – Base and top.
The top holds chuck wrenches and small items.
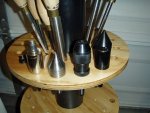
Photo 6 – Top Shelf
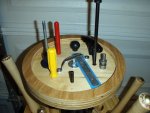
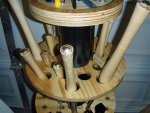
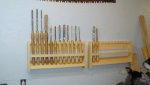
I drilled the holes for the irons so they would sit at an angle so I could have a wider top shelf. The third shelf also holds my collets and centers.
Photo 7 - Second shelf
Photo 8 – Third shelf.
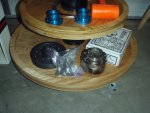
The bottom two shelves are for storage.
Photo 9 – Storage shelves.

 I have no idea how Brent's name got attached to it.
 time for