Stuart Ablett
Member
- Messages
- 15,917
- Location
- Tokyo Japan
I know, I know, some will say "Why bother..?" well because my lovely wife asked me to 
We bought four of these chairs at Ikea, I was not thrilled with them I figured they would not last long but they have lasted a few years.....
They cost about $49 each, which is cheap, I could not buy the wood for that much money, so I said OK, and we got four of them.
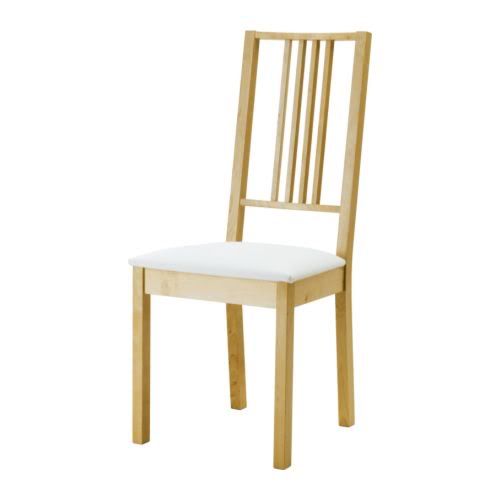
This is what they look like new, they are called "BÖRJE" and are supposed to be made from Birch wood.
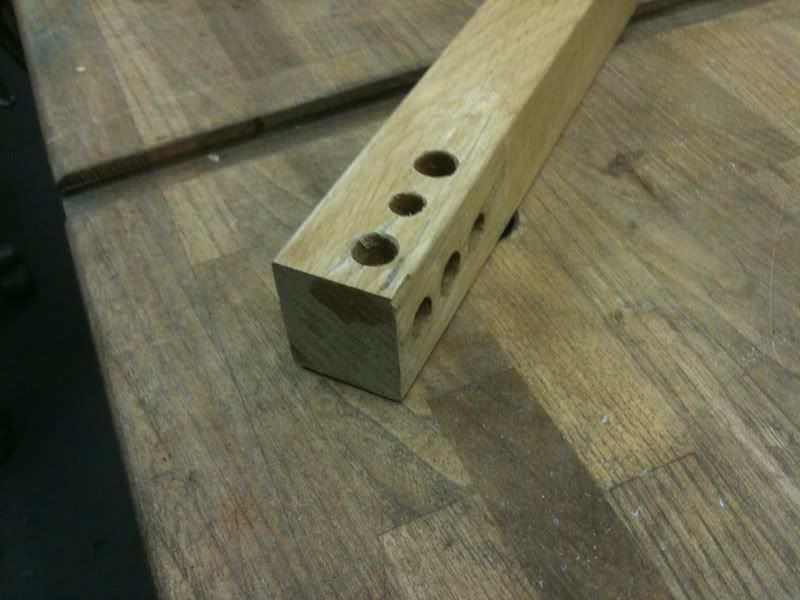
I think it is plain to see that the front legs are not very well supported, only the very top two inches or so and that small piece of wood has a LOT of holes in it for dowels etc.
One broke and it was when my daughter was sitting on it, NOT me The grain of the wood in the most critical area did not run top to bottom but at more of a 45, this piece of wood should not have been used for this part of the chair.
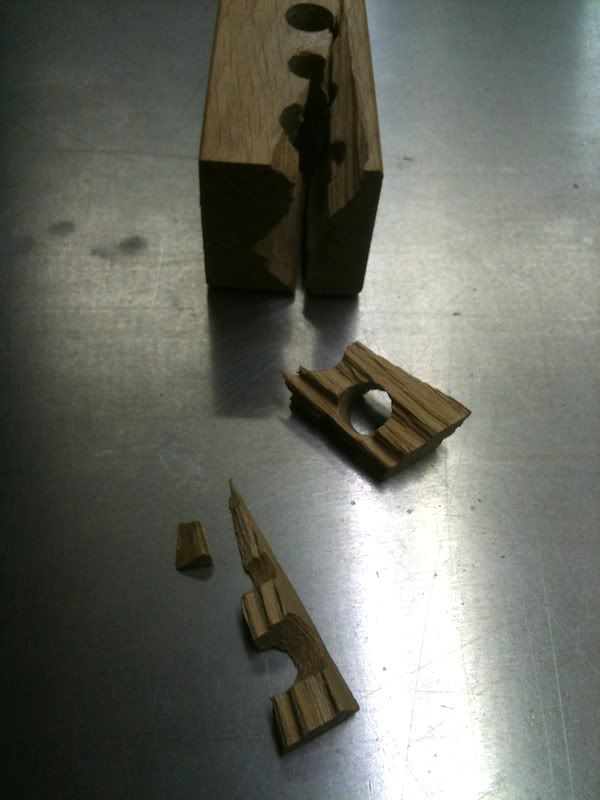
This is how it looked all busted up, pieces rather loose.
I got out the glue and one of them injector things for white PVA glue and did a lot of fiddling to get the leg back in shape.....
All glued back together, I also ran thin CA glue down any where I thought it could help but that might just have been a waste of time...?
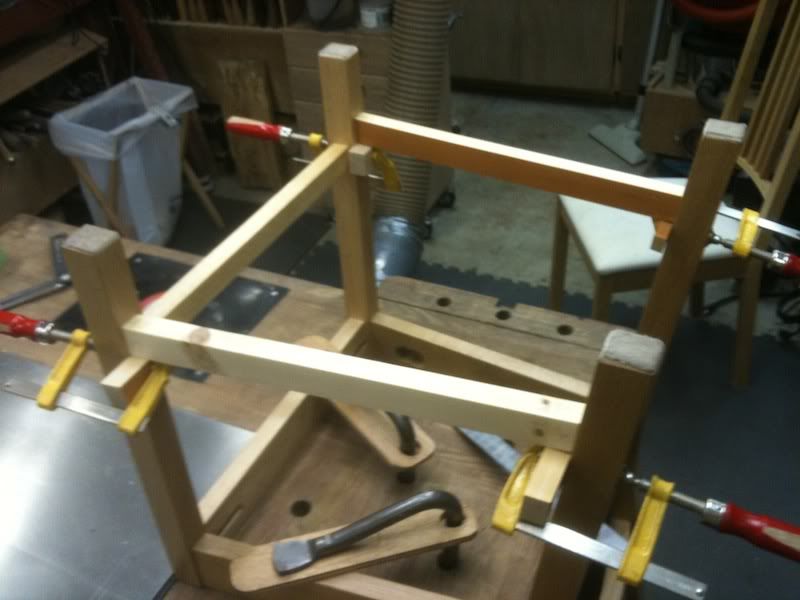
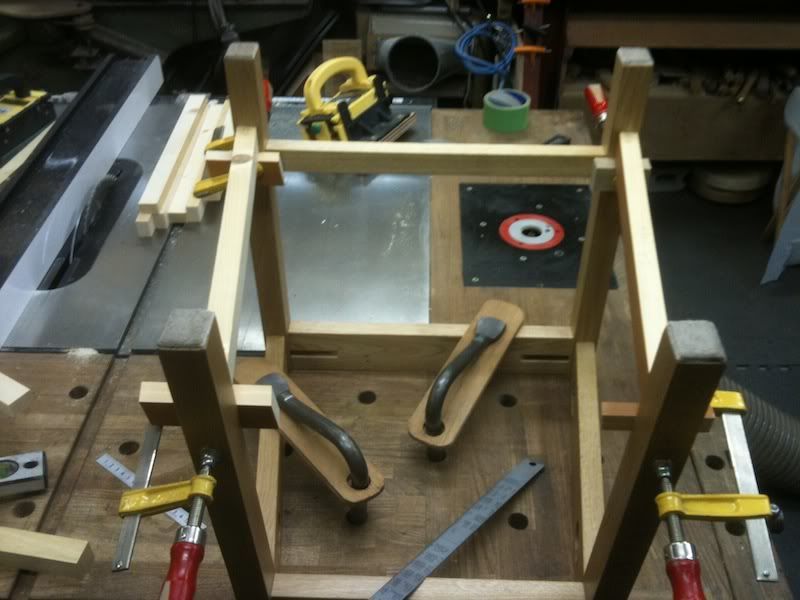
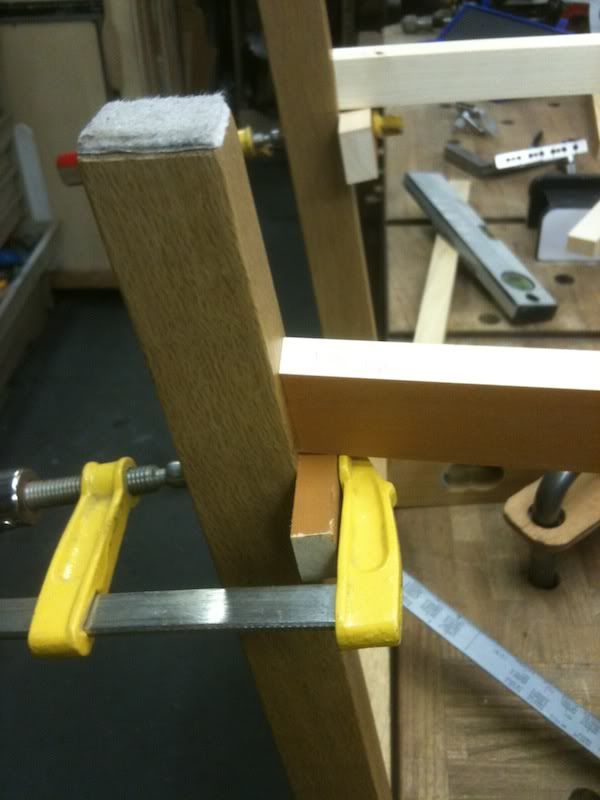
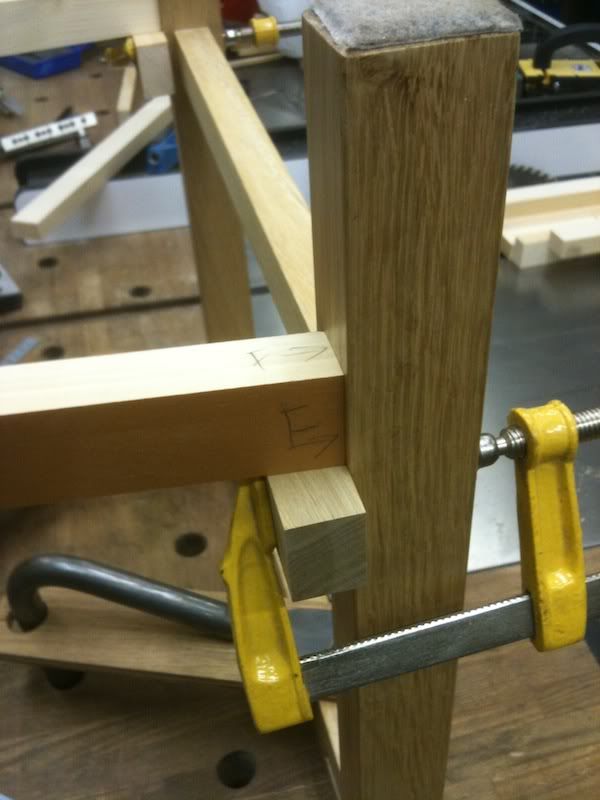
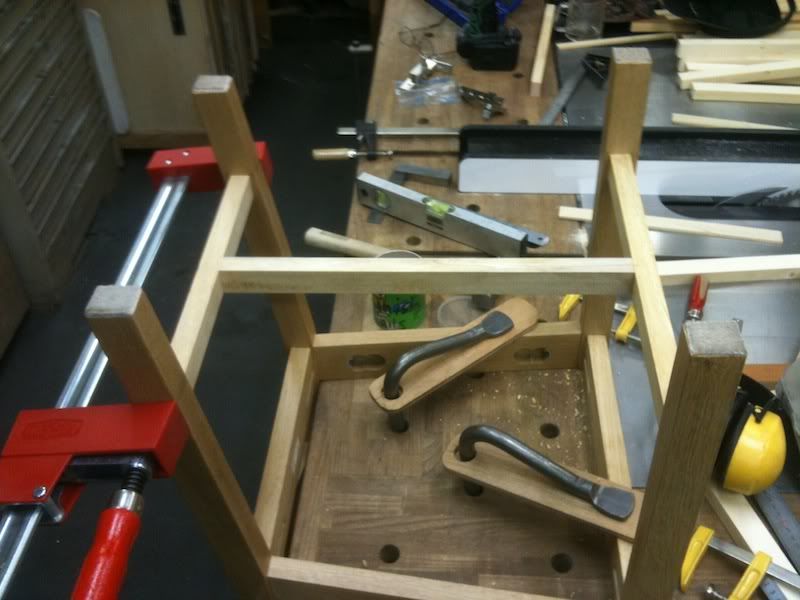
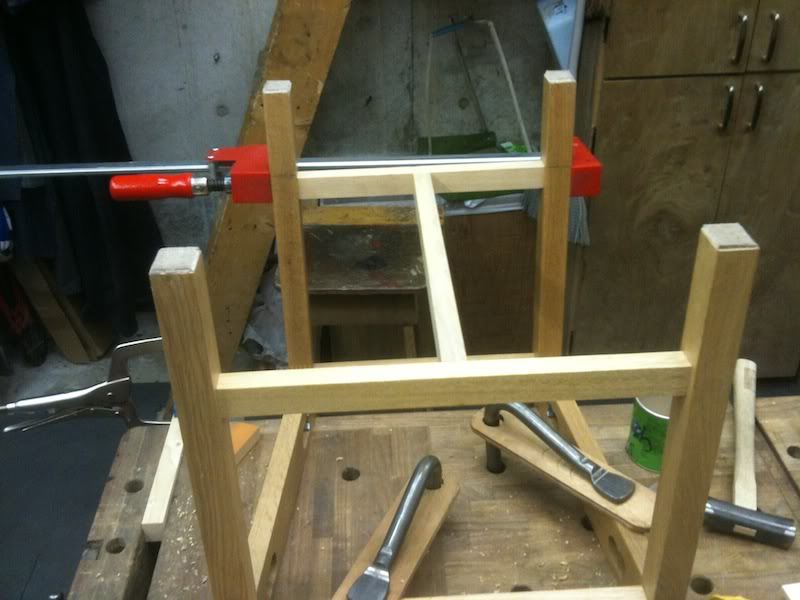
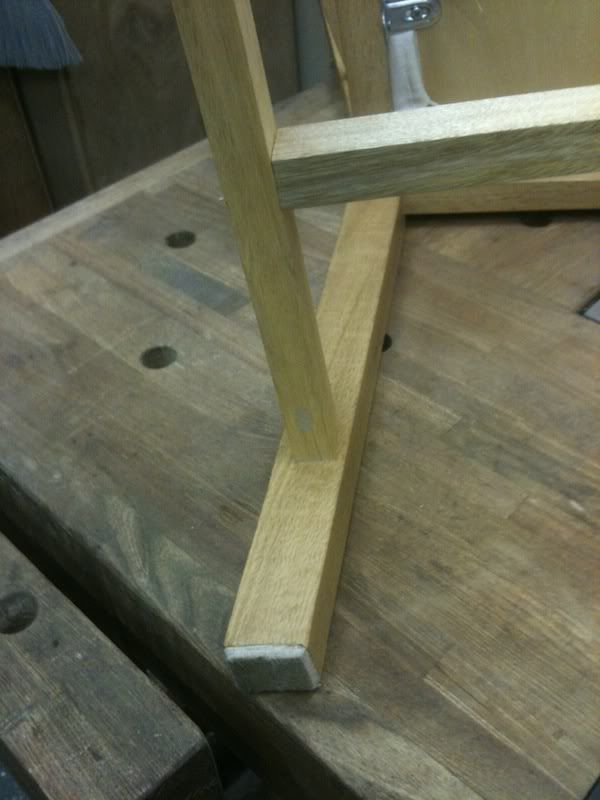
To stop this from happening again I thought to put a brace between the front legs......
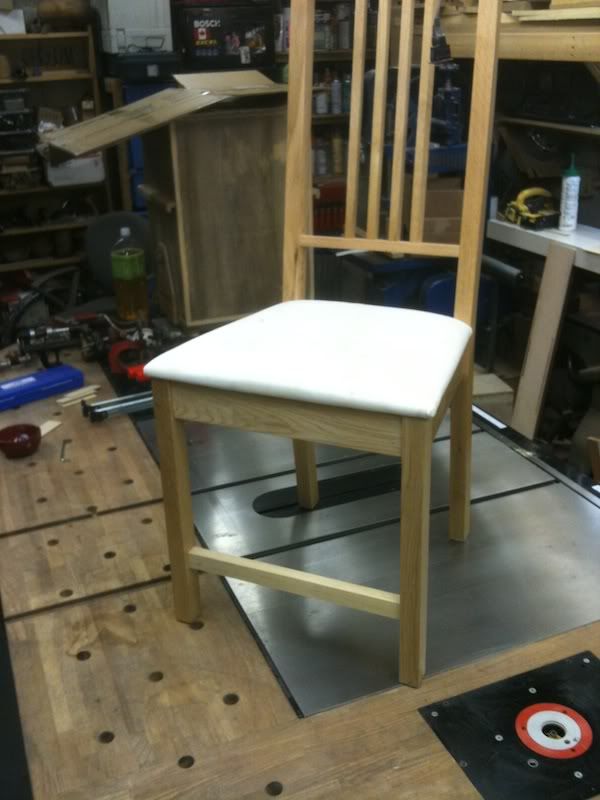
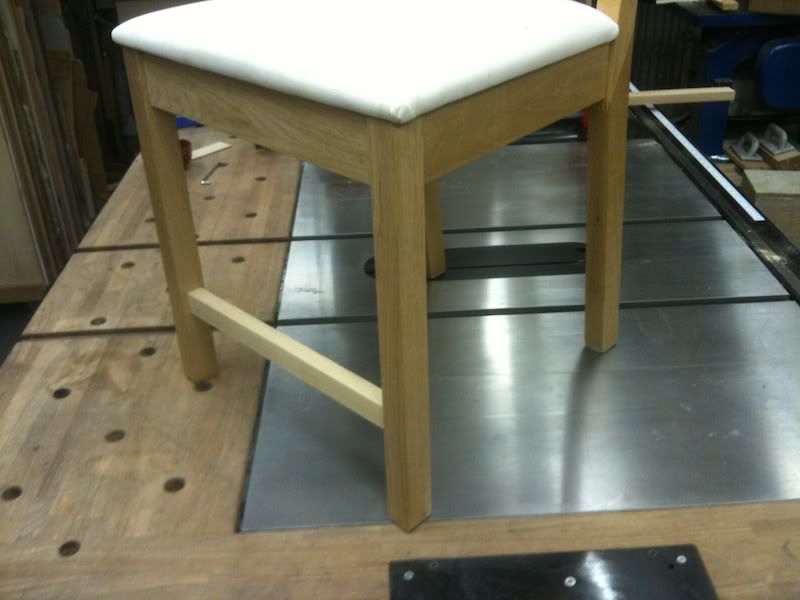
I thought if I put it higher up it would be more out of the way from heels, but then it would be less effective, also if I put it at this height, you can rest your foot on it like a bar stool.
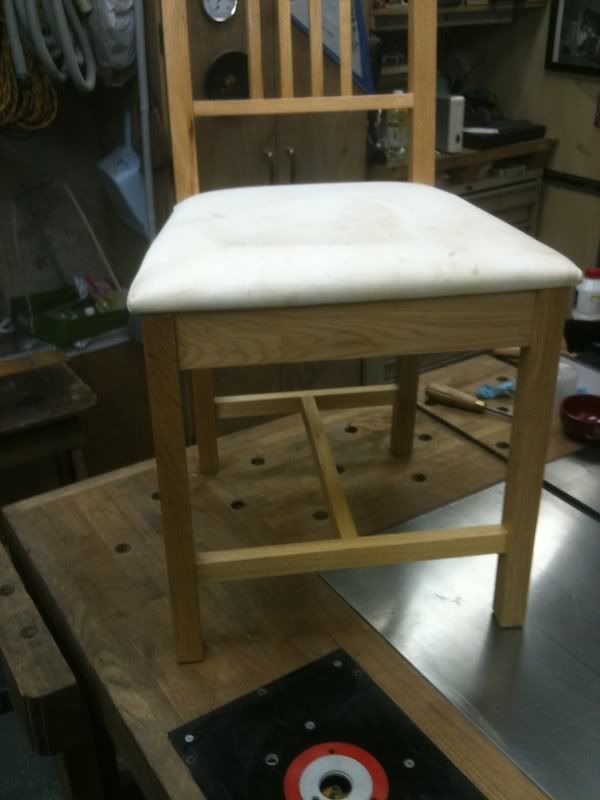
Will it last, dunno, but I think we shall find out, more importantly, Emiko is pleased
Cheers!
We bought four of these chairs at Ikea, I was not thrilled with them I figured they would not last long but they have lasted a few years.....
They cost about $49 each, which is cheap, I could not buy the wood for that much money, so I said OK, and we got four of them.
This is what they look like new, they are called "BÖRJE" and are supposed to be made from Birch wood.
I think it is plain to see that the front legs are not very well supported, only the very top two inches or so and that small piece of wood has a LOT of holes in it for dowels etc.
One broke and it was when my daughter was sitting on it, NOT me
The grain of the wood in the most critical area did not run top to bottom but at more of a 45, this piece of wood should not have been used for this part of the chair.
This is how it looked all busted up, pieces rather loose.
I got out the glue and one of them injector things for white PVA glue and did a lot of fiddling to get the leg back in shape.....
All glued back together, I also ran thin CA glue down any where I thought it could help but that might just have been a waste of time...?
To stop this from happening again I thought to put a brace between the front legs......
I thought if I put it higher up it would be more out of the way from heels, but then it would be less effective, also if I put it at this height, you can rest your foot on it like a bar stool.
Will it last, dunno, but I think we shall find out, more importantly, Emiko is pleased
Cheers!