Brent, the wood was green in the spring, and after splitting the log open, it is still green. The green wood is easier to work. I'm not doing anything to keep the wood from drying out, as I'm getting to it pretty quickly, now that the billets are split out.
I have to say a couple of things. First, I am a rank novice at this Windsor chair stuff. I spent a week with a master, but that's it. One chair made, under his supervision, and with him bailing me out frequently. So please bear with me, this won't be a tutorial, it'll more likely be amusing as I struggle along.
I will try to explain what I can, and bear in mind, anything I say or do can be wrong. I learned a lot from Elia Bizzarri, but I may not have it all correctly. My sources are what I learned with Elia, notes and photos taken then, and Drew Langsner's book "The Chairmaker's Workshop" which Elia recommended before I went to N.C. to work with him.
OK, so having said all that, I've spent the last couple of days on the shaving horse, using my draw knife. The draw knife is as sharp as a plane blade, and is capable of thick as well as subtle shavings. It is am amazing tool, and one which takes time to learn. Elia must've told me a million times to skew the blade, and at the same time cut with a slicing stroke. Like cutting a tomato.
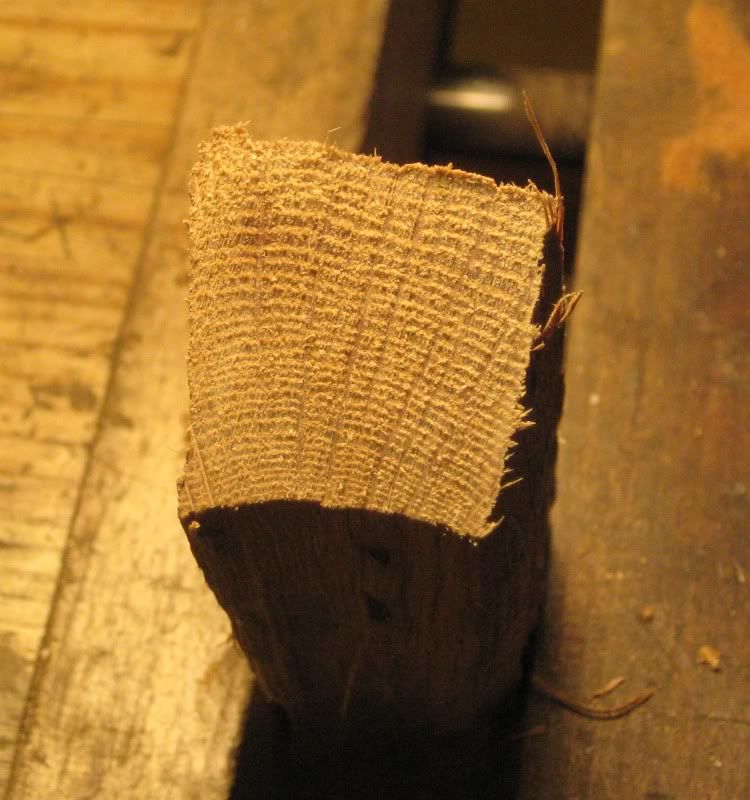
So to show this process, I start with a billet, split from the log. Looks like this:
To understand the way this is shaved, first look at the end grain. You can see the growth rings, and the rays. The ray plane is much easier to shave along than tangent to the growth ring, so first I shave along the rays.
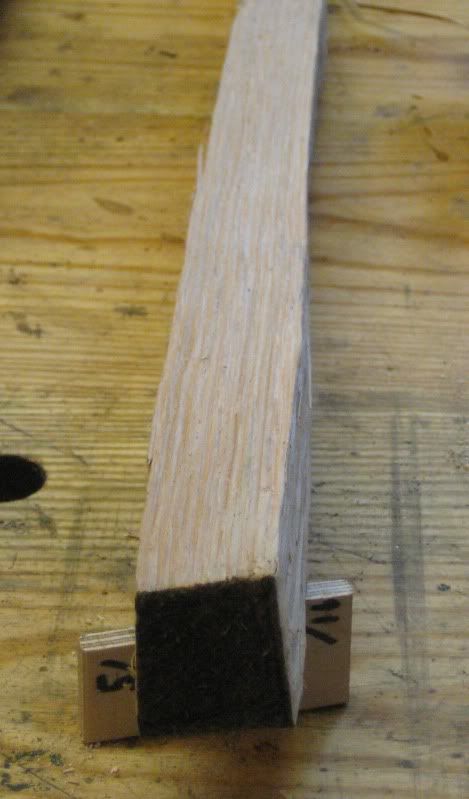
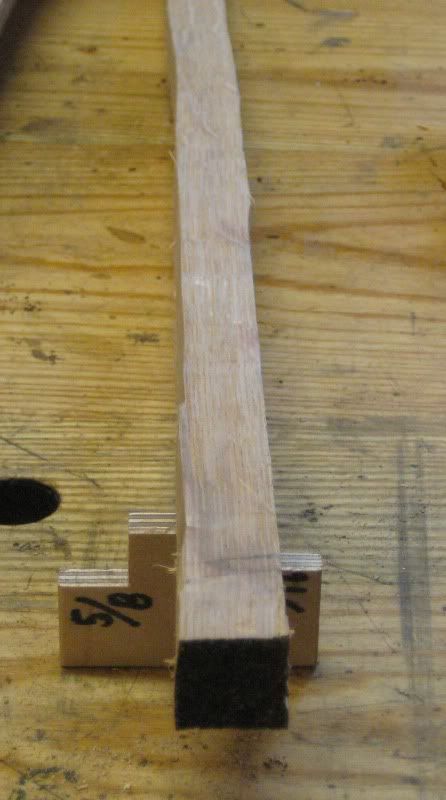
So the sequence is flatten a side in the ray plane, then flatten an adjacent side [tangent to the growth rings]. then mark off 3/4" on each flattened side, and shave down to that, so the blank is 3/4" square:
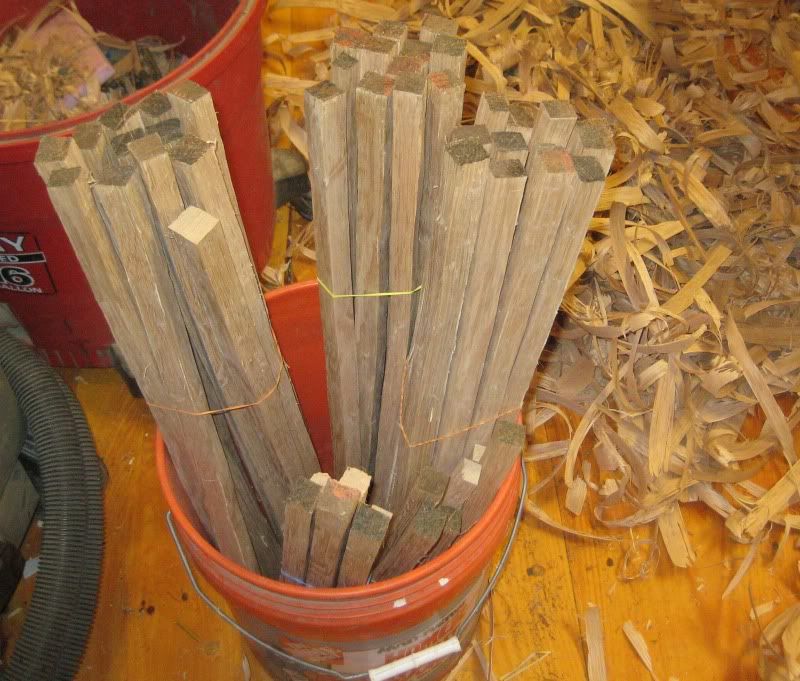
I made 36 long spindle blanks, and 12 short ones. Each chair needs 9 long and 4 short, so I made some extras, to allow for problems. I may make a few more.
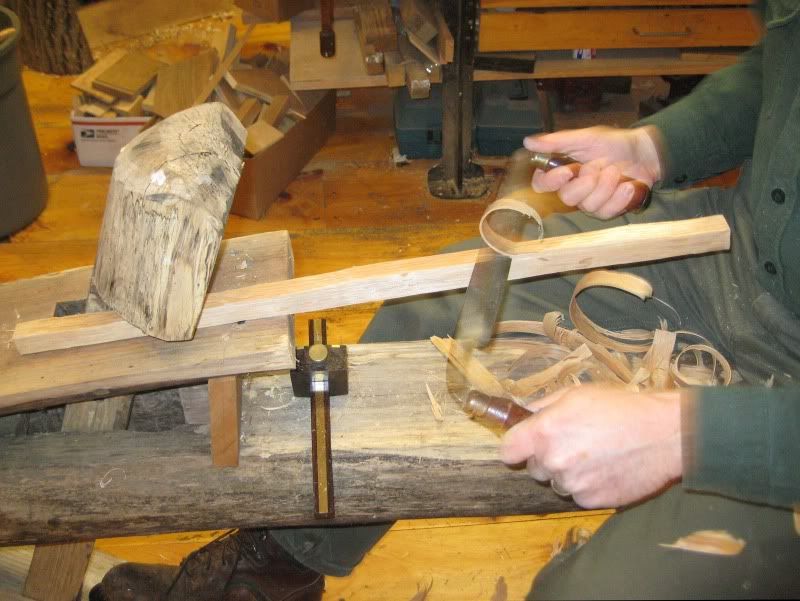
Here's a picture of a shaving in progress. You can see how thick the shaving is. The drawknife is skewed.
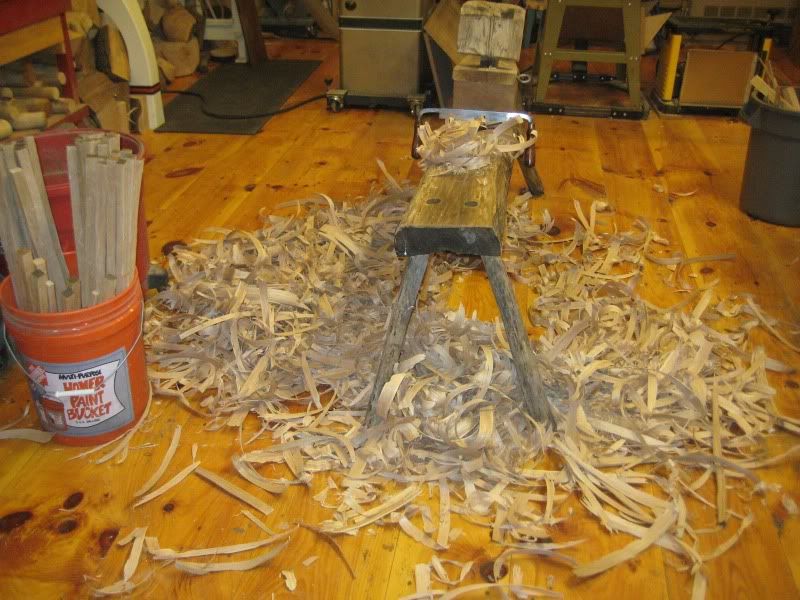
And this is what the work area looks like after using the draw knife. BTW, the shavings make absolutely great kindling, and I will be using all of them in the woodstove.
The next step will be either shaping the spindle blanks into rounds with a nice bulge for the lumbar area, and a gentle taper to the top, or splitting out a wedge from the big log, to rive out the continuous arms. I'll need to get several, as there is a high rate of failure in the bending process. I'll probably get to that in a few days.


")