allen levine
Member
- Messages
- 12,369
- Location
- new york city burbs
got it, its a very attractive joint.
.jpg")
.jpg")
.jpg")
")


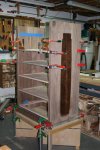
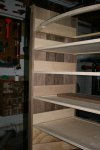
did i hear you right that you are glueing and screwing the dust dividers in place glenn? if so how do you get a tight fit and and room for glue too? or is there clearance???

hey, whats the story dude.
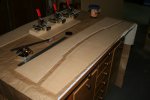
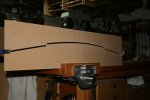
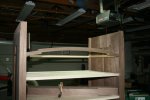
Look at that arch piece youre working on.
You have some kind of pad on your bench, then brown wrapping paper over that, the neatness of it all.....youre killing me.....revel in some sawdust, its near impossible anyone could work that neat.
That is going to be one beautiful piece when youre finished.
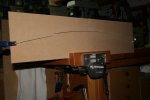
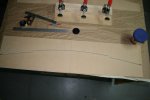
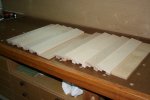
The plastic is STILL on the worktable since I DIDN'T put it away after I pre-finished the floating panels days ago, the paper is what I drew the curves on and I am working on top of that because I DIDN'T pick it up either, Looks can be deceiving . It would have been frustrating to try to figure it out across several after-work sessions instead of all at once .jpg")
.jpg")
.jpg")
.jpg")
Glenn, quick question.
That top rail/ cloud lift for the drawer, how is it going to attached attached?
I think I missed something.
 . ).
. ).