
ed, i like plinth blocks to "visually" sit on a supporting member......plinths, columns-n-capitols all throw back to early support systems so our eyes and brains have been trained that a column and it`s associated parts must be firmly rooted to the earth......in the case of cabinetry there should be a direct line to the floor of the room. setting columns directly over drawers or doors looks odd to my eye.....the size columns you`ve drawn fits well with the unit, they just appear to me to be unsupported.......tod
You are using an out of date browser. It may not display this or other websites correctly.
You should upgrade or use an alternative browser.
You should upgrade or use an alternative browser.
Library Project
- Thread starter Ed Nelson
- Start date
Ed Nelson
Member
- Messages
- 1,486
- Location
- Charlotte, NC
Thanks Tod, do you think it would be better to remove the plinths and increase the length of the flutes? I feel like I'm getting close to a good looking plan, but I'm not quite there yet.
ed, you don`t need to remove the plinths just place visual support under them. widening the face frame members might give it the "rooted" look? or even pulling out the face frames under the columns to make it appear as though the columns go all the way to the ground.....play around virtual ink is free....tod
Julio Navarro
Member
- Messages
- 281
- Location
- Tampa
I think you need either full fluted columns or half columns at the end panels at the walls, this will help scribe to the wall.
I also agree that the plinths need visual support under them..perhaps carry the plinth theme and place matching plinths at the very base of each column. Make the upper plinths smaller than the lower plynths. You also need an element at the counter top level just below the molded edge to complete the lower plinths.
02 cents as they say
Julio Navarro
Member
- Messages
- 281
- Location
- Tampa
is that the UPS man delivering a new tool?
Dixon Peer
Member
- Messages
- 32
Try widening the center unit and, if there's room, bring it forward four to six inches. Instead of a segmental arch, try an ellipse, and use applied fluted columns with a neck molding and capital. All this adds to the complexity of course, so you'll need more $ for the project.
Ed Nelson
Member
- Messages
- 1,486
- Location
- Charlotte, NC
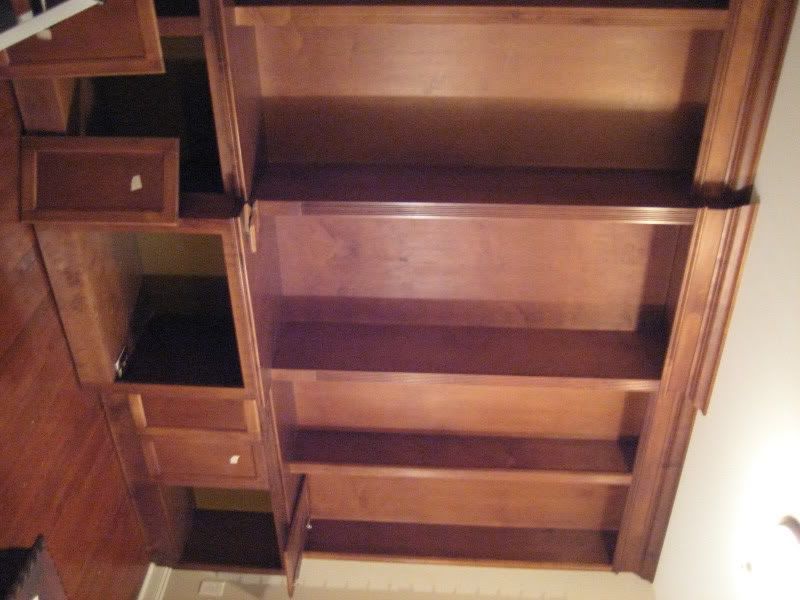
Well I've been working on this project for a while now and thought I'd put up a couple pics of the progress. I am building this as a true built in instead of building components. the plan is to have it finished, deliver it flat and assemble it in the house.
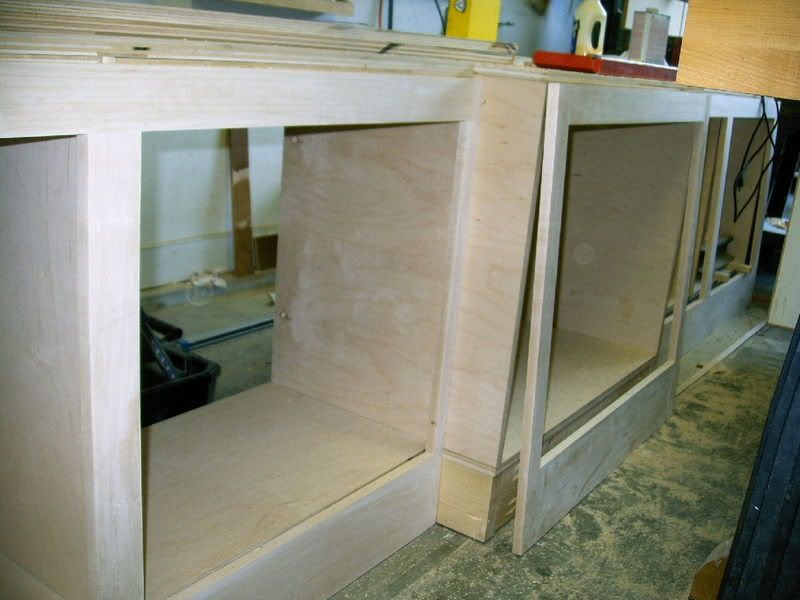
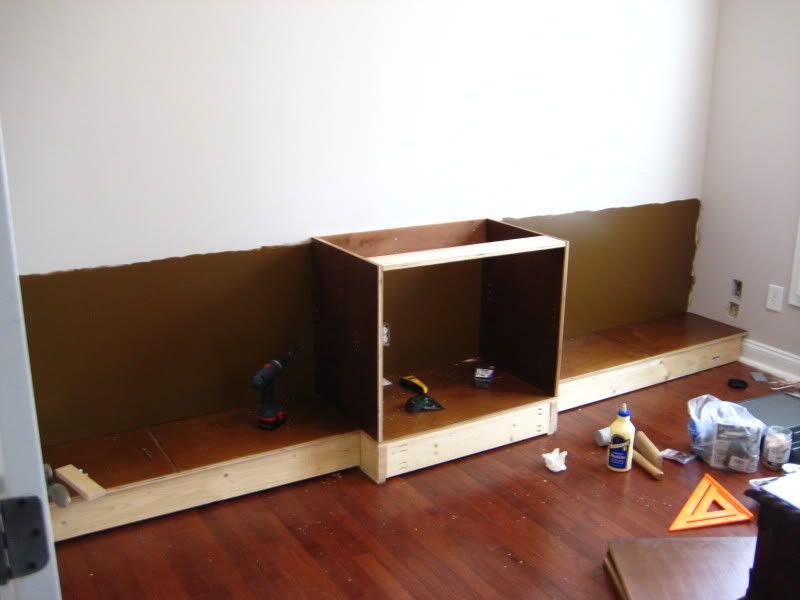
Here is the lower section dry assembled.
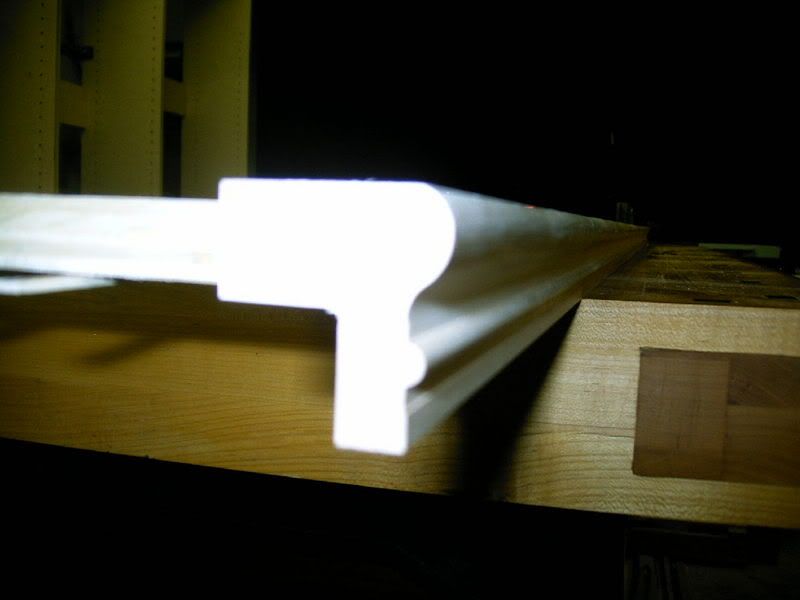
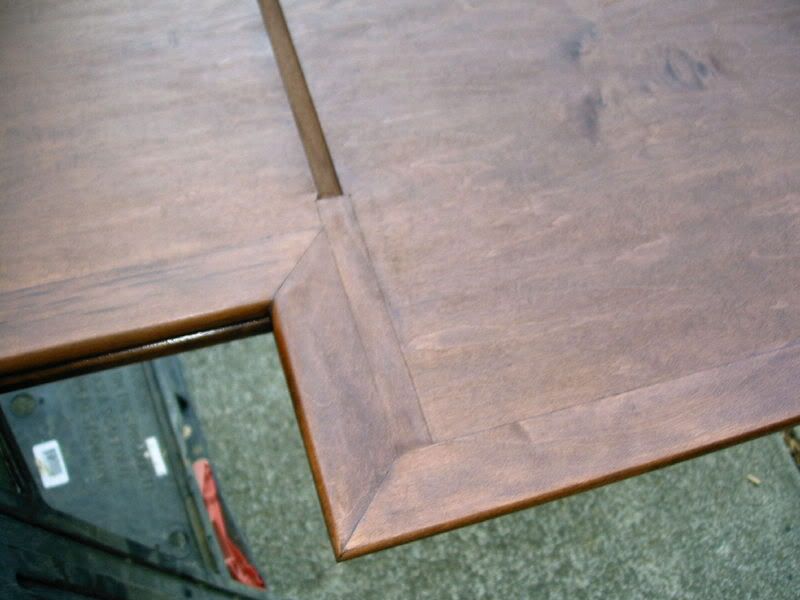
Here is the molding I put on the counter piece.
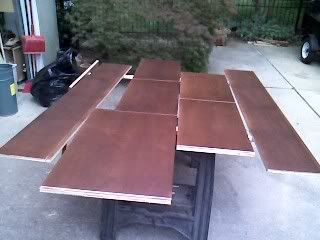
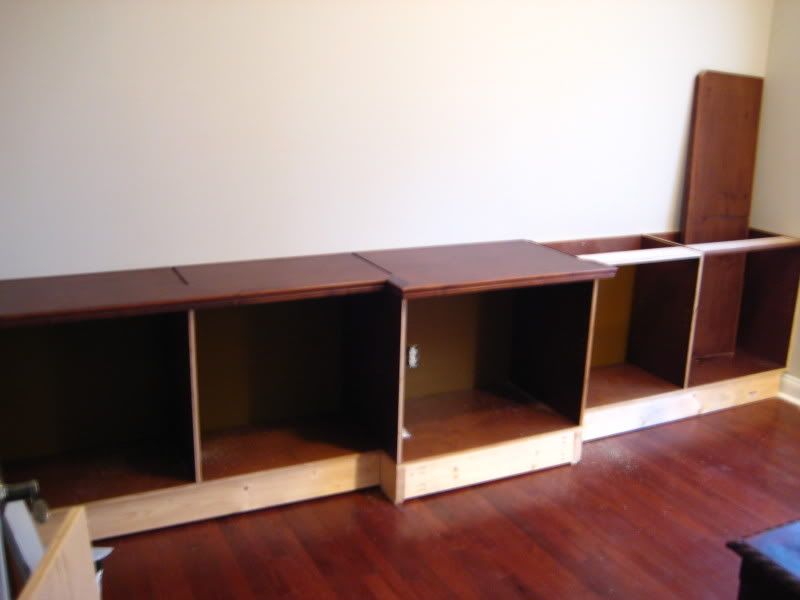
I thought I had a pic of the upper section dry assembled, but I apparently don't. Here is the base and counter pieces dyed. I decided to use dye instead of stain to get an even color between the plywood and solid wood.
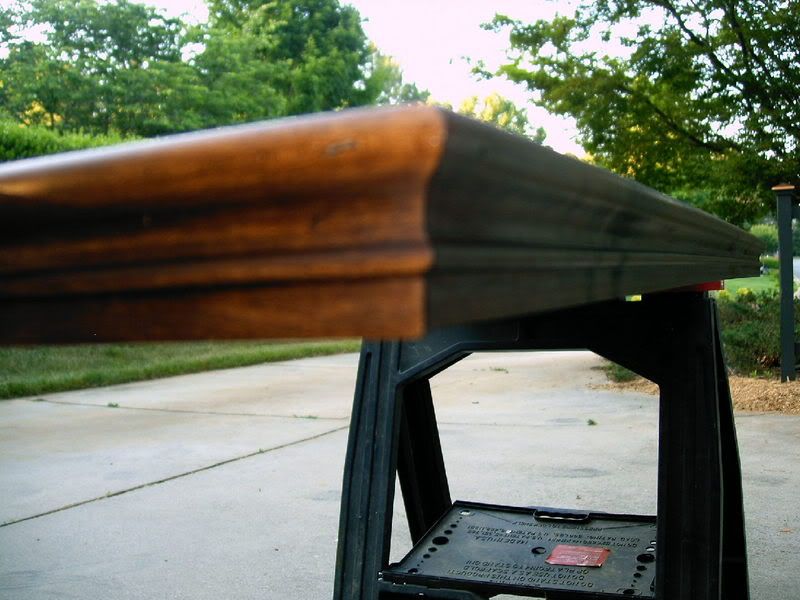
Here are a couple pics of the molding.
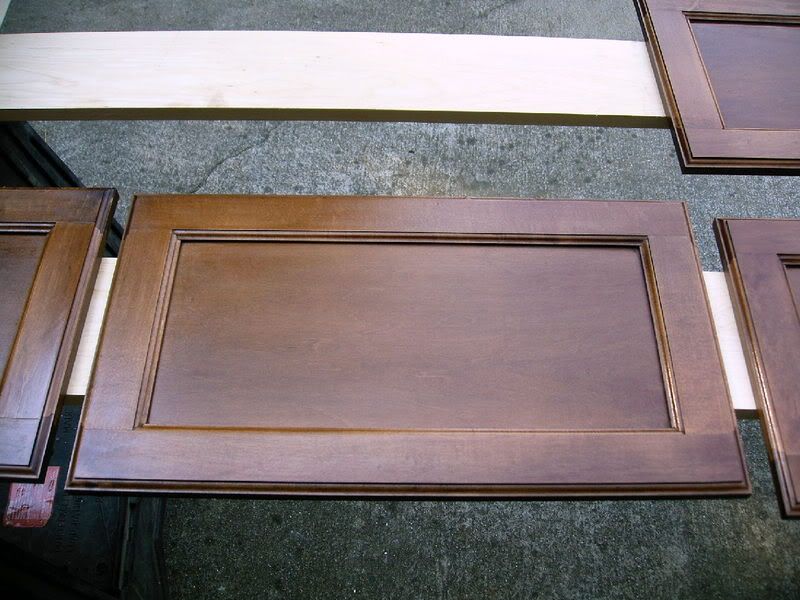
Some of the cabinet doors are finished.
That's about it for now. I'll post some more pics when I start putting this together!
Here is the lower section dry assembled.
Here is the molding I put on the counter piece.
I thought I had a pic of the upper section dry assembled, but I apparently don't. Here is the base and counter pieces dyed. I decided to use dye instead of stain to get an even color between the plywood and solid wood.
Here are a couple pics of the molding.
Some of the cabinet doors are finished.
That's about it for now. I'll post some more pics when I start putting this together!
Robert Schaubhut
Member
- Messages
- 2,323
- Location
- Houston, Texas
Hi Ed,
Congratulations on this nicely worked out project! I just went through the evolution of this library and see you have come along way. Thanks for keeping us abreast. You are on your way to a real knock out
Shaz
Congratulations on this nicely worked out project! I just went through the evolution of this library and see you have come along way. Thanks for keeping us abreast. You are on your way to a real knock out
Shaz
Ed Nelson
Member
- Messages
- 1,486
- Location
- Charlotte, NC
Well, here's the progress so far on library unit. I was supposed to have it finished, but due to some unexpected delays, I am not finished yet. Thankfully the people I am doing this for are very understanding. Hopefully I will be able to finish by next weekend.
- Messages
- 36,122
- Location
- ABQ NM
That's looking real nice, Ed. I'm guessing your clients will figure it was worth the wait when it's all finished. ")