Turned Chessmen

Stuart Ablett

Member
Messages
15,917
Location
Tokyo Japan
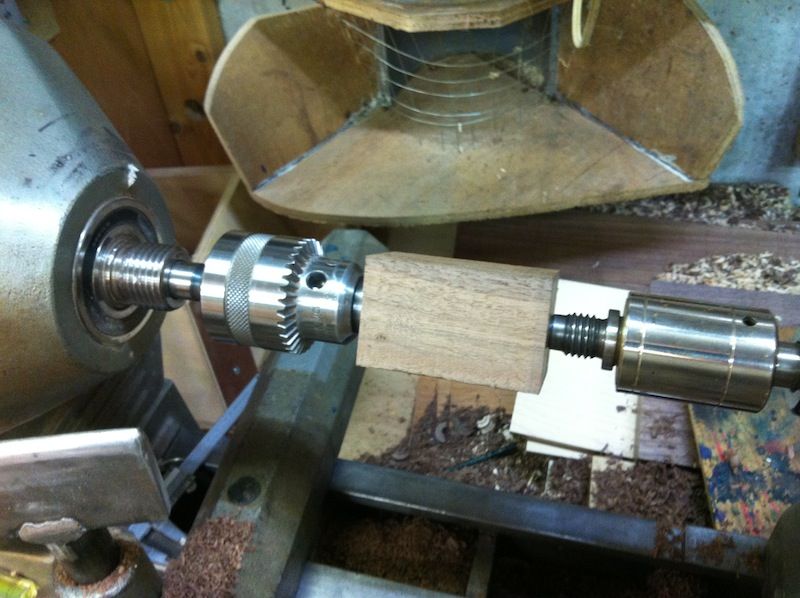
I'm finally getting started on this, my daughter's birthday is in the beginning of July, so I have to get this done, heck it is May already for crying out loud!!

I got the chessboard done before christmas, but this is going to take more than a few nights.

IMG_3390.jpg

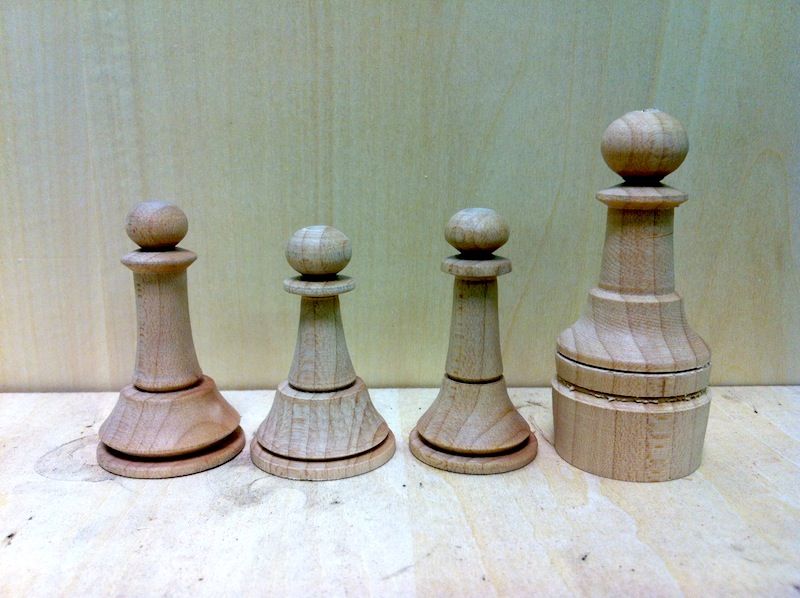
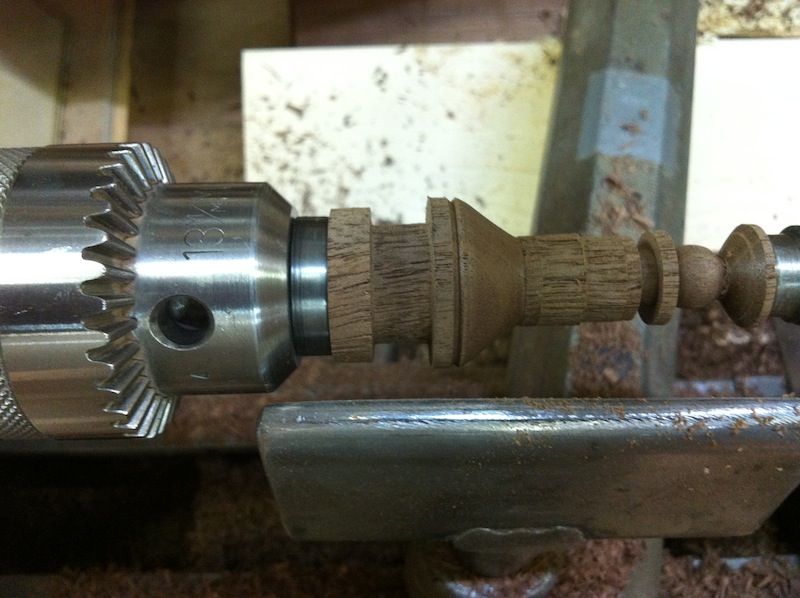
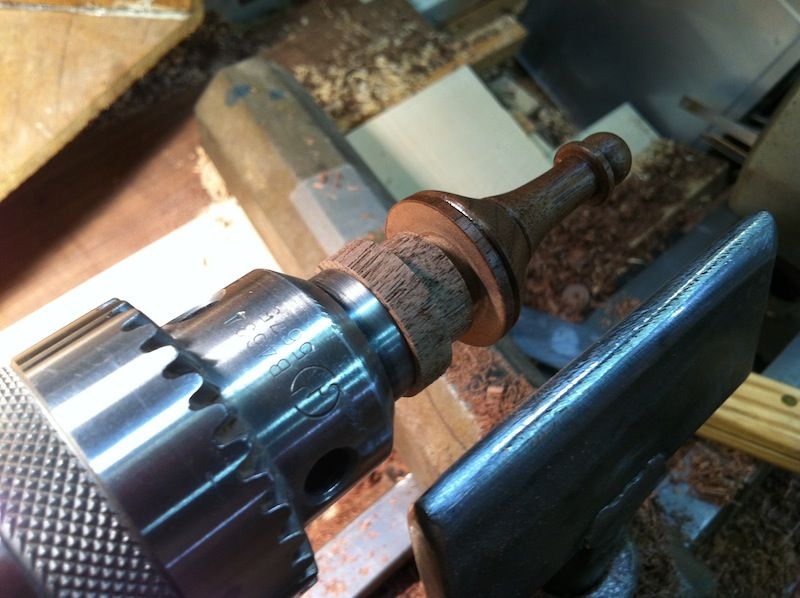
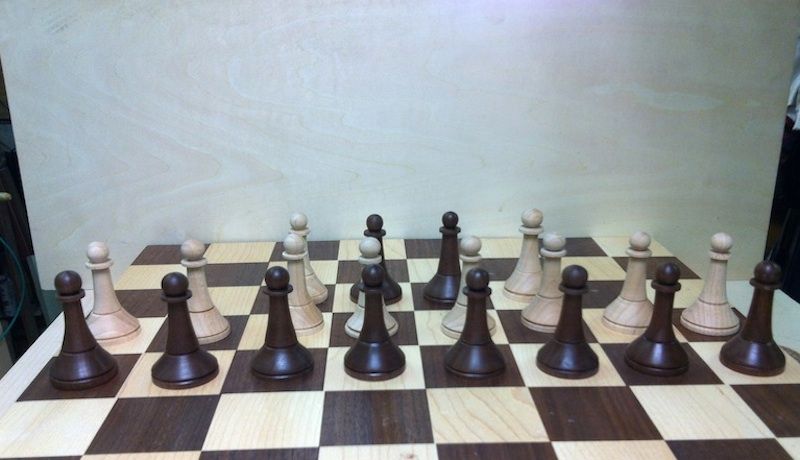
The one on the far right I did not even bother turning the base off, but it was a start.

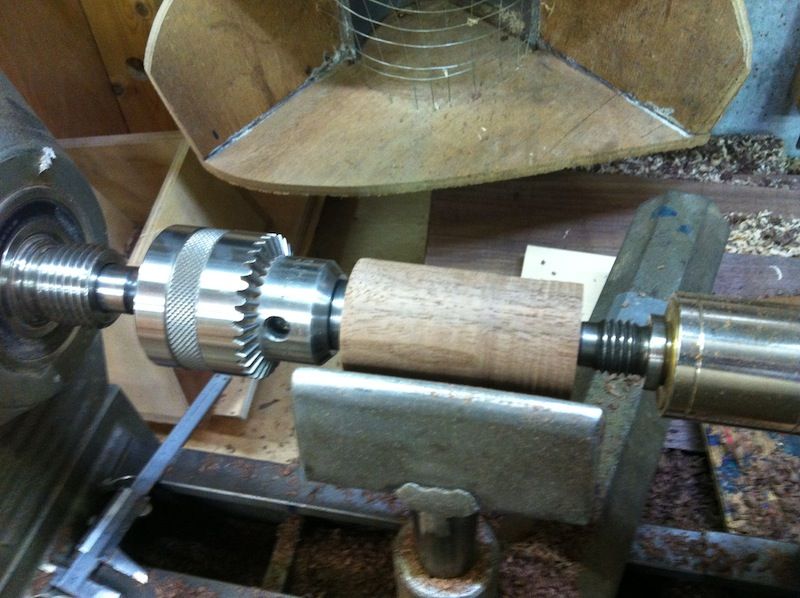
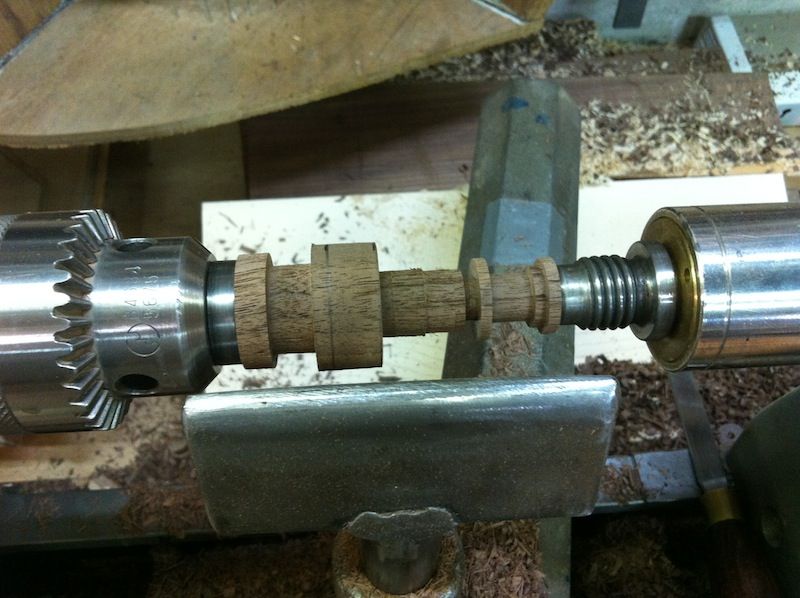
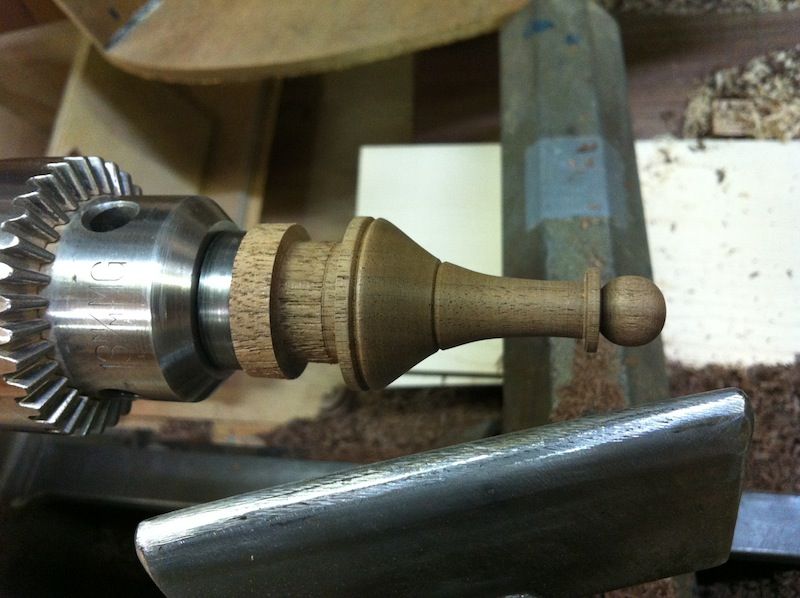
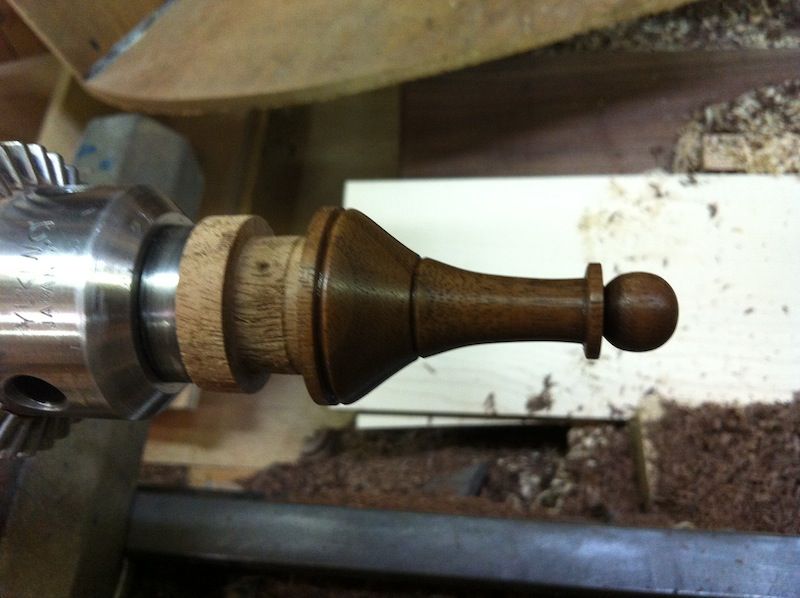
A few practice shots later and the one on the left is about what I want, but I'm sure they will evolve a bit more.

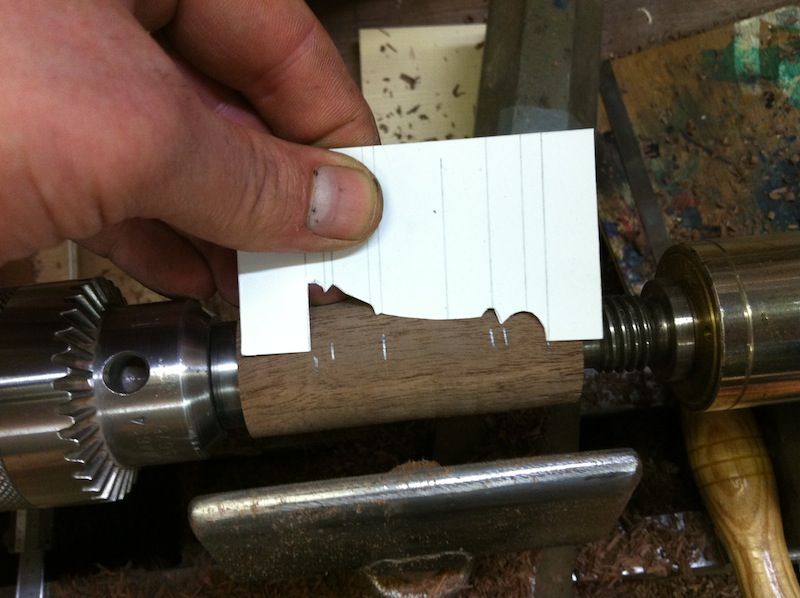
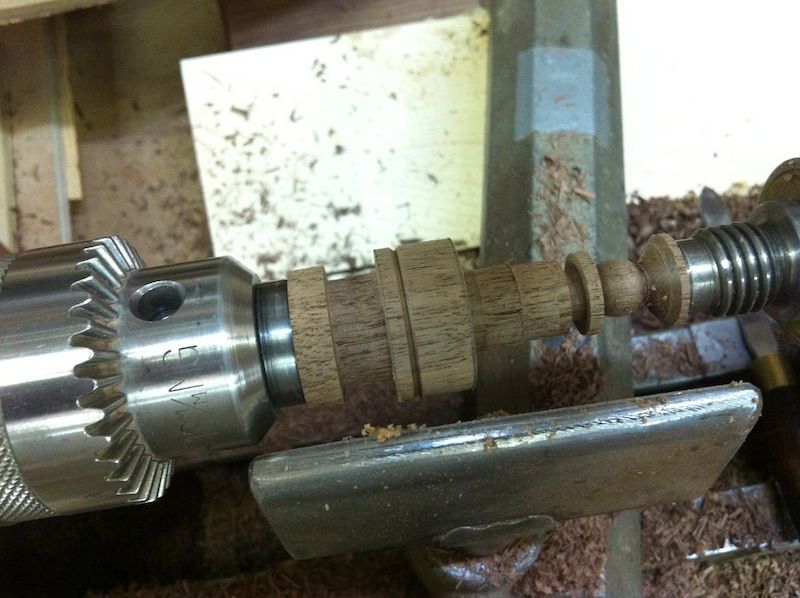
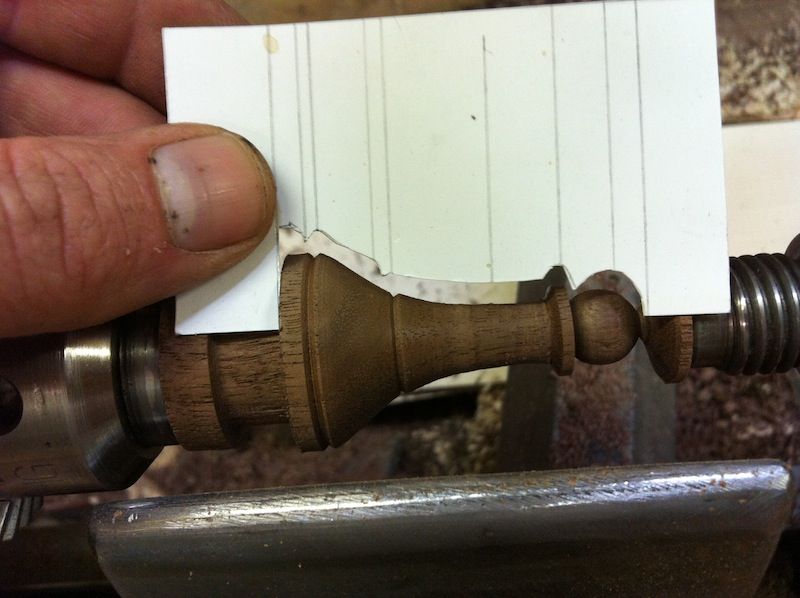
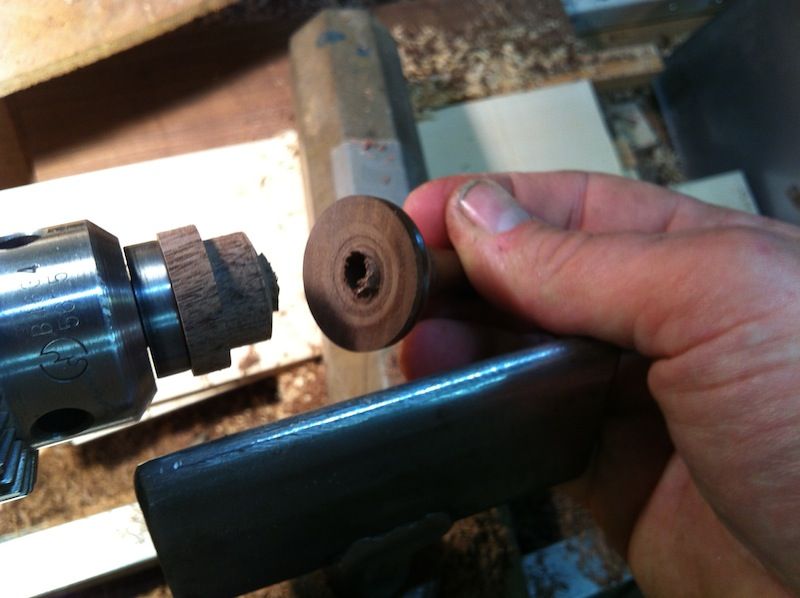
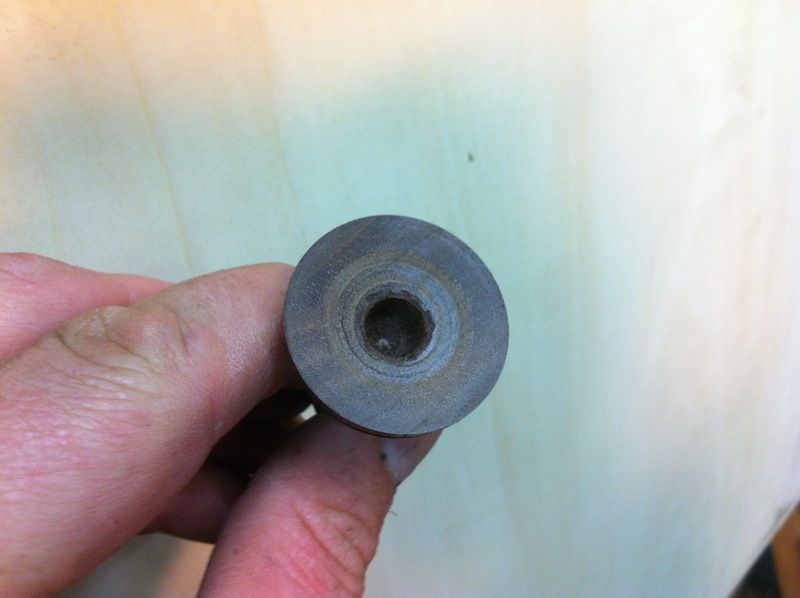
To make a template I cut that one in half....

IMG_3391.jpg


IMG_3392.jpg


IMG_3393.jpg


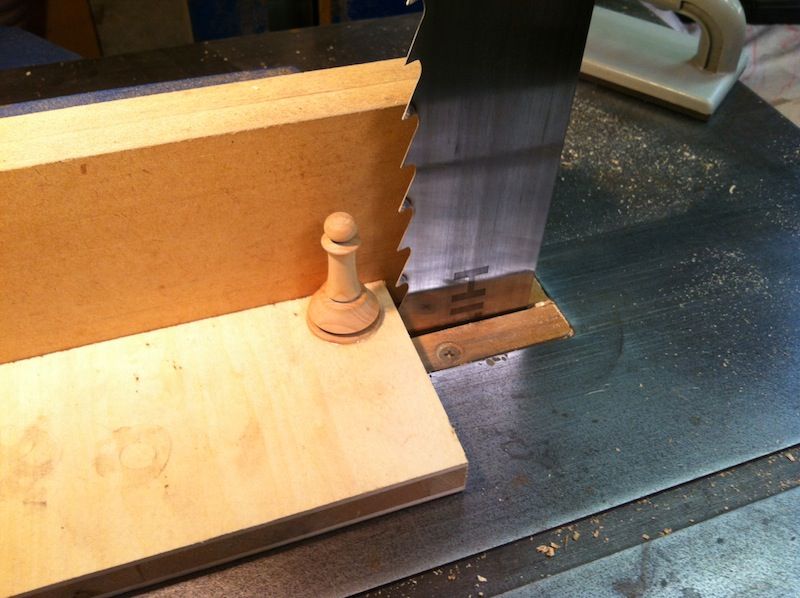
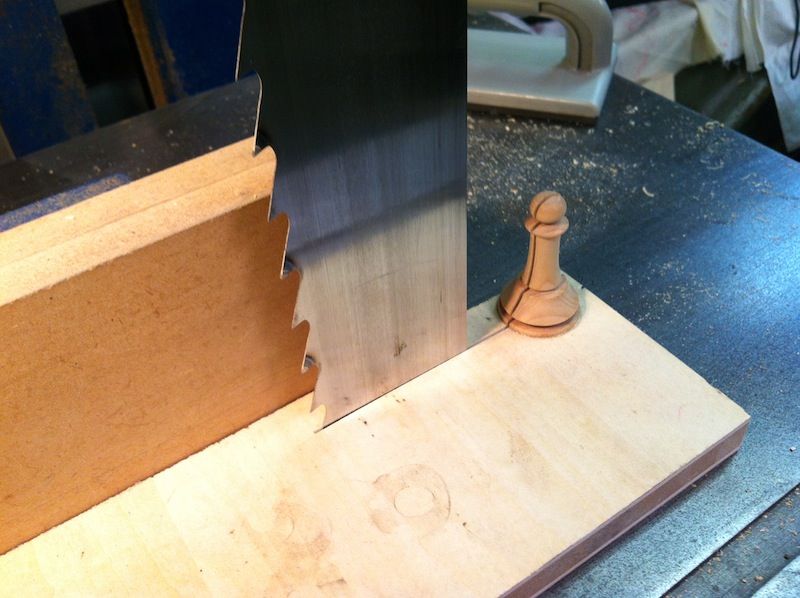
That poor little chessman got the ride of his life!!

IMG_3480.jpg

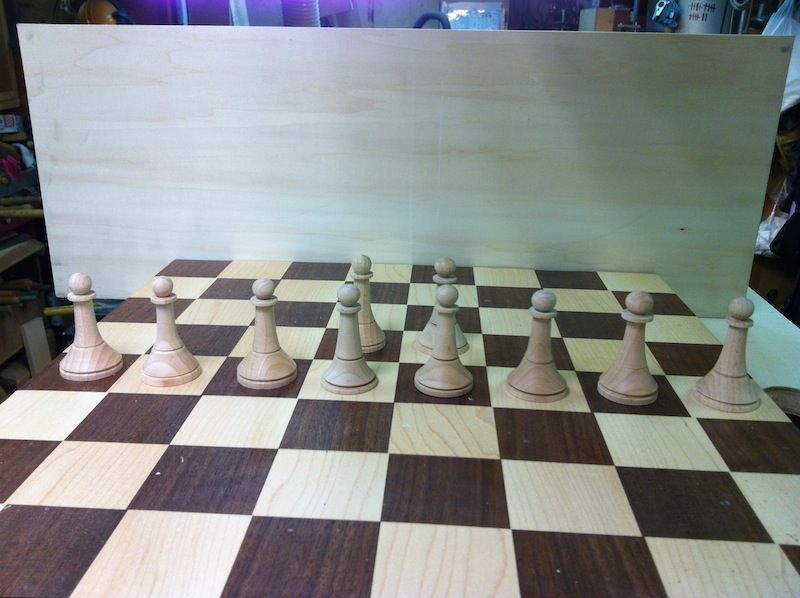
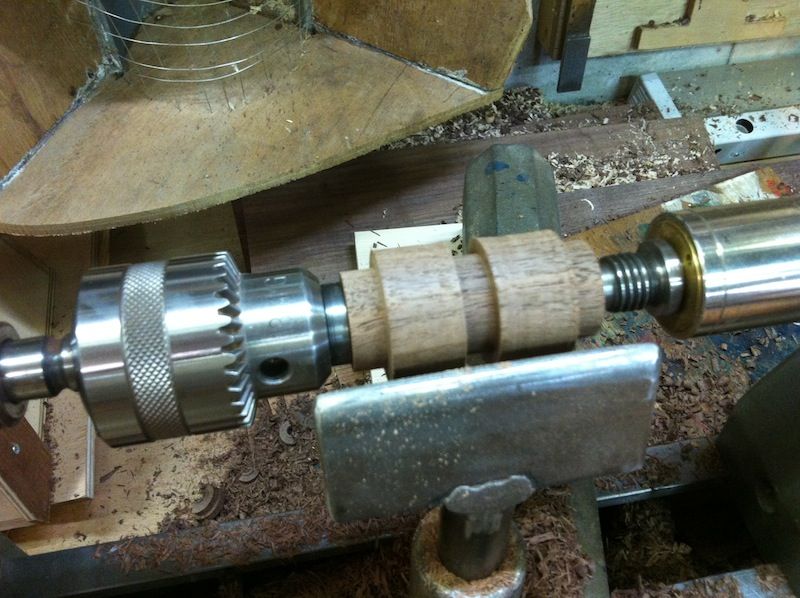
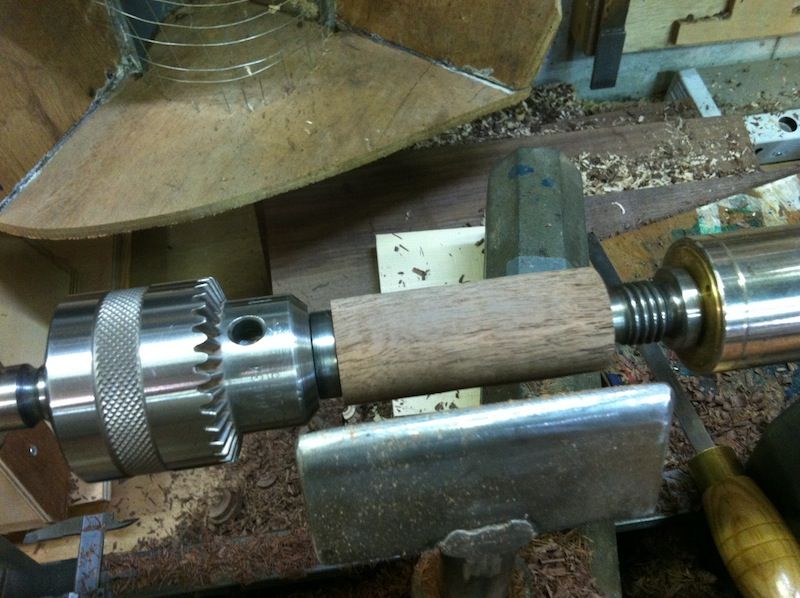
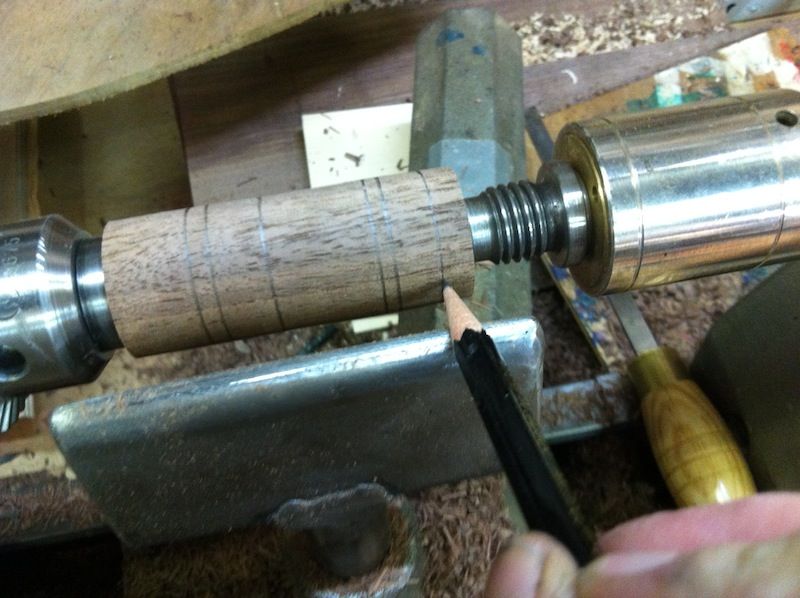
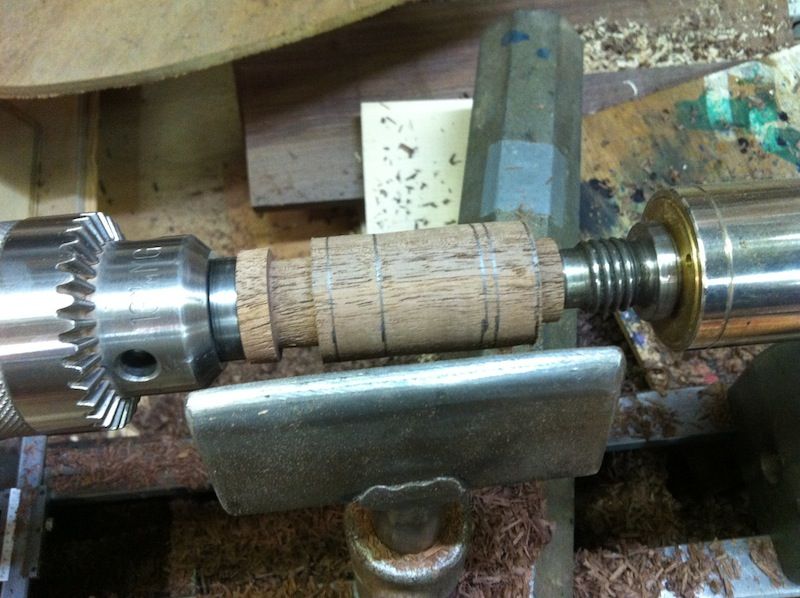
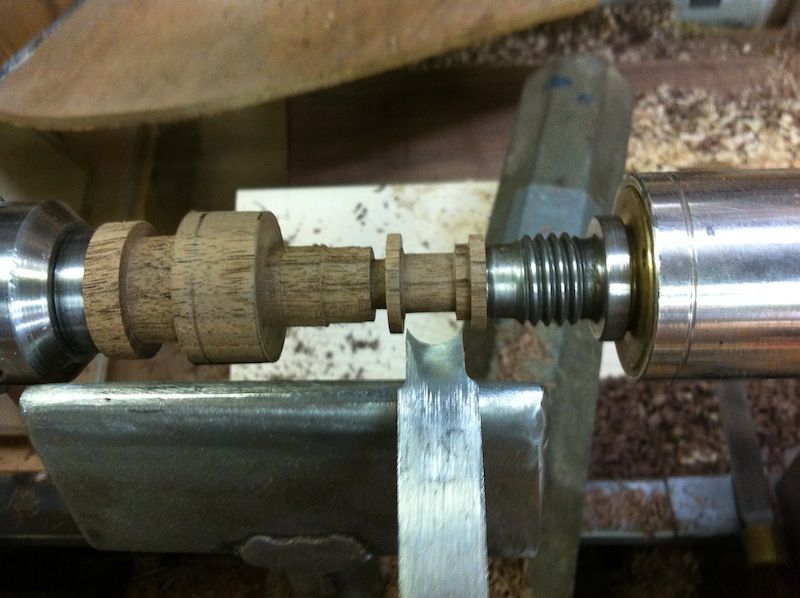
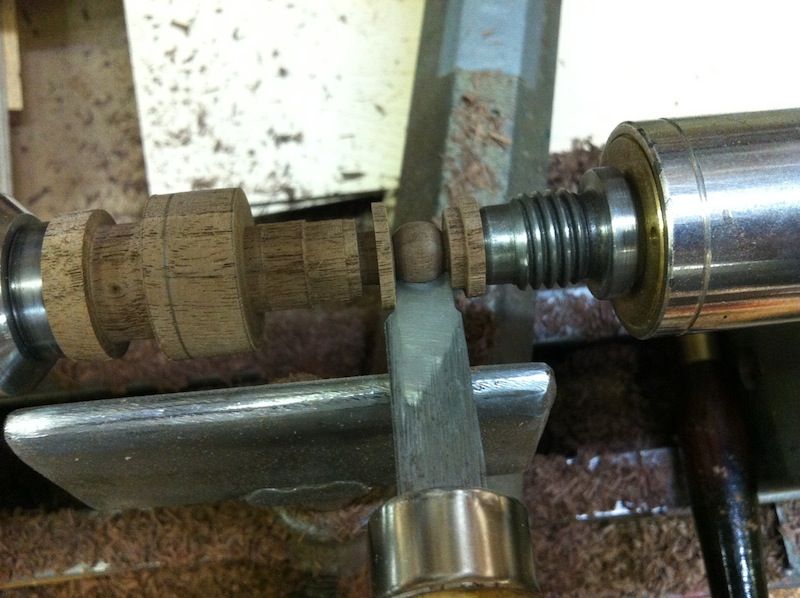
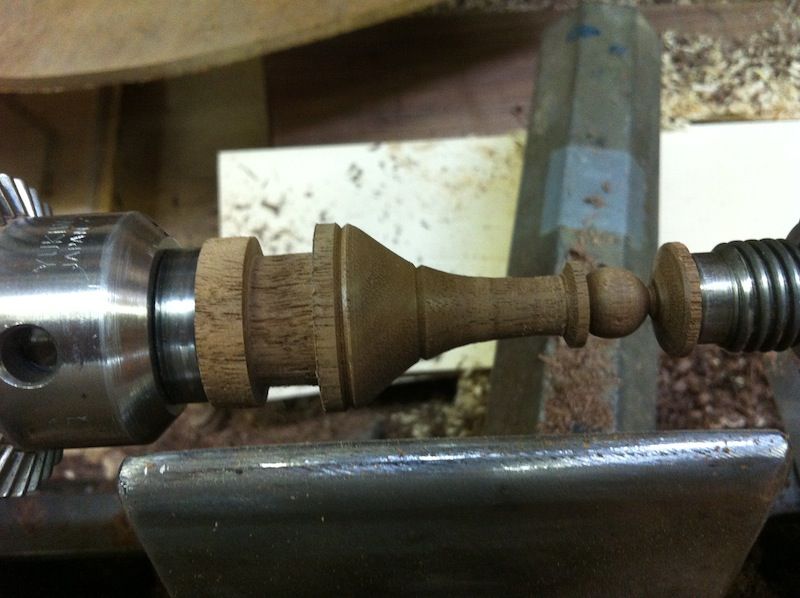
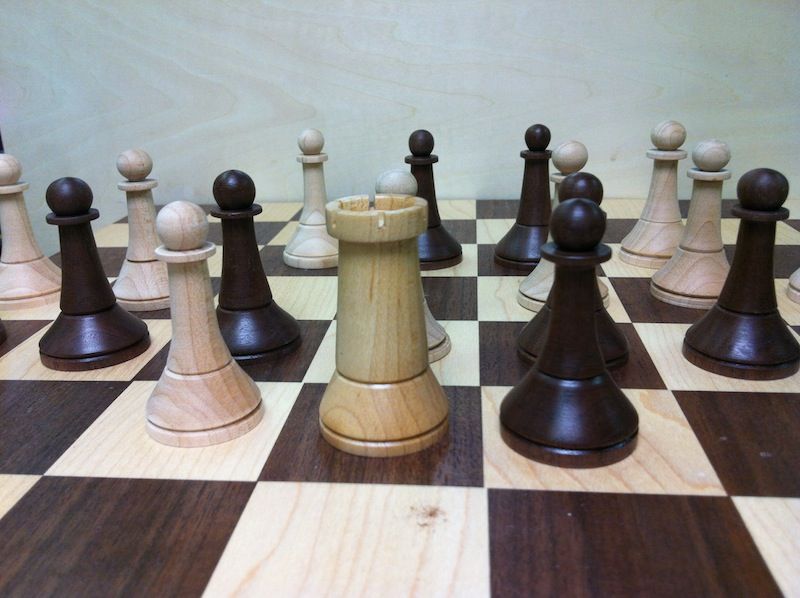
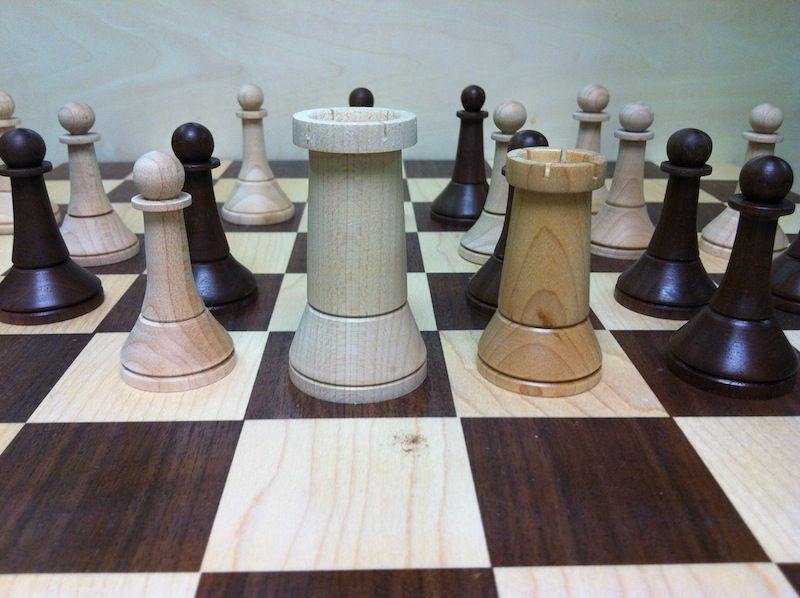
Now I've turned a few more, I'm going to turn maybe a half dozen more than I need and then pick the best 16 pawns, then I'll move on to the the other pieces.

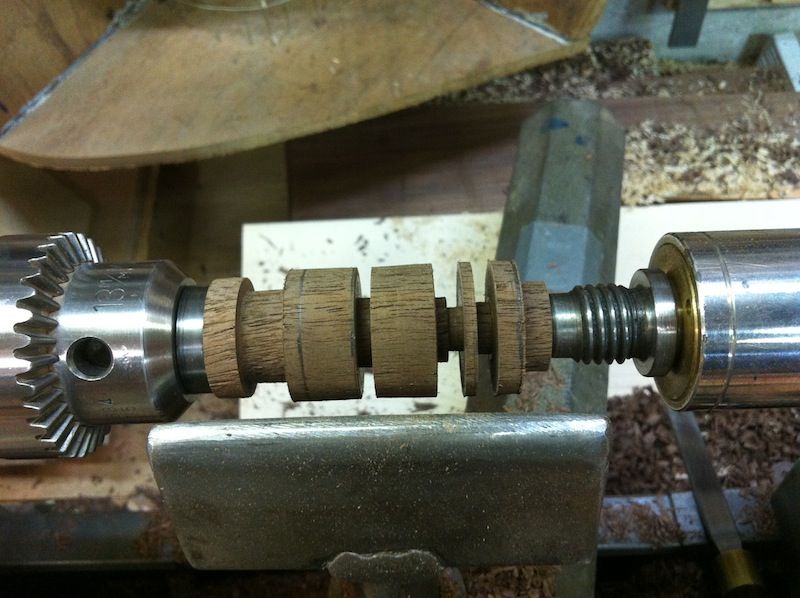
I'm going for a fairly simple classic look called Staunton set....

french-staunton-chess-set-1n2zm.jpg

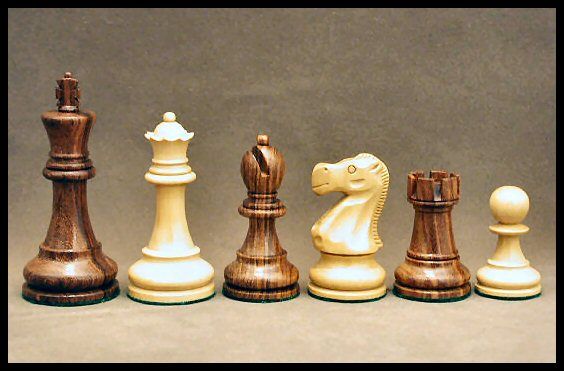
.... but a bit taller.

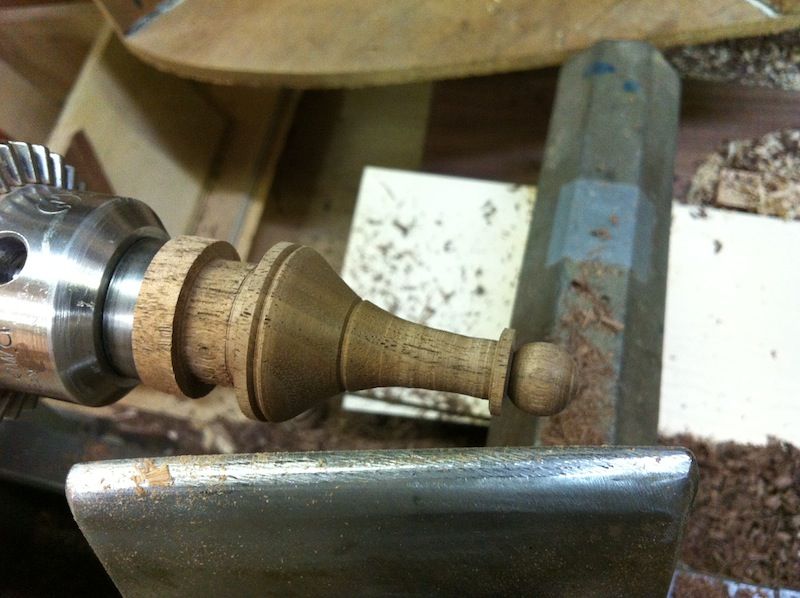
We shall see how this works out.

I also want to build a box to house the chessmen in and add a nice trim around the chessboard I built before to dress it up a bit.

Cheers!
 
So I guess it would go something like " That's not a bandsaw blade, THAT'S a BANDSAW BLADE!"

One of my all time favorite movie scenes!
 
Thanks guys!

Art, that has to be one of my favorite movie lines!

Vaughn, I was going to make them all out of Maple and then ebonize one set, but now I've decided to dig out some Walnut from my stash and do one set in Walnut, I think it will look better with the board being Maple and Walnut.!
 
OK I got some chocolate pawns done......

IMG_3485.jpg

The Walnut is certainly trickier to turn, but I think they look nice. They are not as dark in real life as they apear in the picture!

Soon the pawns will be done, then I think I'll do the bishops....?
 
Thanks Bob!

I guess I should take some pics of the process so you all can see how my mind works on making this stuff, dunno if it is the usual way or not, but it seems to work for me! :rolleyes::D
 
The dark pawns are outnumbered by more than 2:1. They're gonna get their tails kicked. :p

Looking good, Stu. I think the walnut was a good call. :thumb:
 
OK on the last walnut pawn I turned I slowed down enough to take pics to show you how I turn the pawns, this worked for me, quite well, but I'm sure there is more than one way to turn a pawn.

turning_chessmen_1.jpg

I'm using a bottle stopper mandrel.

turning_chessmen_2.jpg

it has a 10mm threaded stud and a flat plate that is just about perfect for this job.

turning_chessmen_3.jpg

I drill an 8.5mm hole in the center of the blank I'm using

turning_chessmen_4.jpg

and thread the blank onto the mandrel by hand.

turning_chessmen_5.jpg

I then bring the tail stock up to the blank with the lathe turning so it is centered exactly.
My lathe has a headstock that can swivel out, so it is sometimes just a tiny bit off center, just a smidgen, but bringing the tailstock up while the piece is turning and the tails stock is not clamped down eliminates this problem.

Ready to rock and roll!

turning_chessmen_6.jpg

Just a note about using a drill chuck in your lathe, I am bringing up the tail stock to hold the work piece in compression, so there is no chance that the drill chuck, on it's morse taper could fall out, but at the very end of turning the piece, I pull back the tail stock to do some final turning on the head of the pawn and some sanding too. I doubt very much that the morse taper on the drill chuck would come loose, but to be certain, I use a draw bar to hold the morse taper into the head stock. Just saying....

turning_chessmen_7.jpg

Next I knock the corners off and make the piece somewhat round.


turning_chessmen_8.jpg

Then I use my sharp Bedan to bring the work piece to, in this case 31mm in three spots

turning_chessmen_9.jpg

And bring the rest of the cylinder down to the same 31mm. The base of all of my pawns is 30mm, so the extra milimeter just gives me some meat to do a nice clean final cut.

turning_chessmen_10.jpg

I then take my template and lay out where I'm going to do more work.

Cont
 
turning_chessmen_11.jpg

I make my layout marks go all the way round the piece so I can see them while turning.

turning_chessmen_12.jpg

I then define the total length of the piece, I try to keep all the pieces the same height.

turning_chessmen_13.jpg

The first cut is to a 16mm diameter this will define the narrow point after the base of the pawn


turning_chessmen_14.jpg

Then I do a 11mm cut just below the head, and the head is a 12mm cut

turning_chessmen_15.jpg

I then hog off most of the waste

turning_chessmen_16.jpg

Next up I do the head, I had a lot of trouble turning round heads of the same size consistently, so I made a head scraper out of an old lathe tool I had, I ground the head sized half circle in it, then made the flat part very smooth to give a good scrapers edge to it.

turning_chessmen_17.jpg

Using a very low angle of attack it works well, you have to be gentle with it, especially on the walnut, but it works.

turning_chessmen_18.jpg

I then cut a shadow line just above the base

turning_chessmen_19.jpg

I then turn the skirt of the pawn

turning_chessmen_21.jpg

Now the body of the pawn gets some work.
 
turning_chessmen_22.jpg

Using the template I check the pawn, not exactly the same but close enough.
This one was actually just a bit tall, so I trimmed a little off the base.

turning_chessmen_23.jpg

Now I turn the top off and move the tail stock out of the way.

turning_chessmen_24.jpg

The head is turned smooth, and some sandpaper is applied.

turning_chessmen_25.jpg

A good coat of sanding sealer will make it ready for some clear coat later.

turning_chessmen_26.jpg

Now to turn off the base, I under cut the base so only the outer edges of the piece will touch

turning_chessmen_27.jpg

Free at last! the hole I drilled for the bottle stopper mandrel is deeper than it needs to be, but I'll fill that with something heavy.
The walnut pawns are very light!

turning_chessmen_28.jpg

I cleaned the bottom up a bit, once filled with something heavy I'll put a felt bottom on it to cover the hole.


pawns_done.jpg

There all the pawns are done!
 
Last edited:
Next up are the Rooks.

1st_rook.jpg

That is the first one I turned, I like the shape and proportions, but it needs to be taller.

1st_2nd_rook.jpg

OK, the next one, this one is taller, but the proportions are wrong.

Oh well, I'll keep trying, I've got lots of wood!

Cheers!
 
Top