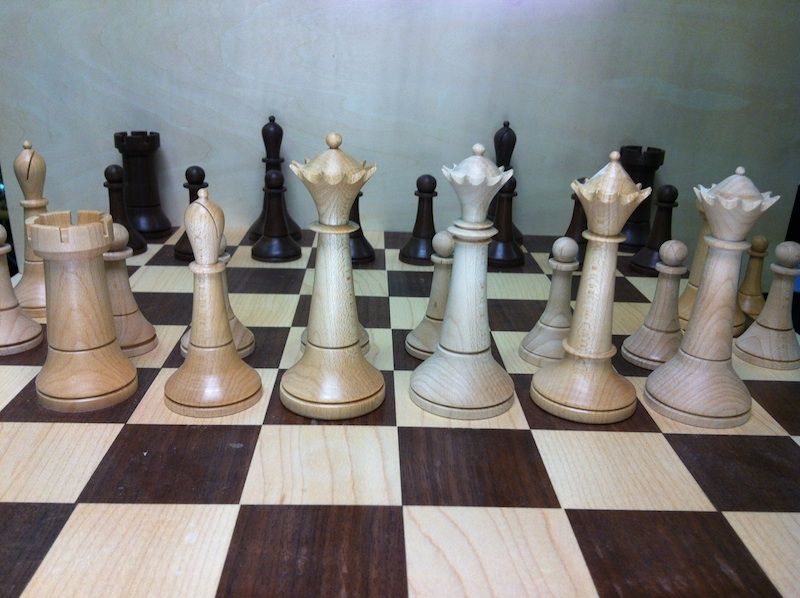
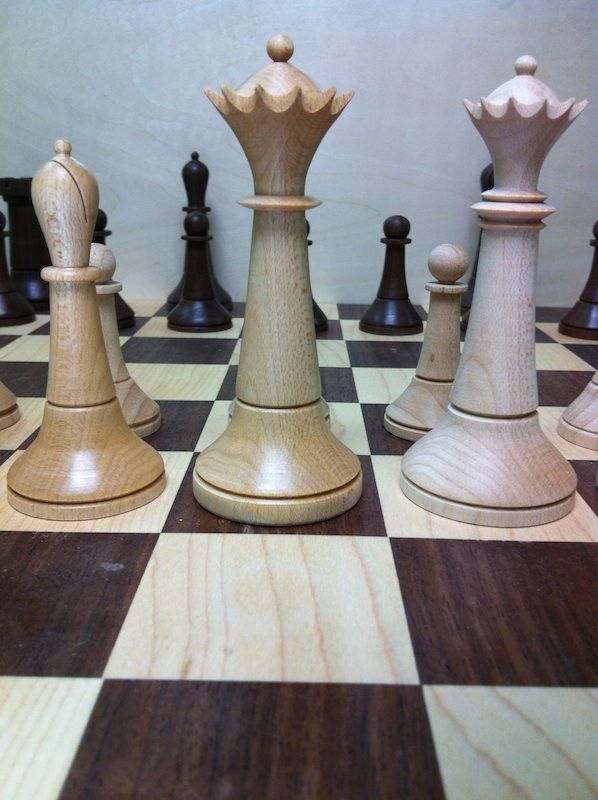
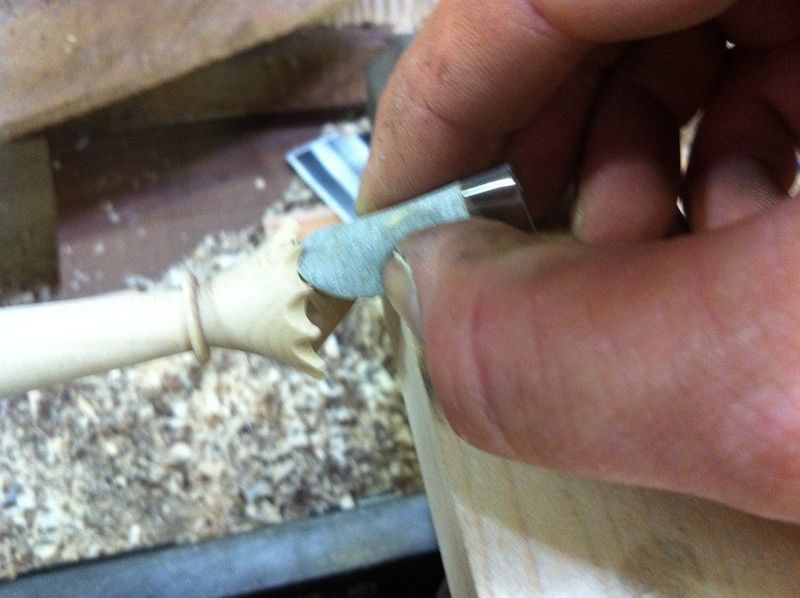
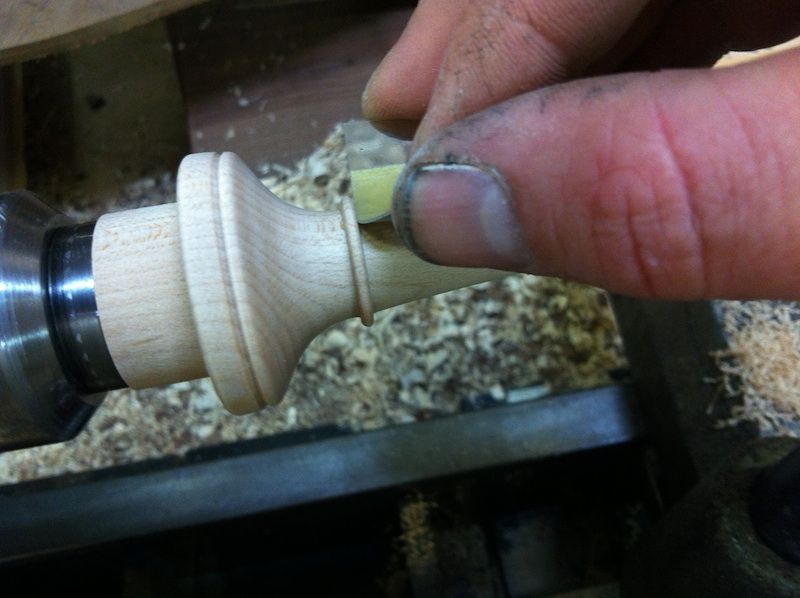
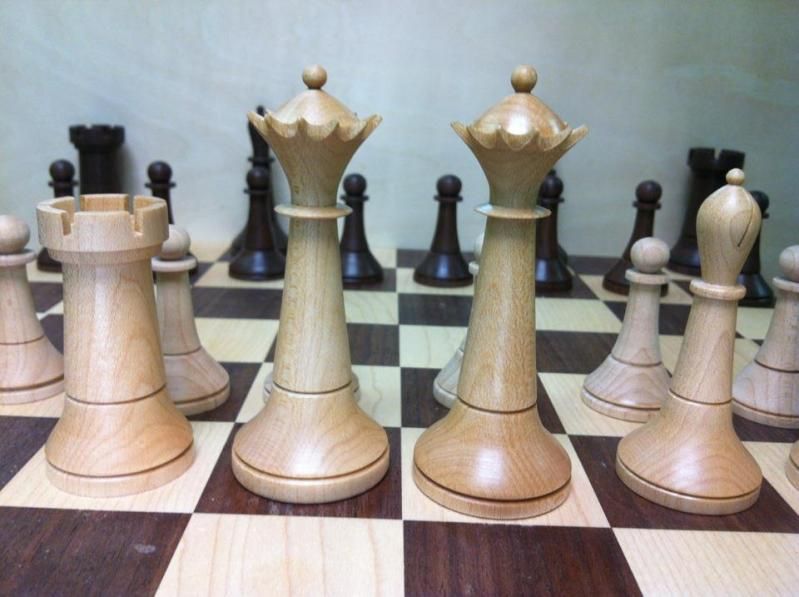
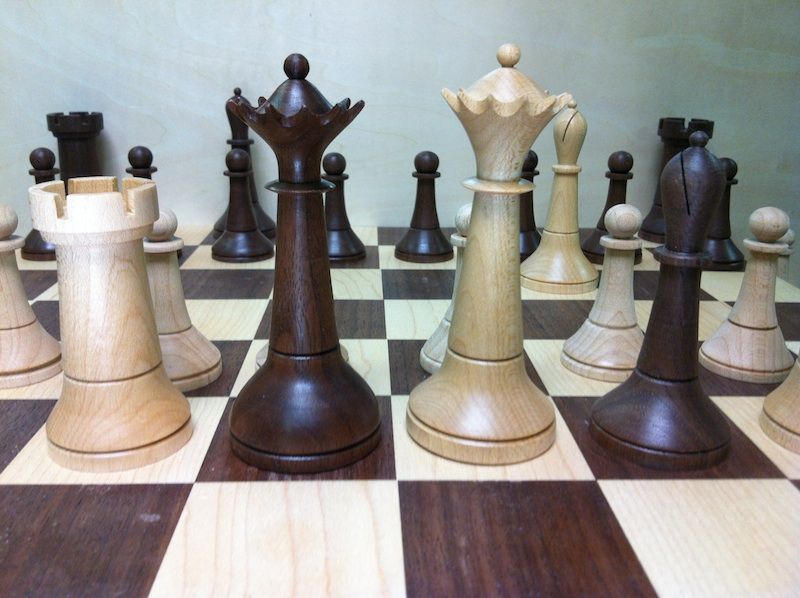
Man, this set is looking sweet, Stu.

The pool case took less than a full kit. That was covering the dividers and the frame holding them. The bottom and top surfaces were covered with foam, then velvet. I had enough left over to do the inside of a 5" x 7" keepsake box, and as I recall, I still have about half of the kit left. I'd think one kit would surely do a chess box.
The adhesive is colored to match the flocking. I'm not sure what's in it, but it reminds me of a thick version of the enamel paint like we used to use on plastic car and plane models. It stays tacky for quite a while, and takes about a day to cure. You essentially paint one or two thick coats of the adhesive /paint, then while it's wet you heavily dust the wet surfaces with the flocking material, making sure to get it everywhere, especially the nooks and crannies. After it has dried for a day, you knock or lightly blow off the excess flocking. (It can be saved and reused.) If there are any thin spots, you can carefully touch them up with more adhesive and re-dust them with the fairy fuzz.