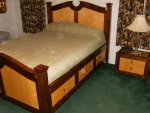
Phase II : The night stands

I figure I would take the time to update this build as well.

I got the curves on the legs veneered. Forgot to take pictures of the progress as once I got started I just plain forgot about it.
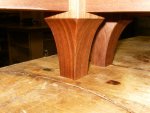
007.jpg

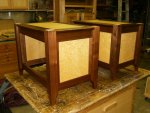
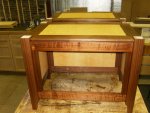
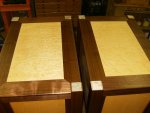
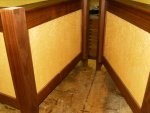
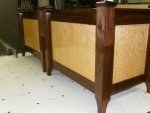
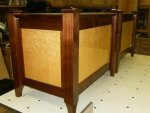
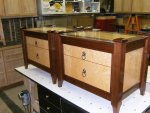
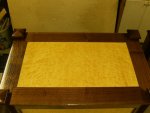
And a few shots of the assembled night stands. They have a coat of natural watco and one coat of poly on the birds eye maple panels on the sides and the walnut has one coat of watco medium walnut and the birds eye panel in the top one coat of watco natural. I need to make the caps for the legs and get the drawers fronts cut to size and edge banded.
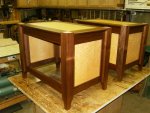
002.jpg003.jpg010.jpg
005.jpg008.jpg
 
alan i cant imagine you not doing this for a living.. your beyound good.. your dads teachings and your years in the trade have all paid off tremendously... can you at least tell us how you veneered those curve pieces?
 
Man i think you had better guard the house those are worth coming down there to steal. :) or should i say going to jail for. Man you good. I second what Larry says, you gotta get out and do this for your living.

The birdseye and walnut go so well together. :score:
 
alan i cant imagine you not doing this for a living.. your beyound good.. your dads teachings and your years in the trade have all paid off tremendously... can you at least tell us how you veneered those curve pieces?

Here you go Larry.

After I cut my veneer on the band saw I moved my resaw fence to my horizontal edge sander and set it up so I could thickness the walnut.
002.jpg003.jpg

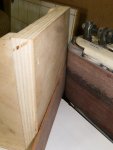
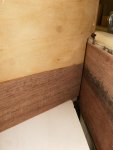
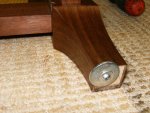
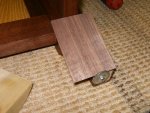
I then drilled a 1/8" hole in the bottom inside corners of the legs about a 1/4" from the edges and used a 3/4" washer held in place by a screw to act as a stop. With out this as you tighten the clamps the piece will start to slip out of place due to the curve.
001.jpg

I made a form for clamping the veneer by tracing the pattern I used to route the legs with and made sure I cut to the pencil line and then sanded the pencil line away on my edge sander to allow for the thickness of the veneer.

I cut the veneer about a 1/4" longer and placed it in position.
004.jpg

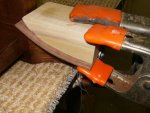
I then placed the clamping form on top and clamped the two pieces together with a small spring clamp. This small clamp is needed to keep the veneer from splitting as it has no support in that area. I then use a large spring clamp to partially compress the pieces and a 6" F clamp for the final clamping.
005.jpg006.jpg

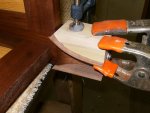
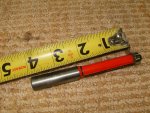
The pieces were trimmed on my router table using this 1/2" bearing bit.
007.jpg
 
These are coming along wonderfully. I really appreciate your taking the time to show your methods. Woodworking is a steady learning environment which suits me just fine. Always more things to learn and try.
 
Well check off another project from the list!

I sure do wish I knew how to photograph.:doh: I need to take Rob's advice and get some photos done by some one who knows what they are doing.
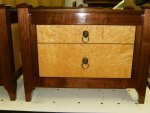
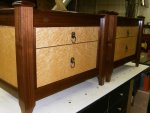
008.jpg007.jpg006.jpg
009.jpg001.jpg010.jpg
 
alan even with less than profesional pics they still standout of the crowd big time.. very nice work! you do need to find some one local that does weddings and such to take few shots of your work for your portfolio that you will be needing one day..
 
alan even with less than profesional pics they still standout of the crowd big time.. very nice work! you do need to find some one local that does weddings and such to take few shots of your work for your portfolio that you will be needing one day..

I second that Alan, I truly believe that you should get some professional pics taken of all your projects, I haven't seen in real but I don't think that these pics do any justice to those great pieces:thumb:
 
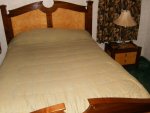
Just a couple more pics with the bed and night stands together. I think I need to clean the lens to get rid of those spots!
013.jpg014.jpg
 
Top