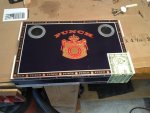
"PUNCH" cigar box guitar

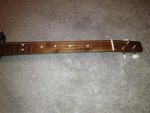
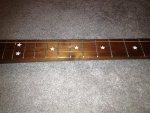
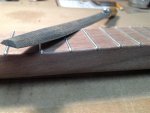
Well, I only got to spend a couple hours on my project tonight but got some more work done on the neck. The first thing I had to do tonight was to file down the edges of each fret wire. I don't have any fancy tools made for this so I'm just using a regular file.


With all the egdes filed I think I'm going to mix up some sawdust and glue and make a slurry to fill in the exposed saw blade cuts at the end of each fret wire. I didnt have this issue with my first guitar. I must have cut these a little too deep? Anyway, I think I can fix this.
IMG_0171 (Small).JPG

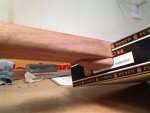
I added a little wedge piece under the neck on each end of the box......just to see if I would like it. I think I'll leave them on.
IMG_0172 (Small).JPG

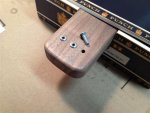
Next I drilled holes in the tailpiece for the strings to go though. I took apart some rivets and am using just the body for inserts here.
IMG_0174 (Small).JPG

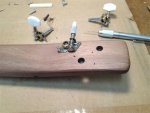
Lastly, tonight I drilled the holes in the headstock and added the tuners.
IMG_0178 (Small).JPG

I've got some final sanding to do then I think I can go ahead and give the neck some finish. I think I used wipe-on poly on my first guitar and it worked ou really nice so that's what I plan on using on this one as well.

Getting the box sound holes cut and decorated and adding the electronics will be after next.
 
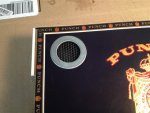
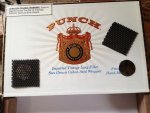
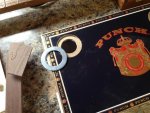
Here are the last of the photos from this project. I needed sound holes in the guitar body (box) so I tried something different and found these very large washers to use. I drilled holes then countersunk the washers and put pieces of speaker screen behind them to give them a finished look.
IMG_0183 (Small).JPGIMG_0196 (Small).JPGIMG_0194 (Small).JPGIMG_0186 (Small).JPG

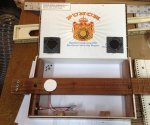
Next, after 6 coats of Tung oil finish to the neck I reattached the neck to the body. I then drilled a hole into the neck to accept the piezo transduser that I picked up at Radio Shack. I wired the piezo pick-up to the jack which I mounted to the side of the body. The piezo is then siliconed into place at just the right height so that it makes contact with both the neck and body lid.
IMG_0210 copy (Small).jpg

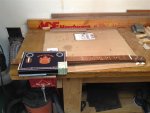
I made a little bridge for the strings to rest on the body and added small fret markings by using an ink stamp with white ink.
Close the lid and it's pretty much ready for strings.
IMG_0212 (Small).JPG

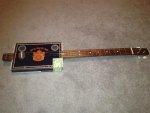
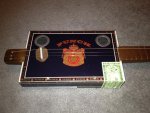
Strings added and it's ready to go!
IMG_0214 (Small).JPG
IMG_0217 (Small).JPGIMG_0216 (Small).JPGIMG_0214 (Small).JPGIMG_0218 (Small).JPG

I learn something with each one of these I've done. Some I would do again and some I would not.

I tuned it up and its sounds good.

As stated before....I am NOT a guitar player and therefore there will not be doing a video of me playing it simply becaues I do not know how. I built this guitar to give to my brother. I'll wait and see if he learns how to play it and if so then maybe I'll get video of him playing.

Well.....thanks for watching folks.

Looking forward to started another woodworking project as soon as I decide what that will be.
 
Last edited:
I'm going to close out this thread by saying that I gave the guitar to my brother today and he was blown away by it. I could not be happier. It was alot of fun to see him with it and see and hear his reaction to it. THAT is why it's fun for me to build these. The best part of it all is that his wife thought it was way cool as well and now I get to build her one. Already got ideas for the next build........
 
Top