TS Wing Router Ver 2.0....?

I made the template up on my iCarver, sure nice to have that CNC machine around!


Hey that's not fair its cheating. Only kidding we all wish we had an cnc to do that template.


Fits pretty darn good!:thumb: I would say it looks like it was molded in.

Cheers!


Great job. you past the most nerve racking part. That leveling trick of yours is brilliant. That's whats been my mental obstacle will definitely be err stealing that idea. :D Thanks.
 
That looks pretty darn solid to me. A top that's only laminated on one side will tend to sag because it's gaining and loosing moisture at different rates on each side. A frame support helps, as does laminating both sides, or not laminating either side.

The table I'm replacing was laminated on both sides, but it warped over time.

This one is three layers thick, about 2-3/8" thick. While only the top is laminated, all the other sides and surfaces have been sealed with paint on clear lacquer.

Cheers!
 
Thank you Glenn, and everyone else.

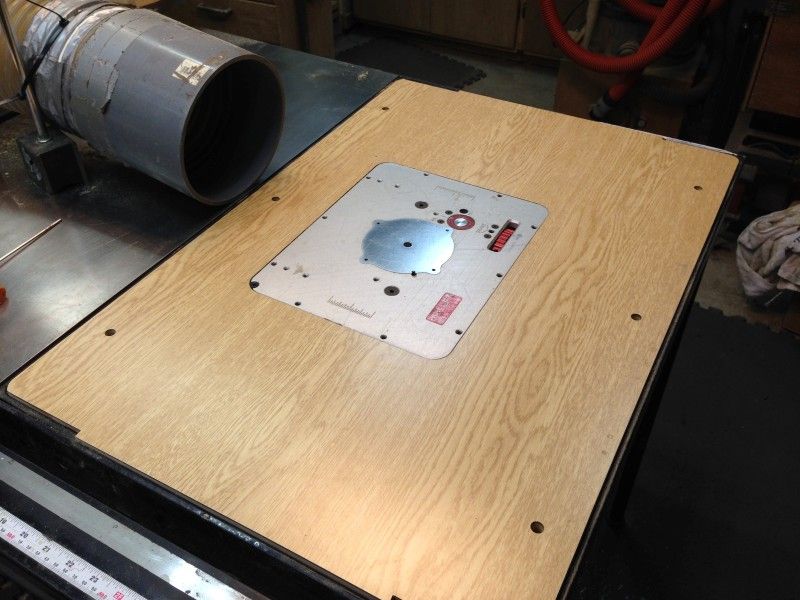
OK, now I need to make a DC connection for this table, as most of you know, the router even in a table, is a VERY messy tool, it spits sawdust here there and everywhere! The only tool that is messier, in my mind, is the lathe when I'm roughing green blanks, but those chunks are much larger, the router makes VERY fine dust that is NOT good to be floating around in a confined space.

I want to get this done and move on to making the doors for my Cigar Humidor build, to get that done, but I also know that if I just build a cowl around the bottom of the new router table to collect the dust, and don't build a the cabinet that I want to live under that wing of the tablesaw, it could be years before I get around to building said cabinet, not the best outcome.

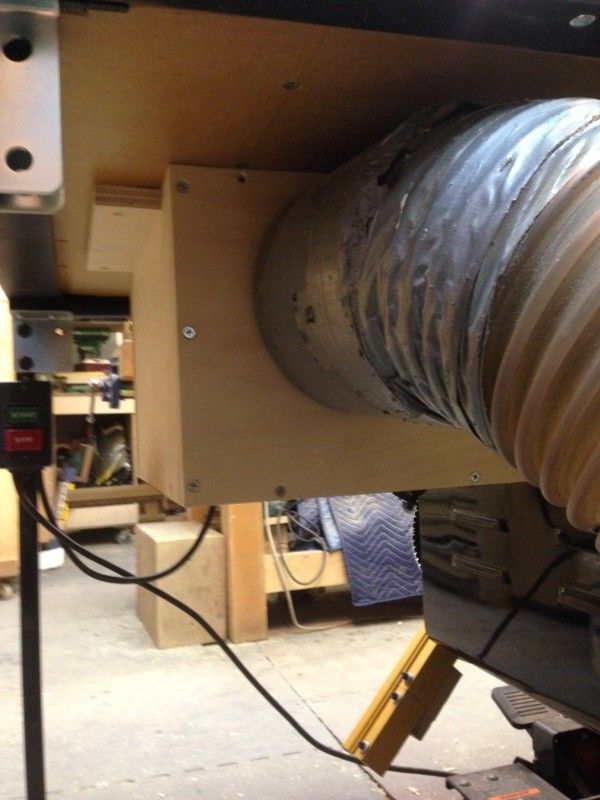
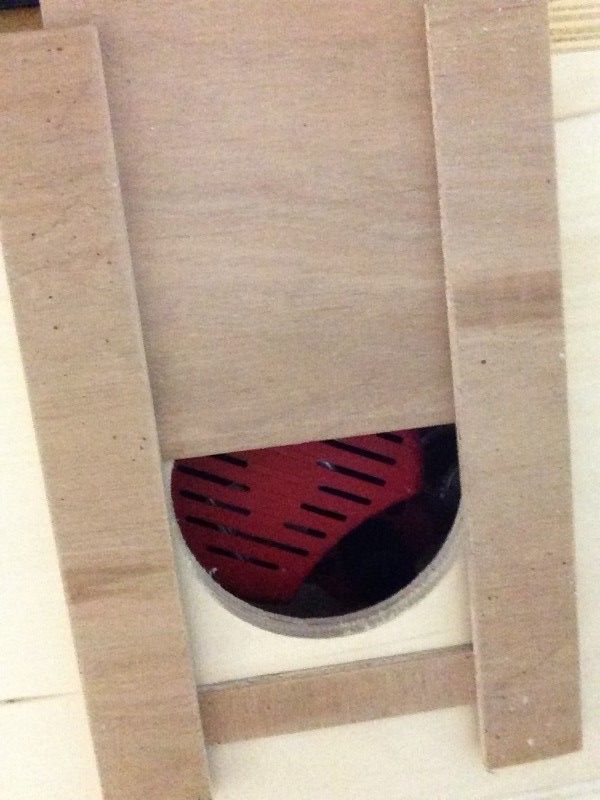
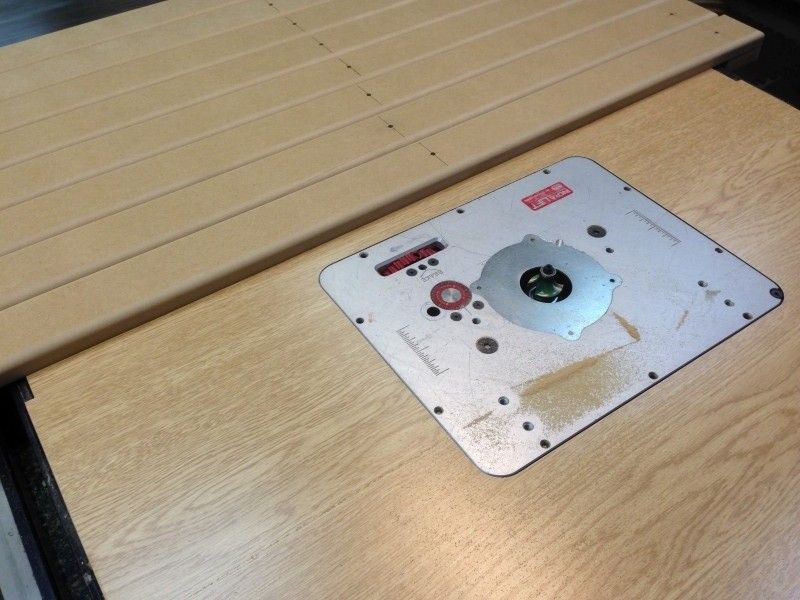
Right now as I sit in my Dungeon I am planing the cabinet/DC cowl my main head scratcher is how the air should flow around the router. When I routed out the top of the table I just built, I took the Milwaukee 5625 router motor apart that I use in the table, and it was packed full of sawdust, not good.

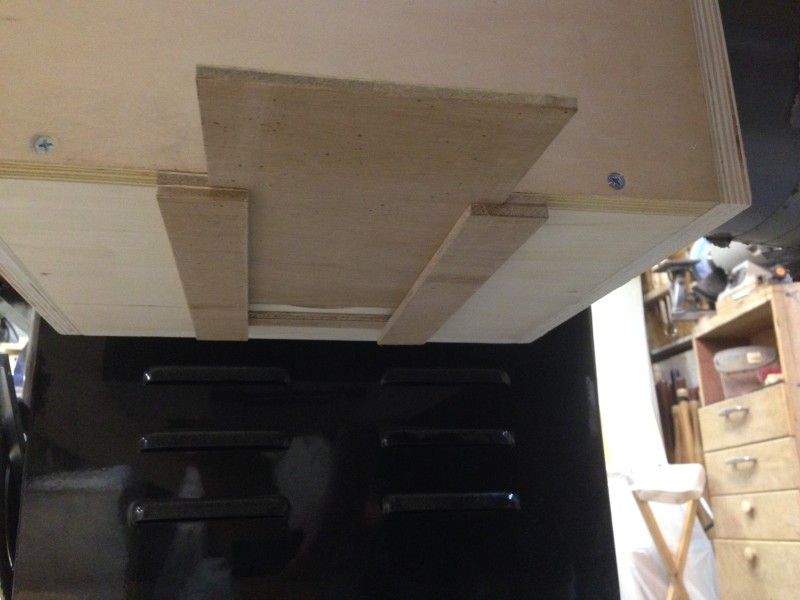
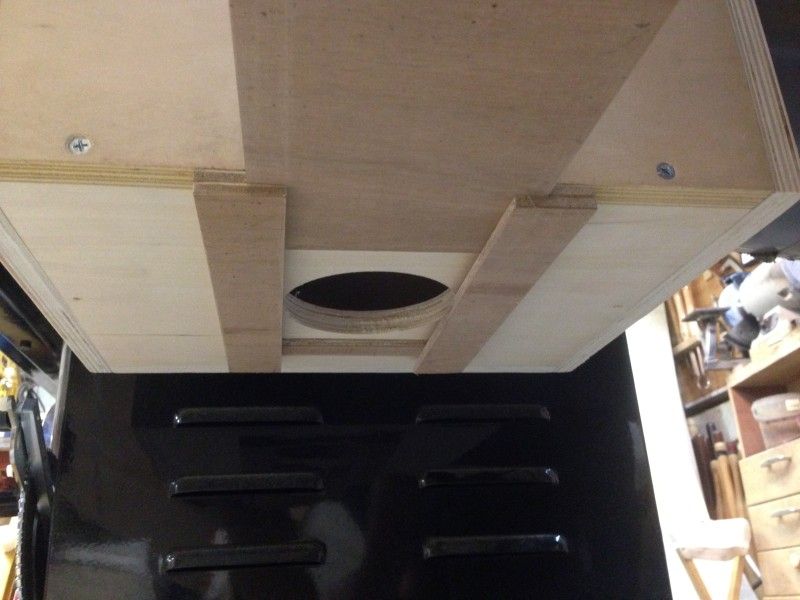
I cannot find it now, but I remember seeing a post on a thread somewhere, by someone (sorry I forgot who) that shows a DC surround that has a top side DC inlet and a fresh air inlet on the bottom of the surround. The idea is that the dust gets drawn off the side/top nearest to the cutter, and the clean air that goes into the cabinet comes from the bottom, this allows clean air to flow over the motor and up into the top/side inlet. I like this idea, it makes sense to me, but I have to work on how to make it work, and build a cabinet around it.

Wish me luck!
 
First off, Good Luck ;-)

Secondly, The tricked out design you speak of I believe was done by Bill Huber . . .

Thirdly, I often have to remind myself that this is dust collection, not vacuuming. Its about airflow and getting the spoil into that flow in order to have it carried away. The best idea in my mind is that the entrance (or replacement) air should enter opposite the exit point. My cabinet exits at the rear so I just have hole in my door.

I have seen others with a solid door and a 'register' or 'gate' built into the wall of the cabinet opposite the exit port. This can be adjusted for different situations like, is a fence collection point in use, is this a buried cut like a dado or, is it bearing guided curve work without a fence. As to where to hook up, could you wye off your tablesaw lower port, feed on to your router cabinet and gate the ports individually? Just an idea.

Thank you Glenn, but as I'm banned from that forum that you link to, that is not where I saw it, but the name Bill Huber did ring a bell, and now I remember that Jim O'Dell talked about this type of router table DC stuff and posted it on a thread of mine HERE

I'll have to see if I can find a rectangular to 6" round transition at the DIY place.

Looks like the under cabinet will have to wait, a buddy just called, he is opening a new cycling shop and needs some counters, display cases and such, by early next week :eek:

I'll be heading out to Super Viva Home to buy some more wood etc early tomorrow morning......
 
Getting back to this thread just a little more done, for the wheel hangers for the retail cabinets I had to round over a bunch of edges on MDF, not a lot of fun to do with no DC hooked up, I thought about doing it this way......

IMG_6449_zps7be55645.jpg

.. but decided against it.

I built a box that surrounds the router under the table, just a quick little box, but I made is so it is an up/side draft box.

IMG_6492_zpsd58892a3.jpg

First I put the DC connection as high up as I could, closest to the table top, where the cutter does it's work.

IMG_6493_zpsfbe83dc0.jpg

In the bottom of the box I put a hole with a sliding door on it

IMG_6494_zpsbdac271d.jpg

I can adjust the opening to balance the air coming in with the hole on top of the table, actually I try to make that hole on top take more air the bottom hole take less, but not by much, they are pretty much balanced.


IMG_6497_zpsda2a6d91.jpg

If you look up into the hole on the bottom you can see the router right there (this is in the lowest position that the router will go) this way clean air enters the hole and goes through the motor cooling it and then goes into the DC. When I took the router apart a while back it was packed with sawdust, just PACKED, not good. I hope that by having the intake on the side but mounted very high, and another intake right on the bottom I can create an air flow that will carry the chips from the cutter to the DC without going near the motor.

IMG_6498_zps65f2524e.jpg

So far it seems to work, after rounding off all of those corners, only a little MDF dust remained on the router table top.
I still want to build a cabinet under the saw, but need and want don't always come together, right now I have more pressing work.

Cheers!
 
Last edited:
Top