Media Cabinet - Cherry

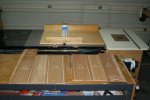
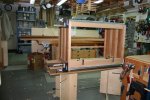
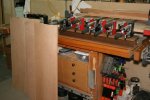
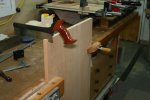
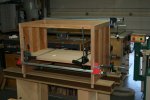
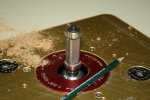
The router table and a spiral bit are my go-to tools for dados in frame and panel construction. Some through dados and some stopped dados. The router table makes it easy to setup the different offsets to allow the different elevations of the parts that make up the sides.

Media Cab (29).jpg

Time for some lunch :scram:
 
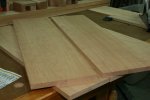
Do you ever have one of those moments while moving along at a good pace where a little voice causes you to pause and say something like "sure the design is supposed to put the doors and drawers front-n-center but, that doesn't mean we couldn't raise the side panels a bit does it?". Well, that voice got me and I spent a fair amount of time selecting some thicker material for the side panels "just in case" I decide to profile them in some small way :rolleyes:. Sorry for the string of single pic posts but, I realized that I owe LOML a nice dinner so, I better stop for now and get myself cleaned up.

Media Cab (30).jpg

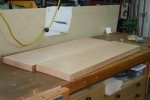
The chalk lines indicate where I will pull "straighter" looking parts from the blanks. The color variation is due to various types of exposure on the material and these parts should end up much more complimentary once I take a plane to them.
 
I had to get away from some paperwork that has been monopolizing my day. I had found a better match under the suntan and grime on those boards I selected for the side panels.

Media Cab (32).jpg

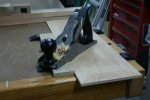
I took after one to see how the panel would raise. For experiment's sake I used the Miller Falls No.90 which did an admirable job for a little fella.

Media Cab (31).jpg

I'll take after the other panel blanks a bit later.
 
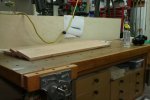
Got all the panels raised and pre-finished.

Media Cab (33).jpgMedia Cab (34).jpg

The pre-finish is just a single coat of the selected finish. The panels get hit again while building the assembled piece.
 
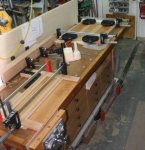
You'd think a person could get a little more done when they have a day off. Sure I had a lot of paperwork to catch up on. At least I was able to glue some parts, set a timer and go do paperwork till I heard the ding-ding-ding-ding. Go out and glue up another section, set a timer and go do paperwork till I heard the ding-ding-ding-ding again. Still I only got one side glued up and part of another. Oh well, tomorrow's another day.

Media Cabinet (35).JPG
 
Last edited:
Still > :lurk: :thumb:...hard to comment when the word 'media' is present....getting to the point I'd rather eat that cabinet than have to listen/read the ramblings of the med...oops, heading off on a rant, better freshen my beverage :D.....looking forward to the final touches :thumb:
 
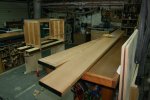
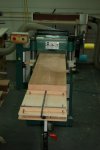
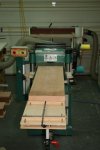
Whipped out the planer sled to face joint some material for the top glue up:

Media Cabinet (36).jpgMedia Cabinet (37).jpg

Used the jigsaw to crosscut to oversize length.

Plner-Sled-In-Use (1).jpgPlner-Sled-In-Use (2).jpgPlner-Sled-In-Use (3).jpg

When I am going to resaw I go ahead and prepare parallel faces. That way I've already got a reference surface prepared for each piece that come off the bandsaw no matter which one the keeper is.
 
thats the best picture i have seen yet of your shop glenn.. the depth of it is great..
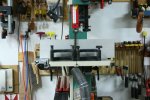
I've been studying my camera's owners manual and got lucky :eek:.

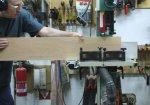
I don't usually worry too much when resawing large blanks but, I am trying to keep as much of this material as I can so I added a second set of stacked featherboards for a little better control.

Media Cabinet (38).jpg . Media Cabinet (39).jpg

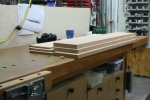
Here's the keepers and the spoil, the keepers planed to near-final thickness and me fooling around with mineral spirits to try to get the best match-up.

Media Cabinet (40).jpg . Media Cabinet (41).jpg . Media Cabinet (42).jpg

I have one more panel to resaw and mill for the inside deck above the drawer area.
 
There are three glued up panels in this build, the top, the adjustable shelf and the bottom shelf / drawer box cover.

Media Cabinet (43).jpg

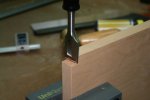
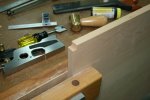
The bottom shelf / drawer box top gets notched to clear the corner posts. a chisel and shoulder plane help make up for my formidable sawing skills :eek:.

Media Cabinet (44).jpg . Media Cabinet (45).jpg . Media Cabinet (46).jpg

And here is that one panel in place during a dry fit.

Media Cabinet (47).jpg

There will be filler panels (not yet shown) on the insides of the sides to support the full extension drawer glides and the shelf standards I will use for the adjustable shelf. These parts effectively capture the lower shelf as if in a dado; free to move with humidity changes but, affixed to the front rail. The front rail tenons into the front side posts. This keeps a consistent appearance at the front of the cabinet even through the panel may move with the seasons.
 
Last edited:
Knowing how much of your time you have spent helping me---I cannot believe how much you have accomplished with the media cabinet. Are you competing with Allen?

It is looking great. I am eagerly anticipating seeing the finished product in its native habitat.

Enjoy,
Dad
 
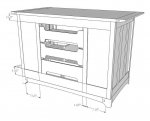
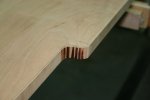
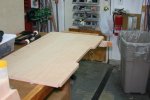
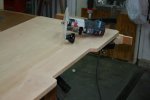
Not much to show tonight. I made a template to cut matching easements on the shelves and back fillers. These are to allow airflow as well as easy cable management and will look something like this:

Media Cabinet (48).jpg

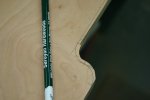
While jigsawing close to the line I failed to listen to some of my own advice; trying to squeeze extra life out of your cutters is a false economy :(.

Media Cabinet (49).jpg

Fortunately I did listen to another of my own "rules"; leave extra fat when cutting near the line on cherry, maple and other burn-prone material :)

Media Cabinet (50).jpg

This cut could make me go against the grain at some point so I use a top/bottom bearing bit so I can flip the piece as required to always route "downhill".

Media Cabinet (51).jpgMedia Cabinet (52).jpgMedia Cabinet (53).jpg

The board comes off the router table like so and I add a stopped 1/8" roundover that terminates just after the curve meets the back edge. I am hoping to get this panel pre-finished tonight since I have a batch of door/drawer parts to mill next. However, I just realized I have some more large panel work to complete first. Now, how did I get ahead of myself? I'm usually trying to catch up :rolleyes:.
 
Last edited:
Top